Our application has the ability to integrate with IntrinsiQ's business intelligence solution, InfoDive. InfoDive is a powerful business analytics tool for urology practices that helps you make data-backed decisions about running your business.
The integration works via an automated monthly feed of practice management and billing data from our application to InfoDive.
Learn more about InfoDive here: https://www.intrinsiq.com/practice-business-analytics
Overview
The InfoDive data extract is a process by which key data elements are pulled out of the application, turned into CSV files, and sent to InfoDive via SFTP on a recurring basis.
Access
In order to access the InfoDive process several key items must be activated for the practice. This includes both Features and Roles.
Features
In order to have a feature activated, the practice must request this from iSalus by contacting our support team.
The support team will need to activate the following features:
- Data Export
- InfoDive
Roles
Once the above features are activated, practice Administrators will need to assign access to their team via Roles.
To do this, follow these steps:
- Navigate to Setup > Roles
- Find the category (bold) labeled 'Practice - Data Export'
- Select 'Processing' within this group
- Select 'Data Export' screen - This controls access to the Data Export screen itself.
- Assign appropriate access (users will need 'Write' access to use the window).
- Select 'Data Export Options' - This controls access to the 'InfoDive' settings.
- Assign appropriate access (user will need 'Write' access to use the window).
- Save
Company Settings
One company setting must be configured for the report to run.
- InfoDive Account ID: This value must be provided by InfoDive and added to this field. This is the unique ID that identifies the InfoDive customer account.
Report Setup
Now that access has been assigned, the next step is to configure the report to run. Follow the steps below:
- Navigate to Reports > Data Export
- Select the 'InfoDive' option from the toolbar to launch the setup window
- By default all of the appropriate data export types will be selected.
- In the 'Next Build' section, set the date that you would like the report to run.
- Click Save

Report Process
After the report has been setup, iSalus will run a process every night to see if we need to extract the selected data elements.
If the Next Build Date is the same as the date we run the job, the following events occur:
- CSV files will be created for all of the elements selected:
- Patient Demographics
- Patient Insurance
- Providers
- Payers
- Service Locations
- Fee Schedule
- Claims
- Claim Procedure Lines
- Payments
- The CSV files will always pull the last 1 year worth of changes based on post dates.
- The CSV files that are created will be sent to InfoDive via SFTP.
- The Next Build date will automatically be increased by 1 month so that the job will run again next month.
Excluded Data
Any patient that is not marked as 'Active' or 'Reportable' in the system will be excluded from the report.
InfoDive may request your practice to run a validation report from time to time to ensure the data that is being loaded and manipulated in their system lines up with the data as it is stored in our application. This analysis is done by comparing Charges, Payments, and Adjustments for providers over a period of time.
Steps to Obtain Charges and Payment Data
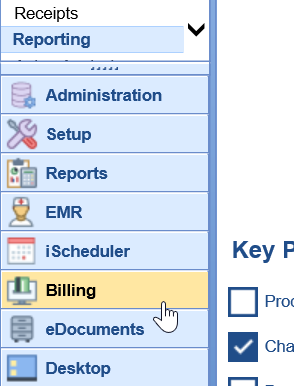
- Navigate to the Billing portal

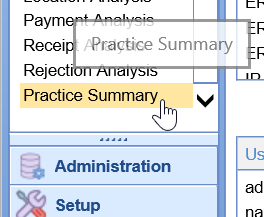
- Open the Practice Summary report

- Enter the date range requested in the Service Date fields

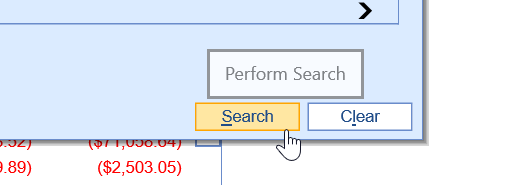
- Click Search to run the report

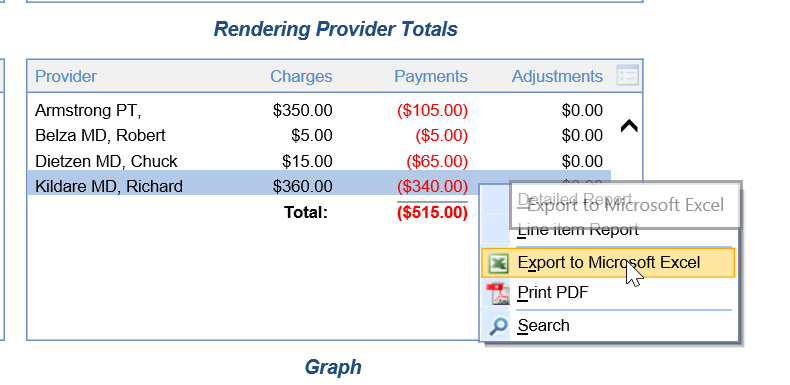
- Right click over the Rendering Provider section and choose Export to Microsoft Excel


