Quick Pay Window (Check-In / Check-Out)
During busy clinics, the intake schedule may be difficult to locate a specific patient on the list. To account for this, a staff member can see a patient's specific intake status, assign forms, and review completed information from the Quick Pay screen. This helps staff who check in patients initiate their forms without leaving the screen. Similar to the intake schedule the same icons will be used:
Intake Schedule Icons Connect - Indicates the patient does not have an account for MML or Temporary connection
New - Represents a form that is already assigned and is ready to be initiated.
Assign Intake - This shows that the patient already has an account but an intake has not been assigned automatically and allows you to select from the available intake forms for your practice.
Steps to Complete
- When you are checking in a patient (depending on practice settings) the following screen is displayed. The focus should be brought to the Intake Assign button shown below.
NOTE: To get to Quick Pay manually, right-click on the patient appointment in iScheduler and select Quick Pay from the listed options.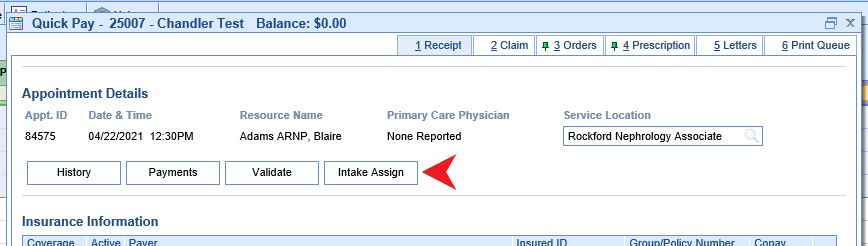
- After selecting Intake Assign the intake schedule for the specific patient will be displayed.

- To manually assign an intake you must connect the patient to an account first by selecting Connect and following the My Medical Locker Admin window.
- Once the patient is connected you will either see the New or Assign Intake.
NOTE: If you are attempting to manually select an intake this can only be done from Assign Intake. - When you select Assign Intake you will be prompted with the available intakes to your practice.
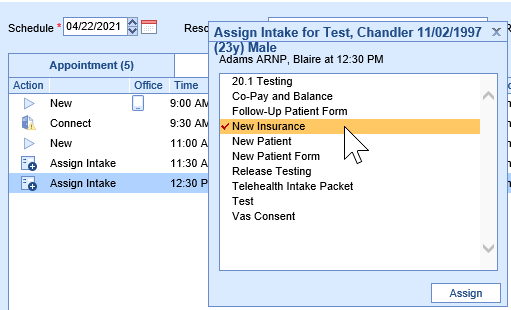
- Once you have selected the appropriate intake, select Assign. Once this is done the icon will change to the play button with the "New" status.
- Select New (play button icon), and initiate the form on the iPad.


