The Payment Plan Window allows users to create a new payment plan in the application allowing patients to pay high balances over time.
Creating a New Payment Plan
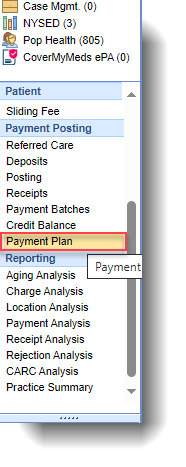
- To create a new payment plan, a user will navigate to the Payment Plan window within the Billing portal.
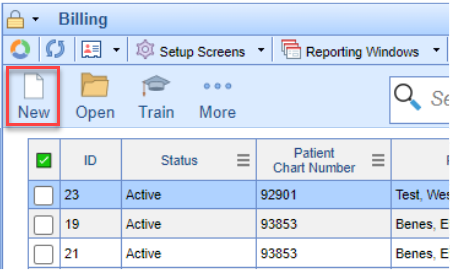
- Once on the Payment Plan window, click the New button on the toolbar.
- Select the patient from the patient search window.

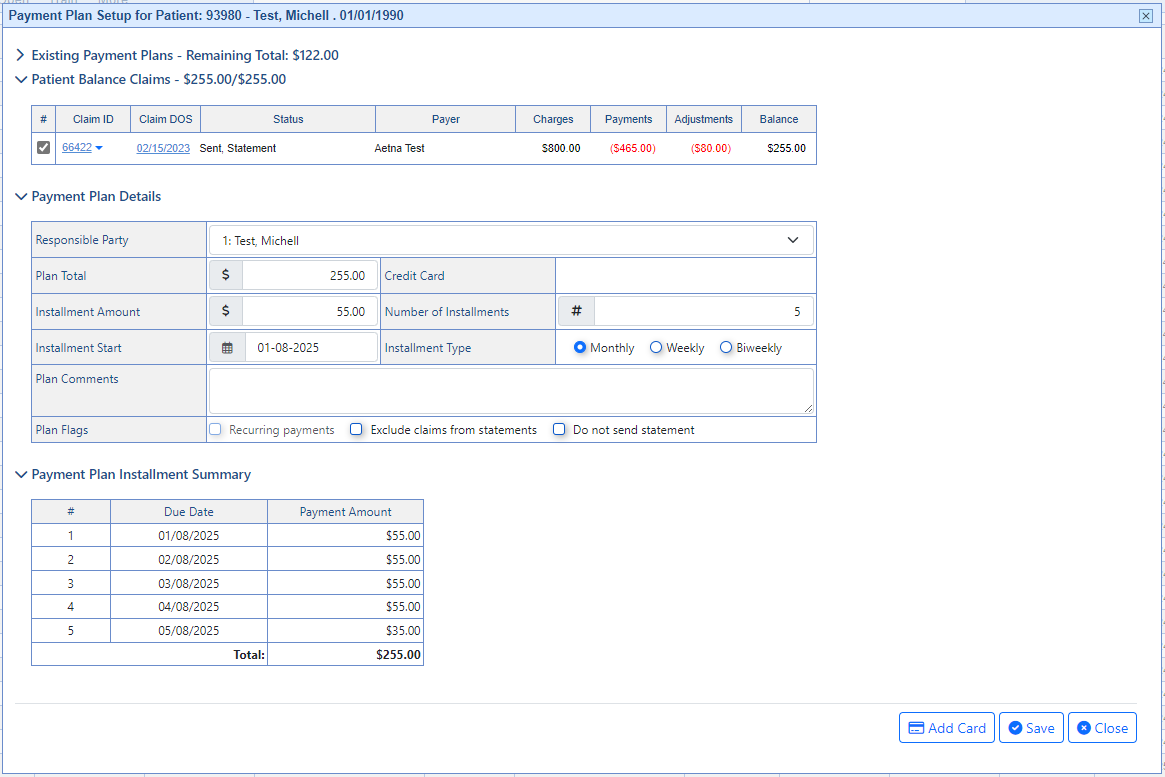
- The New Payment Plan window will be displayed. It includes a section dedicated to existing payment plans, which allows users to view any current payment plans they have in place. There is also a Patient Balance Claims section that displays any outstanding patient claim balances. There is a Payment Plan Details section, which allows users to set up the details of the new payment plan. Lastly, there is a Payment Plan Summary (this section will appear after the payment plan details has been added) that displays the payment plan installment number, due dates, and payment amount.


Select Claims for Payment Plan
This is where you will choose which patient balance claim(s) you wish to associate with the payment plan.
- Check the box(es) to the left of the patient balance claim(s) you want to include in your payment plan.


Please note that although the selected claim(s) balance will be automatically incorporated into the payment plan total amount, the payment plan details screen will still give users the ability to manually adjust the total amount.
Enter the Payment Plan Details
This is where you will enter your payment plan details (installment amounts, dates, recurring payments, etc.)
- With the Payment Plan Details section, verify your Plan Total (calculated from the selected claims, if applicable).
- Select your installment amount or your number of installments.
- If you enter an installment amount, the system will calculate and populate the number of installments needed to fulfill the total balance.
- If you enter the Number of Installments, the system will calculate the installment amount based on the number of payments.
The last installment payment may be different from the other installment amounts depending on how the total amount is divided by the number of installments, as well as the company's setting that determines the minimum payment allowed as the last installment payment. For more information on this setting, visit our Payment Plan Setup help article.
- Select the first installment date (Installment Start). This will default to today's date.
- Select your Installment Type (Monthly, Weekly, or Biweekly).
- Optional: Save a patient credit card on file by selecting "Add Card" at the bottom of the screen. This will link the card to the payment plan to be used for recurring processing and manual processing.
- Optional: Enter any payment plan comments.
- Select your optional plan flag(s)
- Recurring Payment: This will flag the payment plan for the recurring payment process. The recurring payment process is a nightly job that will run the credit card transaction for the payment plans that have a credit card on file where the recurring payment flag is set to yes.
- Exclude claims from statements: This will exclude the selected claims from being included in the patient’s statement.
- Do not send statements: This will set the Do Not Send Patient Statement flag for the patient while the payment plan is in Active Status.
- Click Save.