Add a New Patient to the Database
New patients can be added to your database with either the Quick Create, Create MML or Full Patient Setup. Video Guide
BEST PRACTICE: As a rule, always search for the patient prior to adding. This eliminates the possibility of creating duplicate patient charts.
- To search for a patient, click the magnifying glass icon in the upper right corner of either the iScheduler or EMR and begin typing. The following search criteria can be used to search for a patient: a combination of patient First Name, and/or Last Name, DOB, or Chart Number.
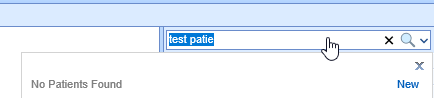
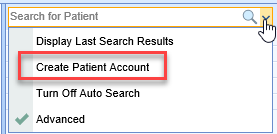
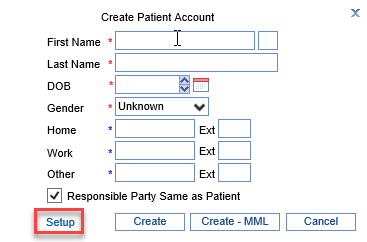
If no results are found, use the drop down arrow and select Create Patient Account
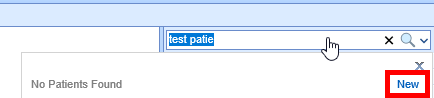
Users may also choose to select the New button, located at the bottom of the search results pop-up


Quick Create
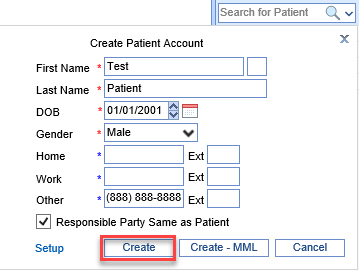
- Quick Create allows you to create a patient account from this screen with minimal required fields. Enter criteria and select Create


BEST PRACTICE: Practices utilizing the patient portal, MyMedicalLocker, should consider using the "Create - MML" button from the Quick Create window. Read steps listed below for instructions on how to access the MML Admin screen from the Quick Create.
Create MML
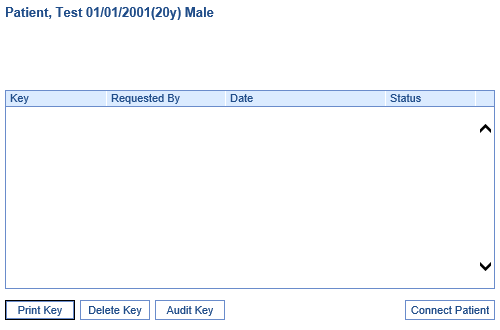
- Select Create-MML to quick create a patient account and connect to MML
- Connect Patient


Full Patient Setup
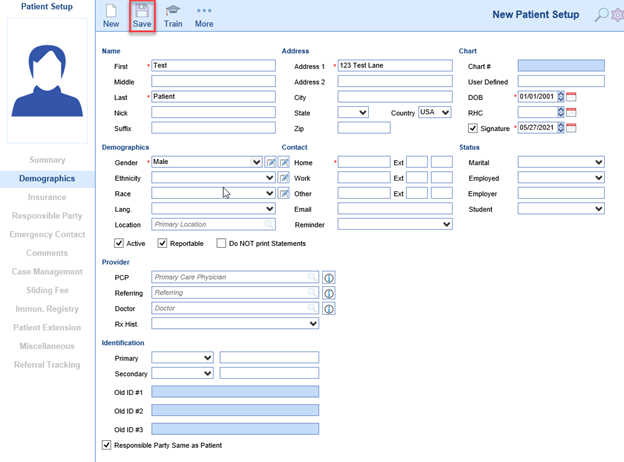
- To create a new account from the full patient Setup, select Setup
- You are automatically directed to the New Patient Setup window. Fill out required fields (indicated by *) as well as additional fields, and click Save
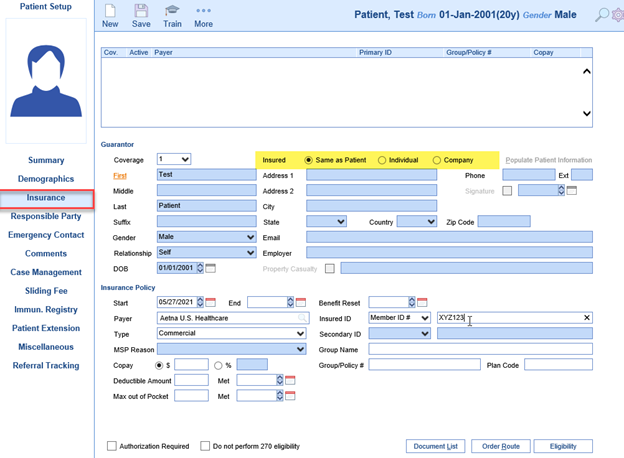
- Insurance: Enter required and additional fields. Select “Same as Patient” if the patient is the guarantor which will populate demographic fields
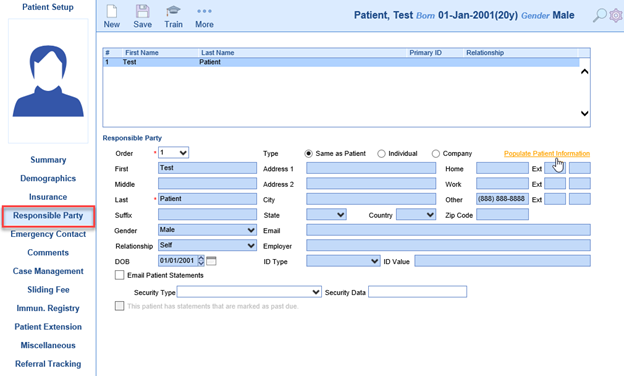
- Responsible Party: Select Populate Patient Information if patient is the responsible party. If the responsible party is a different party, enter the required and additional fields as needed
- Emergency Contact: Add up to two emergency contacts, then click Save


