An Appointment Status is used to determine what state an appointment is in relative to to the appointment workflow. Appointment statuses may reflect states such as 'Checked-In', 'Confirmed', or other statues to help manage the workflow.
The list of appointment statuses is customized for your practice. This article will explain how to add new appointment statuses to the application along with the associated features available.
Add a New Appointment Status
To add a new appointment status to the application, follow these steps:
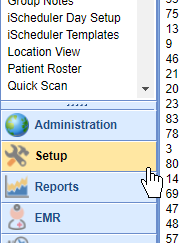
- Open the Setup portal
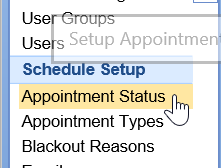
- Select Appointment Status from the setup list under the Schedule Setup section.
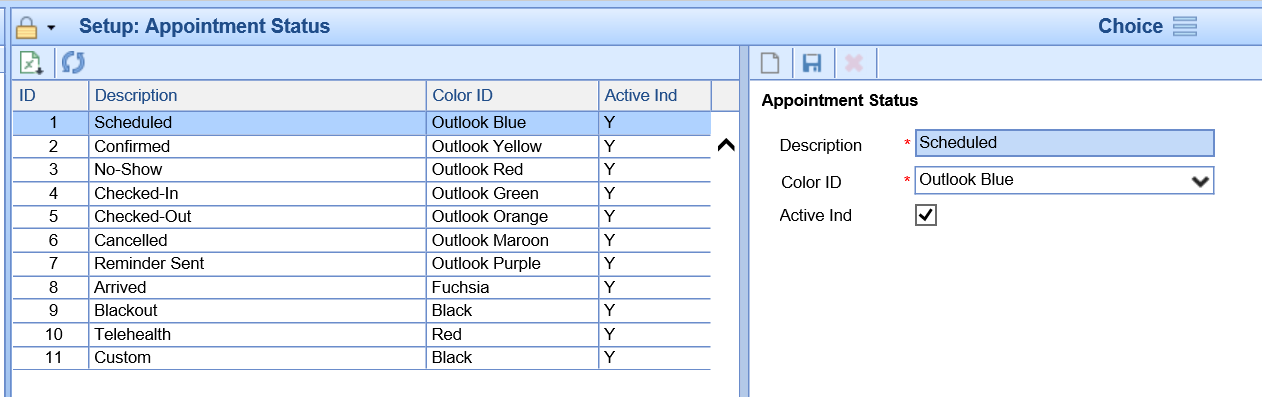
- Enter the Appointment Status Values in the work area on the right.
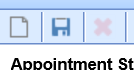
- Click Save.


Appointment Status Values
There are several settings and values related to an appointment statuses that determine how the applications responds when an appointment is added with this set.
| Value | Example | How it is used |
|---|---|---|
| Description | Scheduled | The description of the appointment status. This will show up in dropdowns and reports. |
| Active Ind | Checked | This determines if the status is active in the system or not. If the status is not active, it can not be used in the iScheduler. |
| Color ID | Light Red | Used to define how appointments show up on both the EMR and iScheduler. The following settings may be used: |
