There are many use cases where a practice will need to quickly print a statement for a patient. The practice may want this statement to apply to their statement level or they may not. In addition the practice may have a need to print only selected claims. We support all of this through On-Demand Statements in the Ready to Send screen.
Workflow
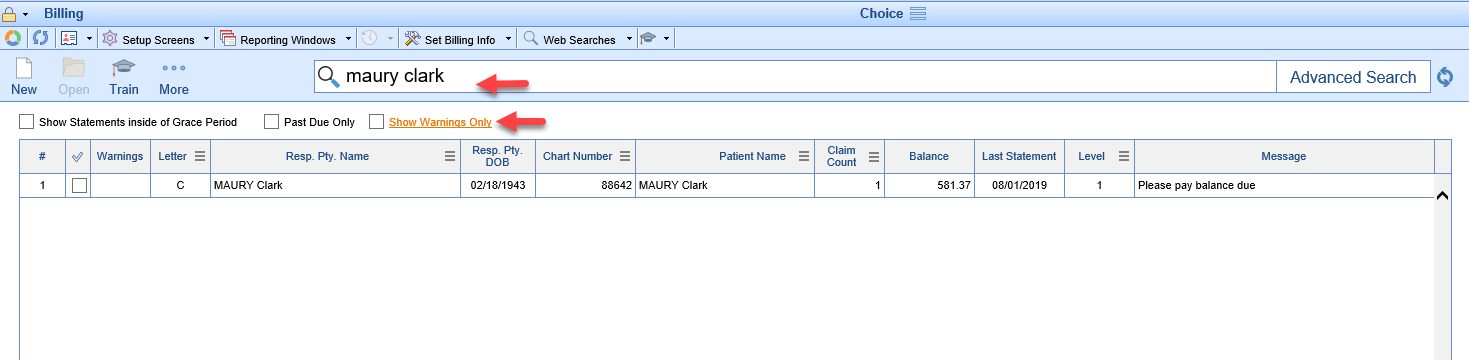
- In the Billing Portal, under Statements, Click to open the Ready to Send screen

- Using the Search Bar at the top or the Advanced Search, Uncheck the box for Show Warnings Only and Search for your patient
- Double Click the detail row to open Statement Details for the patient
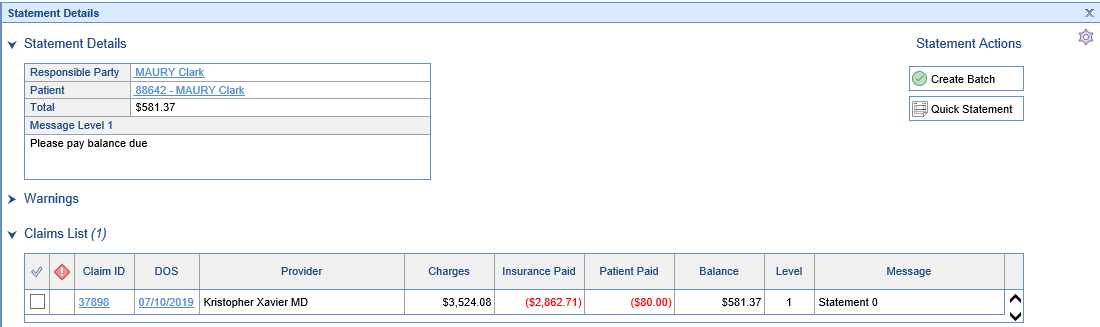


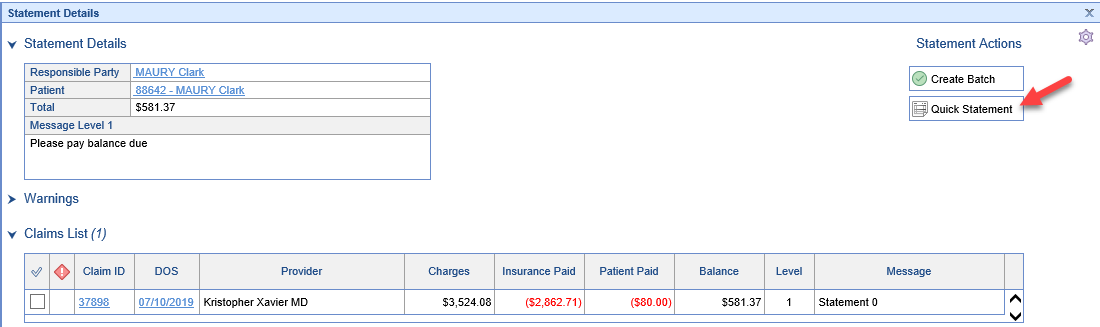
If you need a Quick Statement that will not be counted as an official statement
- Select the claims that you want on the statement or leave them un-selected for all
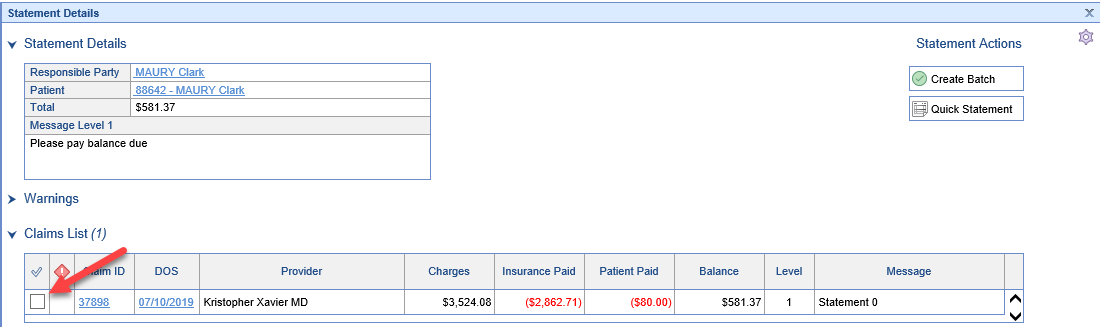
- Click the Quick Statement button
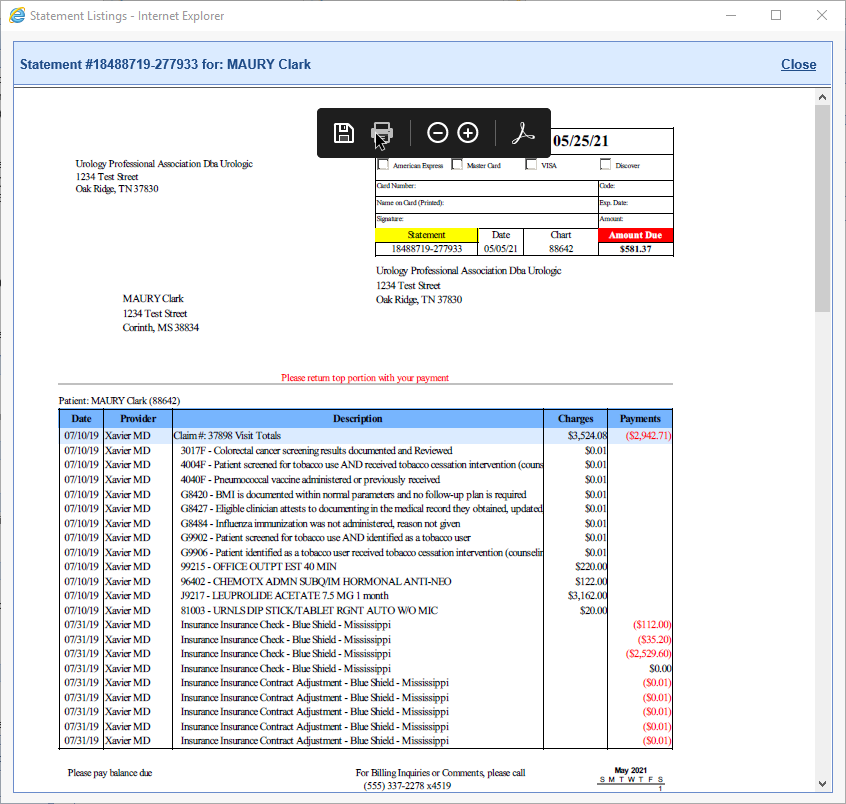
- Print the Statement using your browser's PDF controls


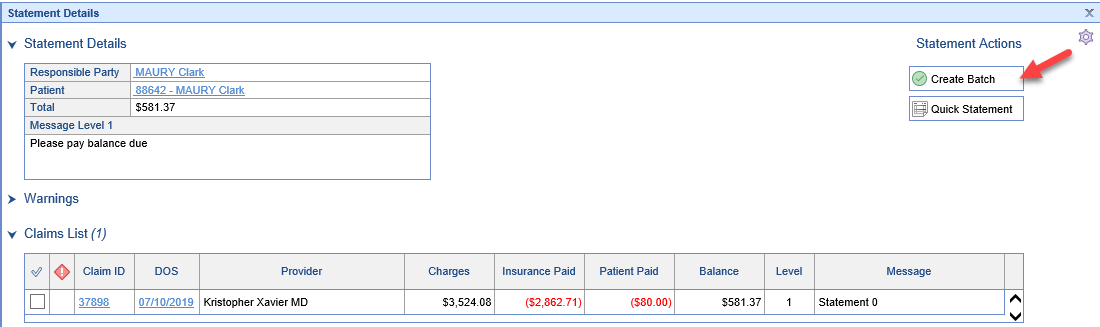
If the statement will count as batched statement advancing the statement level:
- Click the Create Batch button
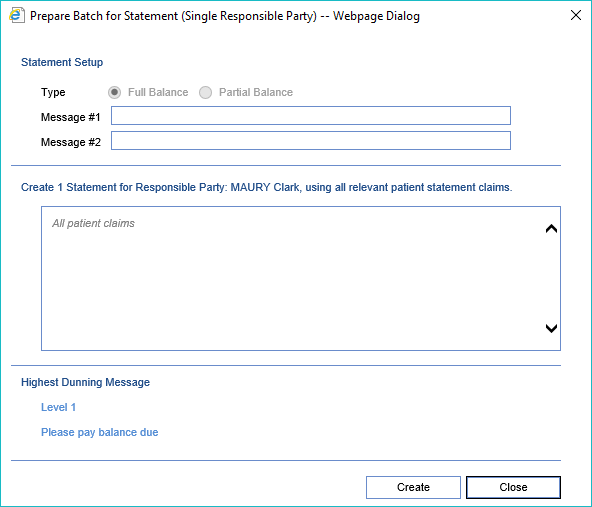
- Enter any custom messages and click Create
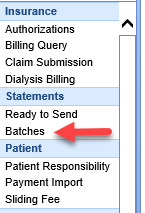
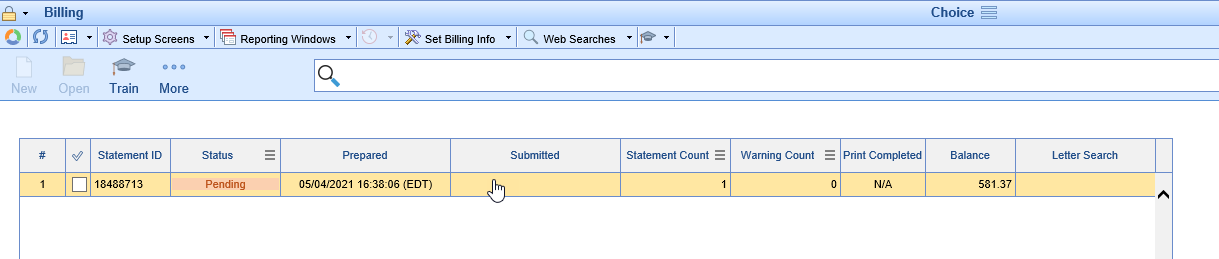
- Open the Batches screen under Statements in the Billing Portal
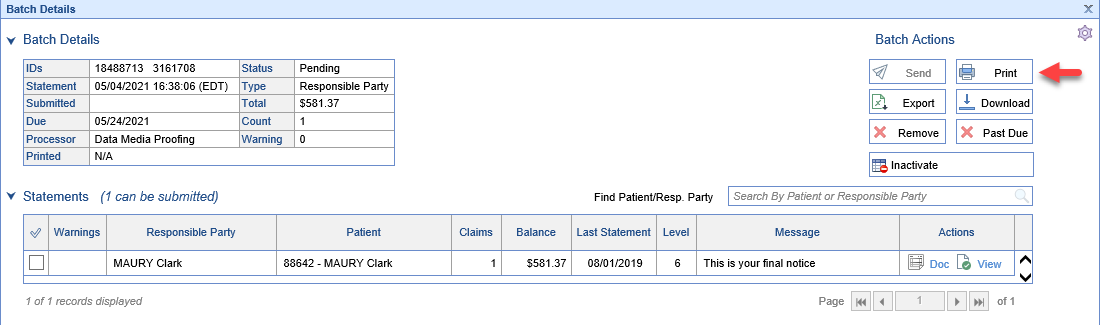
- Double Click on the Pending Batch to open Batch Details
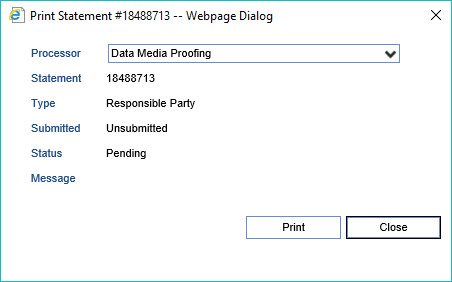
- Open the Print Statement screen using the Print button
- Click the Print button
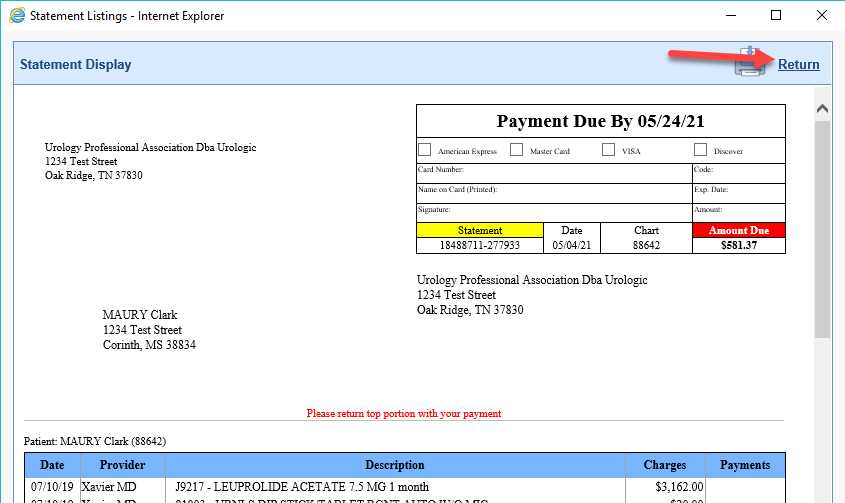
- Click the check box for Never Printed to open the Statement View
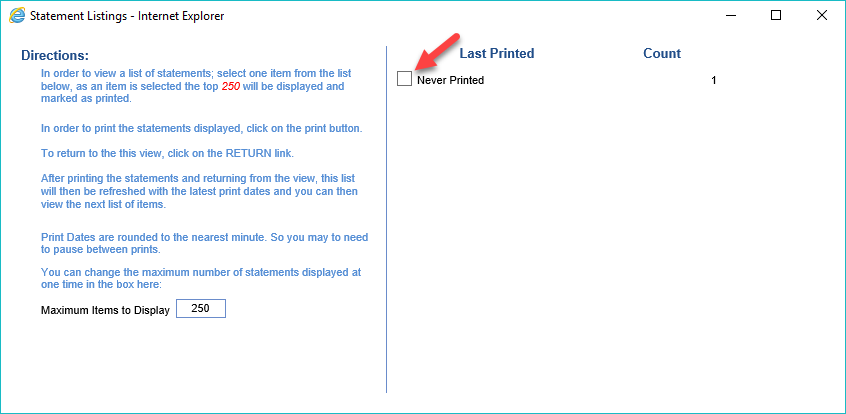
- Print the Statement

- Click the Return icon