When you have completed a worksheet as desired in Billing Analytics and would like to create a new worksheet to add to your workbook, you have two options.
First, you can copy your current worksheet. This option is best if there are certain settings or fields that you would like to carry over, to save time when creating your new PivotTable. To do this, take the following steps:
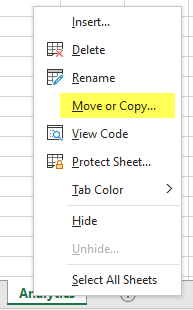
- Right-click the name of your worksheet at the bottom of the screen and select Move or Copy:
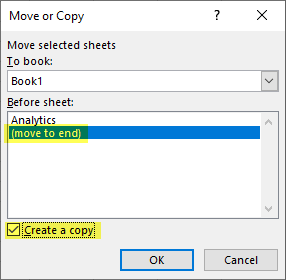
- In the window that opens, select (move to end) and Create a Copy:
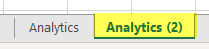
- Double-click the name of the new worksheet to rename as desired, and modify the new worksheet and PivotTable as needed:


If instead you would like to start with a brand new worksheet and PivotTable, you can take the following steps:
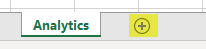
- At the bottom of the screen, click the + icon to add a new worksheet:
- If desired, double-click the name of the new worksheet to rename.
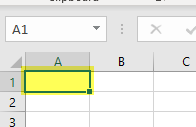
- Click the top left cell in the worksheet, if it's not already selected:
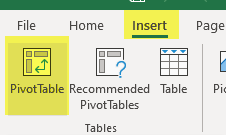
- At the top of the screen, select Insert, then PivotTable:
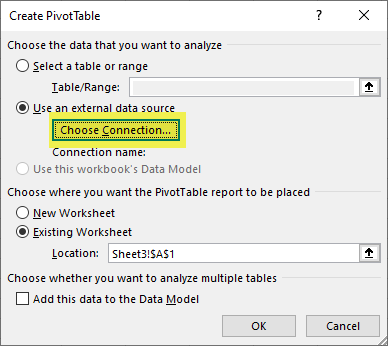
- On the resulting window, click Use an external data source, and click Choose Connection:
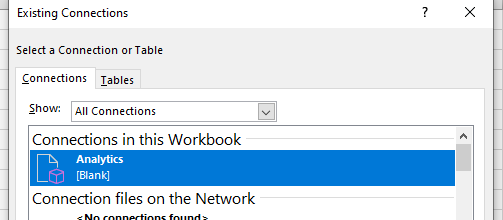
- Select your Connection, hit OK, and hit OK again:
- Add fields to your new PivotTable as desired.


