The Office Schedule in the OfficeEMR Mobile application will allow a user to add a new appointment to the office schedule.
Steps
- Tap the Schedule icon on the home screen.
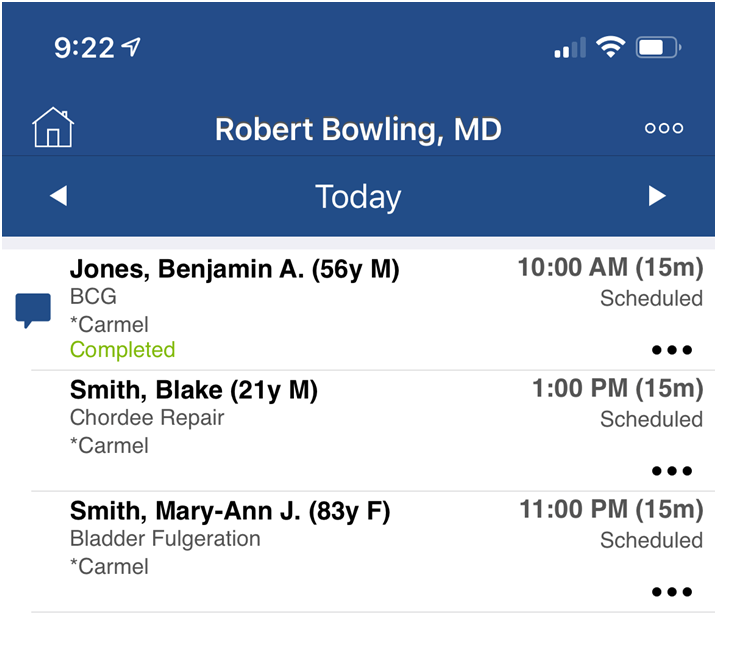
- The Schedule (Office Schedule) option should be selected by default. Based on your user's default resource, you will see a list of appointments scheduled with that resource on the selected date.
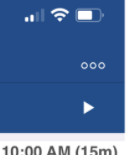
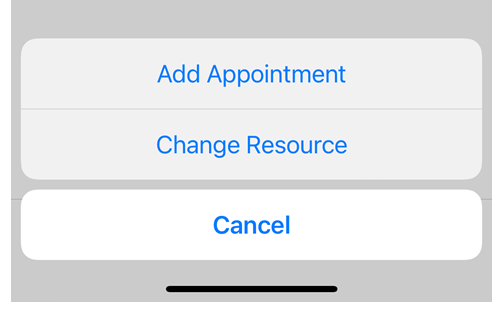
- Tap the ... icon in the upper right.
- Select Add Appointment.
- Enter the Appointment Details.
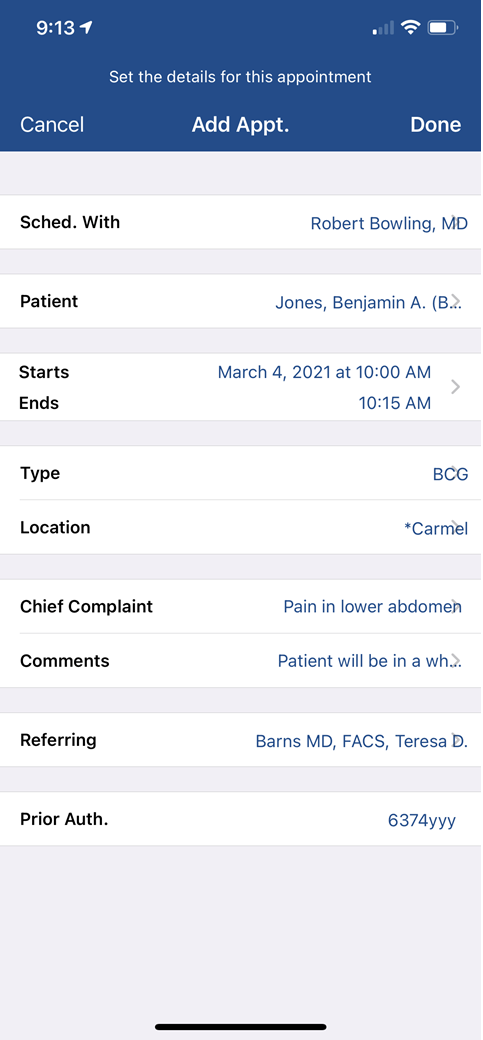
- Click Done.


Appointment Details
- Scheule With: The resource that the appointment should be scheduled with.
- Patient: The patient assigned to the appointment.
- Starts/End: Start and End time for the appointment.
- Appointment Type: The type of appointment being scheduled.
- Location: The service location where the patient is scheduled.
- Chief Complaint: The primary reason for the visit. This is often added to the SOAP Note automatically.
- Comments: Internal comments related to this appointment.
- Referring: The referring provider for the appointment.
- Prior Auth: The prior authorization number for the appointment.
