New Features and Updates
Billing
Deposits
- U10763 - New Option To Enter Remark Codes On EOB Deposits: Added an option for users to enter Remark codes (RARC) on manual EOB deposit claims. Within the Deposit Claims (Billing > Deposits) we have a new section that shows any existing remarks and a + button that enables users to edit or add new remarks.
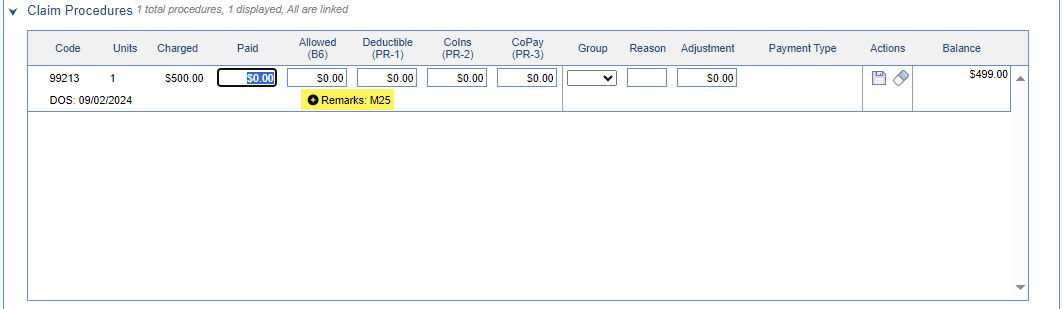

When you click the + icon to add or edit a remark code, you can use the "Add a remark code" dropdown menu to select the appropriate remark code and then click the Add Remark button. Additionally, you can remove any existing remark code(s) by clicking the action icon (represented by a trash can) located to the right of the description, which will delete the existing remark code.
EMR
Patient Header Tool-tip
- U17307 - Enhancement Patient Header tooltip popup to display: This enhancement does three things to improve the Patient Header Tool-tip display for users:
1. To prevent the unintentional activation of the Patient Header tool-tip, we have refined the cursor sensitivity and improved the tool-tip's display position across OfficeEMR, making it easier to close.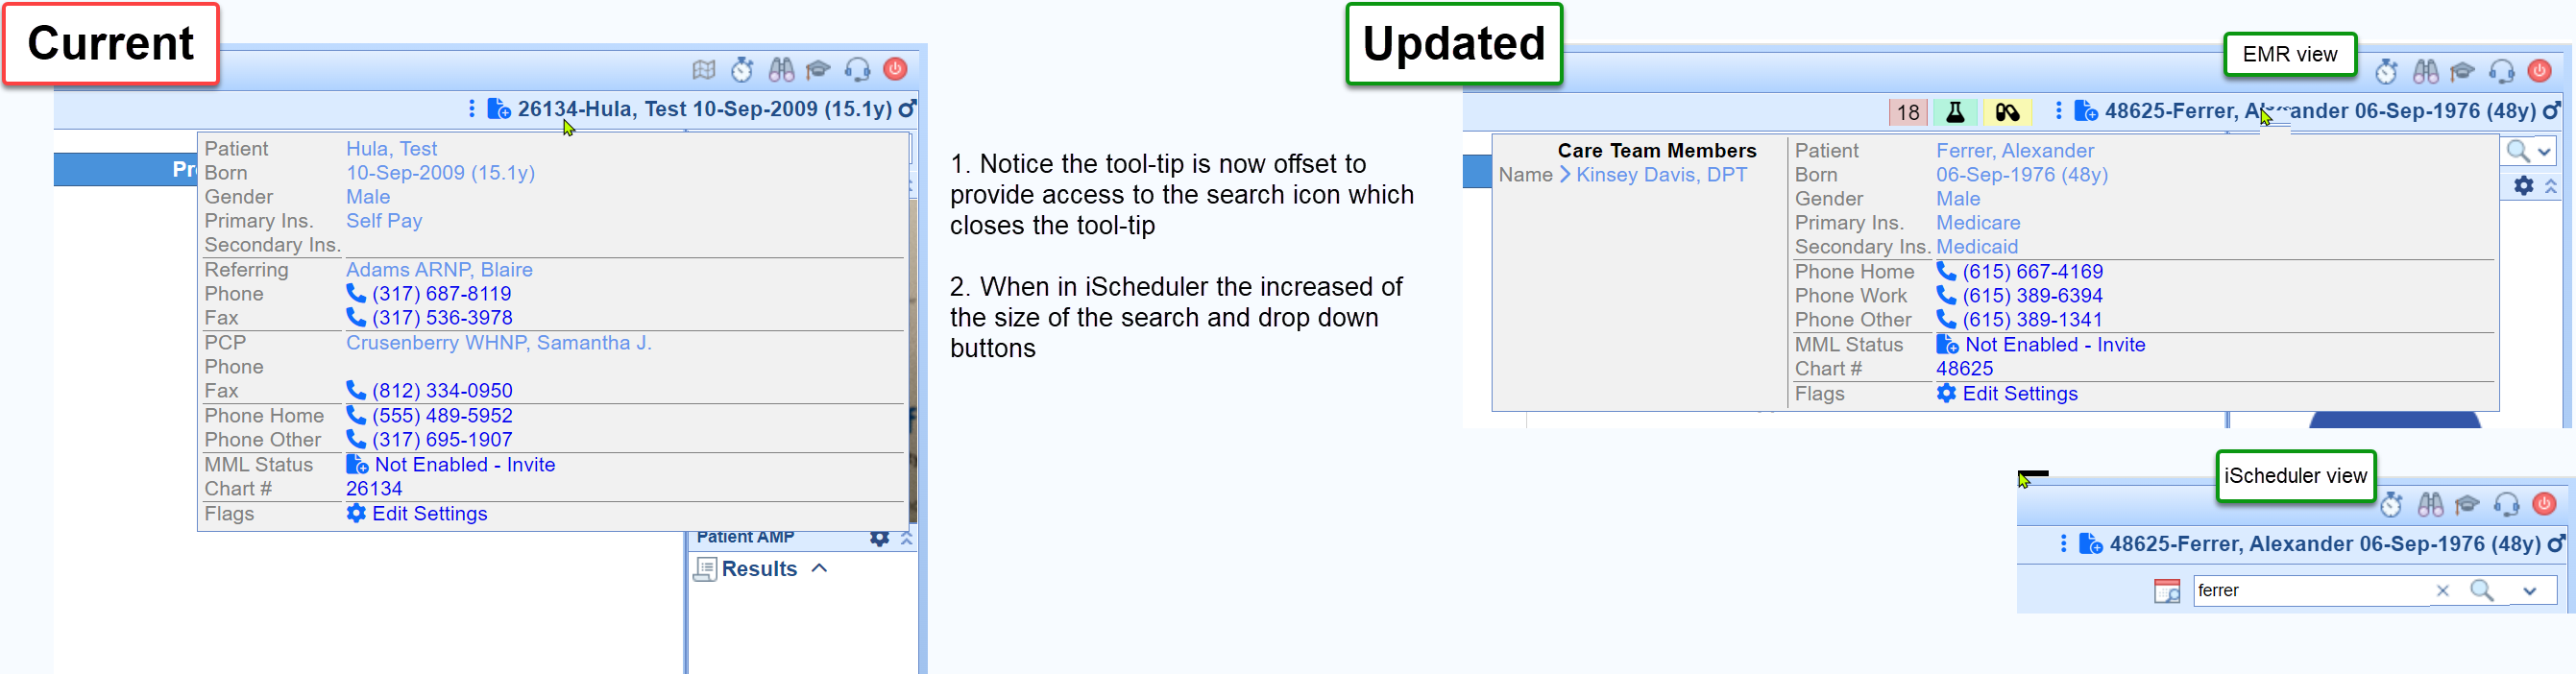 2. In iScheduler, we've also enlarged the search icon and drop-down buttons for improved accessibility during patient searches.
3. For added customer satisfaction we have added a new User Setting: Patient Header Tooltip Display giving users the ability to turn off this header tool-tip, if desired.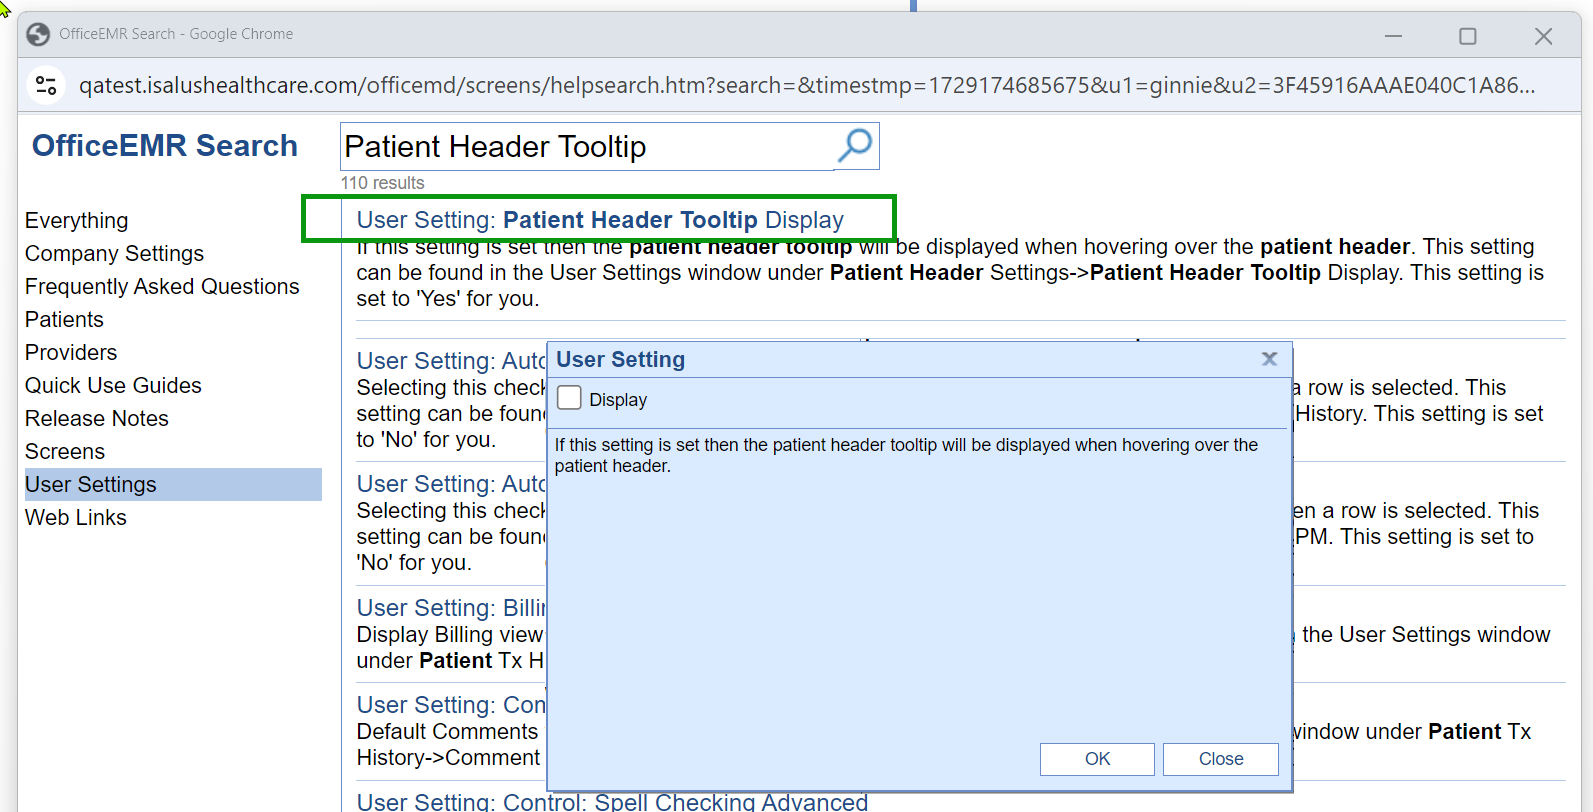
KO: https://officeemr.knowledgeowl.com/help/patient-toolip


Bug Fixes
iScheduler
Appointments
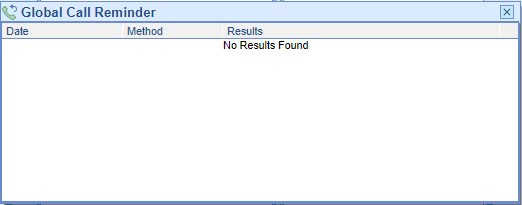
- B18502 - Missing Appointment Reminder History: Corrected an issue within appointments where right-clicking and selecting the Global Call Reminders option did not display any appointment reminder history in certain scenarios. This was due to a lag in the reminder history retrieval process from Updox. To resolve this, we have implemented a 10-minute delay in our retrieval process, allowing Updox sufficient time to complete the processing of the reminder history before we attempt to retrieve it.