The Notes clinical marker will be added to the timeline whenever a new SOAP Note is saved in the SOAP Notes chart tab. In addition to simply seeing the note saved on a given day, this screen also allows a user to copy forward an encounter quickly.

Viewing Past SOAP Notes
When the Notes Clinical Marker is selected, the Notes from that day will be displayed.

If more than one note is saved on a given day, you can use the drop down at the top of the screen to select different notes.

Viewing the Nurses Note
The "Nurses Note" is a special type of note that is always available on the "Today" section. This is available so that providers or staff can click in a single place to review everything that has happened today for this patient. This section is 100% customizable for the individual user. These customization can be made in the Letter Setup window.

Copy an Encounter
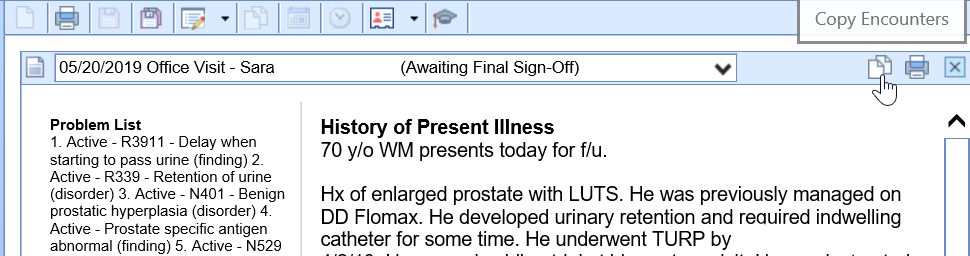
When viewing a past SOAP Note, it may be helpful to be able to "Copy Forward" all or some of the templates that were used to generate that note. The 'Copy' button allows this to happen in a single screen.
Notes about the Copy Encounter Feature
- If a record has already been created that day (i.e. vitals have already been saved), by default the system will recognize this and not auto-select vitals to be copied.
- Only information stored in a template can be copied forward. If you typed information directly into the note and not in a template, this can not be copied forward.
- You can not edit data after it is copied on this screen, you must open the corresponding chart tab to make any additional changes. Because of this, we highly recommend activating the 'Display today's History' settings for the chart tabs that are needed. You can learn more about that by looking for the "Display Today's History" user setting for each cart tab.
To copy an encounter, follow the below steps:
- Click the Copy icon on the toolbar.
- Use the window to select or deselect which encounter-based templates will be copied forward automatically.
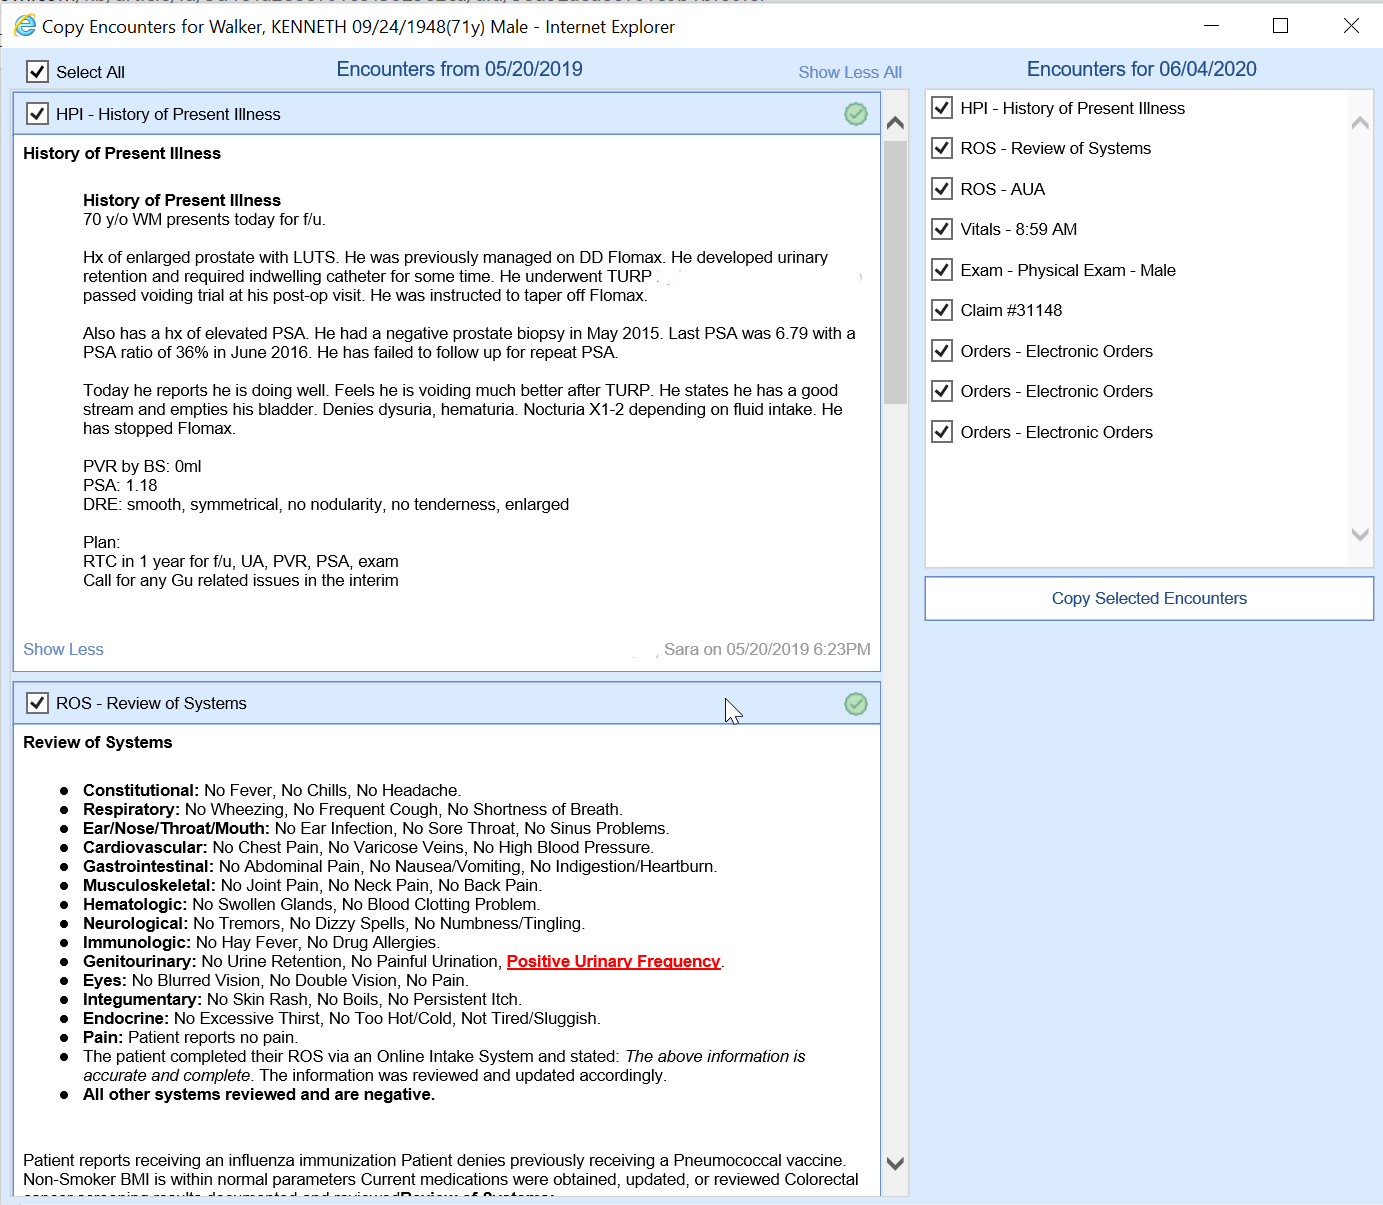
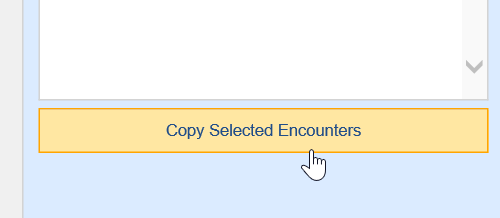
- Click the Copy Forward button once you have made your selections. These templates will be auto-created and auto-saved. You can navigate to the chart tabs to make changes to the copied templates if necessary.