The Authorization screen allows the documentation and tracking of authorizations within the system. The Authorization screen can be accessed from:
- The Patient Setup Screen
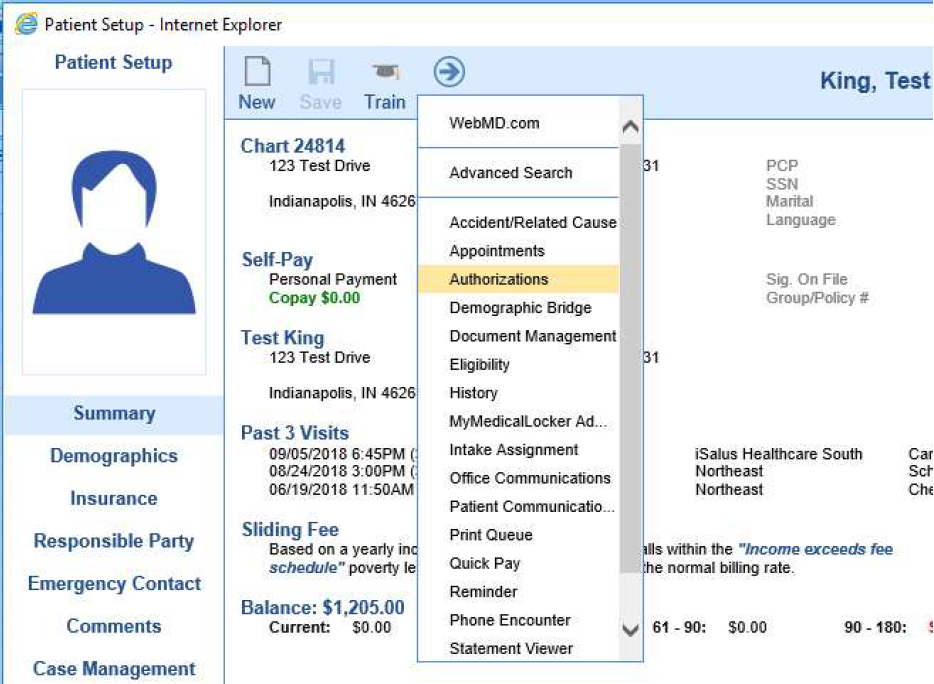
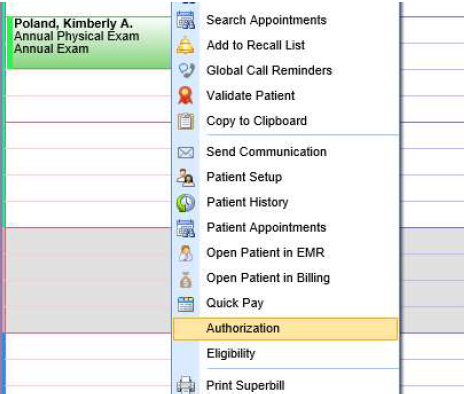
- iScheduler
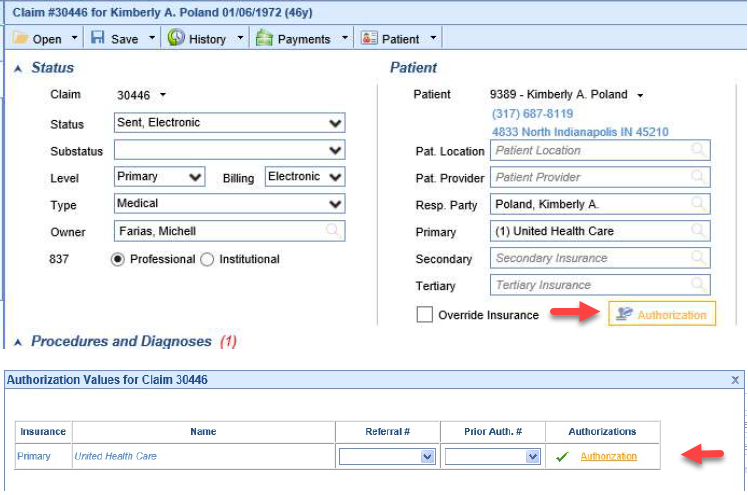
- The Claim Screen


How to create an Authorization
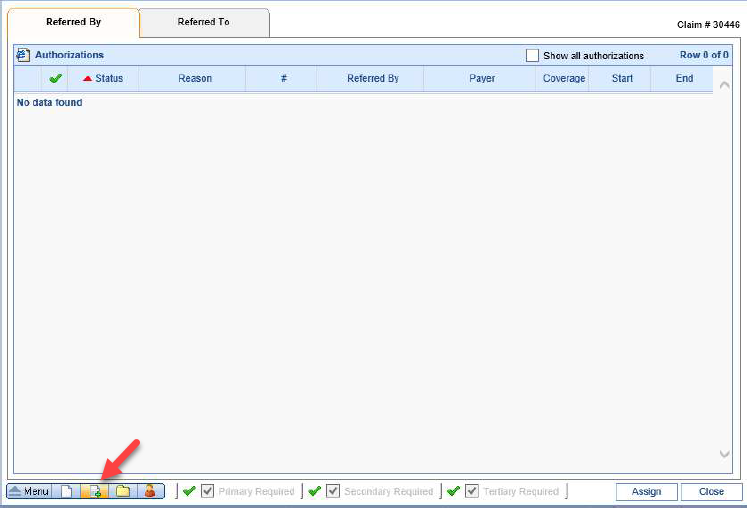
- Once in the Authorization screen you will be able to document a new authorization by clicking the New button (sheet of paper with a green plus sign) in the left lower corner.
- This will open the Authorization - New screen. Enter the necessary information as described below.
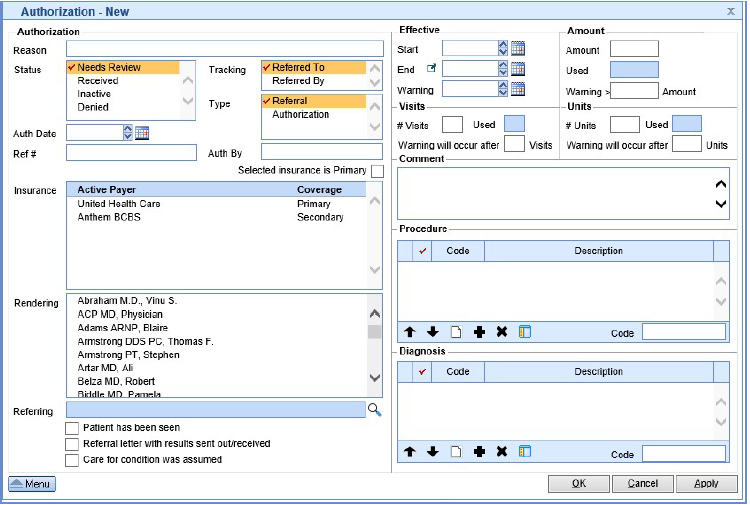


- Reason: The reason for the authorization.
- Status: The system status of the authorization.
- Tracking: This flags under what tab the authorization applies to.
- Type: This allows the identification of what you are documenting Referral/Authorization
- Auth Date: Date authorization was acquired.
- Ref # / Auth #: Number provided for either.
- Auth by: If a documentation of the rep the authorization was provided by is needed.
- Insurance: Allows you to select the insurance the authorization applies too.
- Rendering: If the authorization was only approved for a specific rendering provider.
- Referring: Allows to document the referring provider.
- Indicators (check boxes): Allows further documentation on the authorization, however this is only for
- documentation purposes.
- Effective: Utilized when the authorization is provided for a date range.
- Visits: Utilized when the authorization is provided for a number of visits.
- Amount: Utilized when the authorization is provided for a dollar amount.
- Units: Utilized when the authorization is provided for a specific number of units.
- Comment: Blank text field for internal documentation on the authorization.
- Procedure: If the authorization was only approved for a specific procedure.
- Diagnosis: If the authorization was only approved for a specific diagnosis.
Assigning an authorization to a claim
- To assign an authorization to a claim you will want to click the Authorization button in the claim screen.

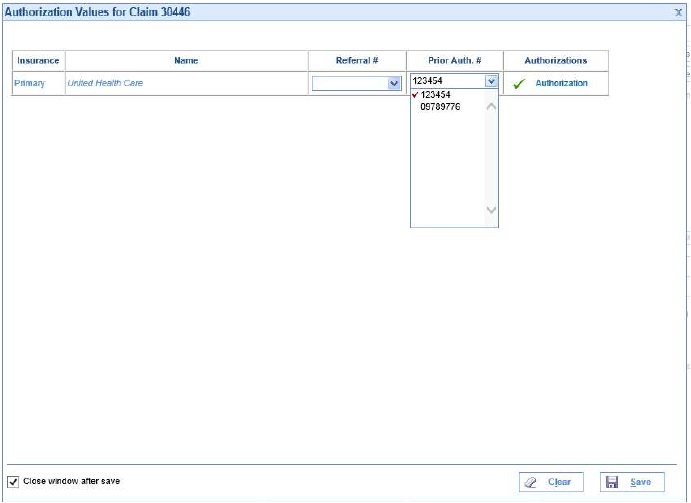
- You would then click the Prior Auth. # drop down and select the authorization. You can also click the word
Authorization to look at more details and assign it from the authorization screen.