A Blackout Overlay is used to assist in blocking a scheduling when using the iScheduler Day Setup. The Blackout Overlay applies a black overlay over a desired time on the schedule, which prevents a user from scheduling a patient appointment during that time.
This guide will explain how to add a new Blackout Overlay Reason into the system and how to apply the Blackout Overlay to the schedule within the iScheduler Day Setup.
PRO TIP: Check out the Blackout Appointment Status ID company setting for even more control and reporting options.
Add a new Blackout Reason
To add a new Blackout Reason to the application, follow the below steps:
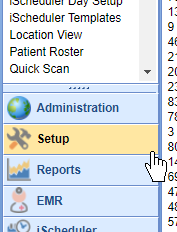
- Navigate to Setup
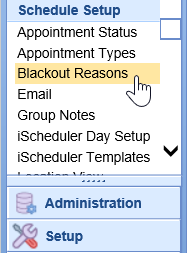
- Select the Resource Templates menu item under the Schedule Setup category
- Click the Blank Sheet of Paper button on the toolbar

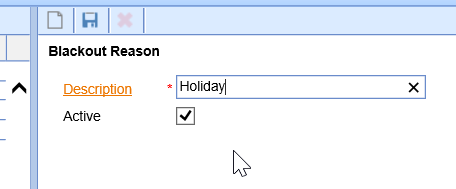
- Create a Description and make the Reason Active
- Click Save
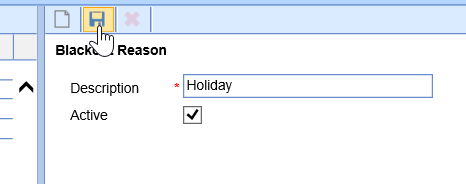
The Blackout Reason has now been added. Please note, you may not see the Blackout Reason when you navigate to the iScheduler Day Setup. It is often necessary to reset the Setup Portal.
Adding a Blackout Overlay to a Schedule
To add a Blackout Overlay to an existing resource's schedule, follow the below steps:
- Navigate to the Setup
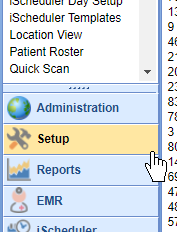
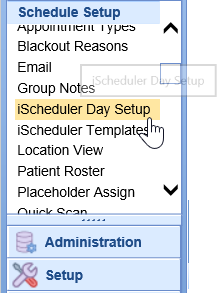
- Select the iScheduler Day Setup menu item under the Schedule Setup category
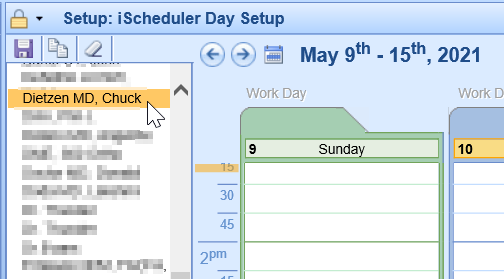
- Select the resource schedule that you wish to apply the Blackout Overlay to
- Select a time interval on the schedule to turn the block navy blue
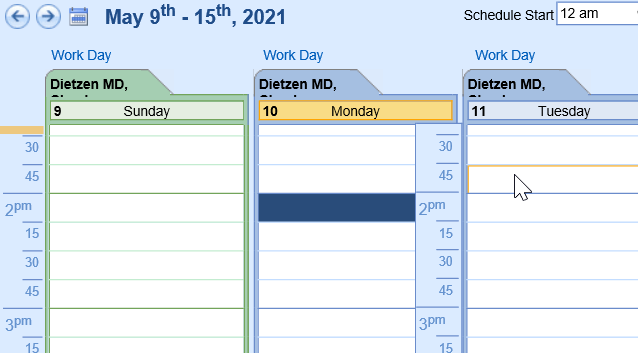
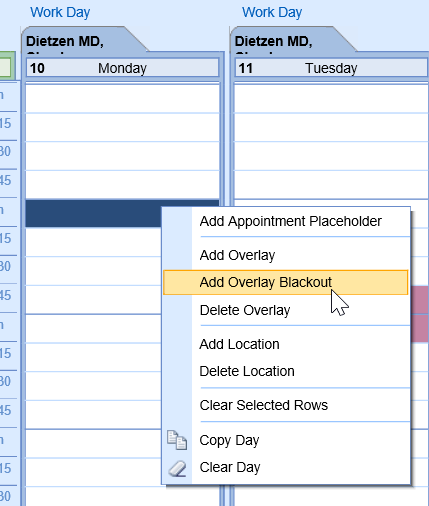
- Right click over the navy blue block, select Add Overlay Blackout
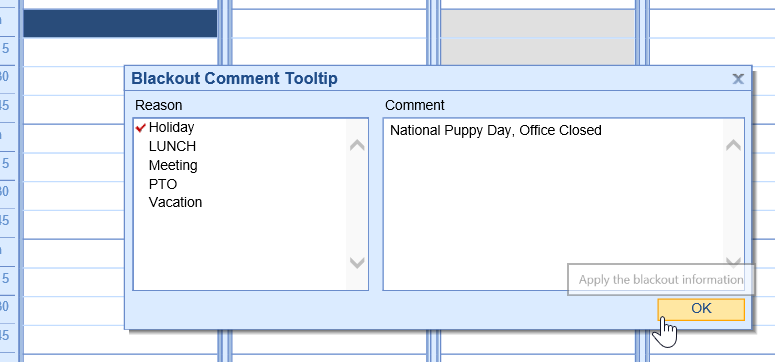
- Select the Blackout Reason and add a Comment if desired, Click OK
- Save the schedule

PRO TIP: To create an extended Blackout Overlay, single click on the first interval of time, turning the block navy blue. Then, hold SHIFT down on your keyboard and click a later time interval.
For example: If a block is from 2:00 - 4:15 PM, select the 2:00 - 2:15 block, hold SHIFT down on the keyboard, then select the 4:00 block.
This will select multiple blocks at once in order to apply an Overlay to a longer period of time.


