The Office Schedule in the OfficeEMR Mobile application will allow a user to quickly view all appointments for a specific resource.
Steps to view the Office Schedule
- Tap the Schedule icon on the home screen.
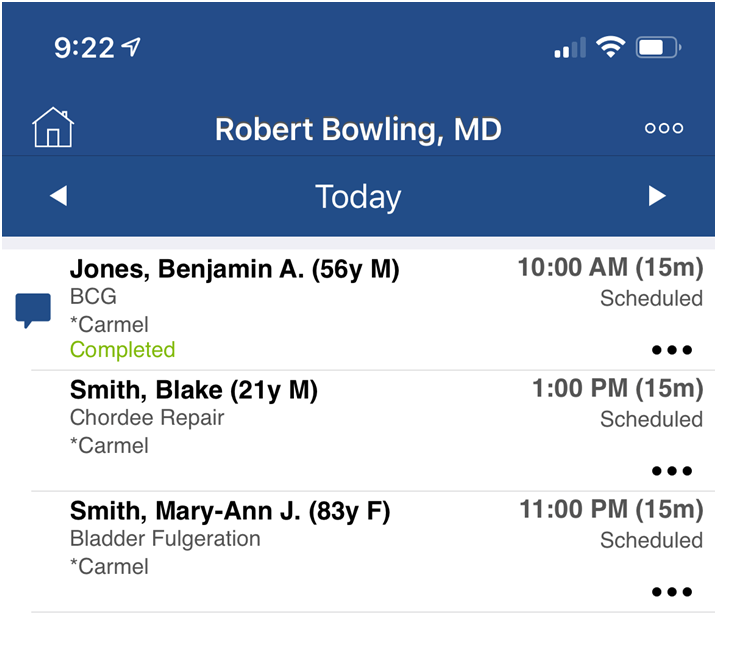
- The Schedule (Office Schedule) option should be selected by default. Based on your user's default resource, you will see a list of appointments scheduled with that resource on the selected date.


Steps to Change the Resource
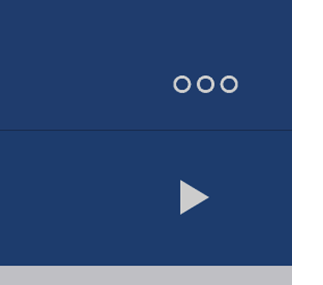
- To change the resource you are looking at, tap the ... icon in the upper right.
- Click the Change Resource option.
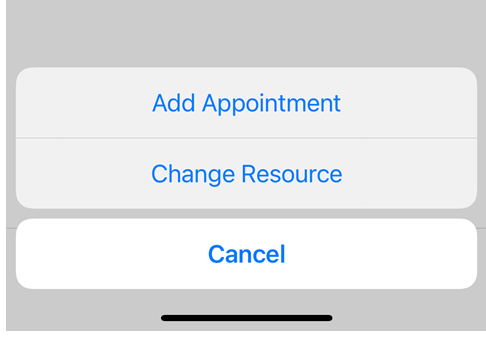
- Select the resource from the list that you would like to view. Appointments for that resource will now be displayed.


Steps to Change the Date
- To change the date you are looking at, tap the word Today along the top of the screen. Or, use the arrows to navigate forward or backward one day at a time.
- Select the date from the calendar to view the appointments for that day.

Appointment List Details
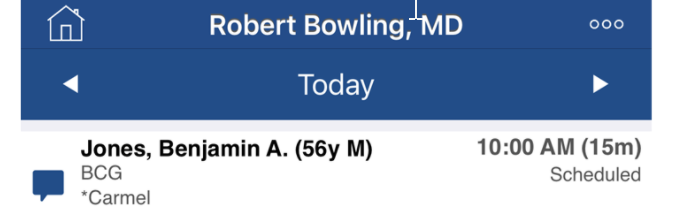
For each appointment displayed in the list, the following details will be shown:
- Patient Last Name, Patient First Name, Patient Middle Initial (Age Gender)
- Appointment Type
- Appointment Location
- Appointment Start Time (Appointment Duration)
- Appointment Status
- Chief Complaint Icon - tapping this will display the full chief complaint.
- A Completed indicator will display in green if an appointment has a charge (superbill) linked to it.
