There are several security role settings that need to be added to the appropriate roles before your practice can implement the intelligent intake forms. They are as follows:
Setting Intelligent Intake Permissions - Role Setup
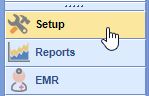
- Click on the Setup portal.
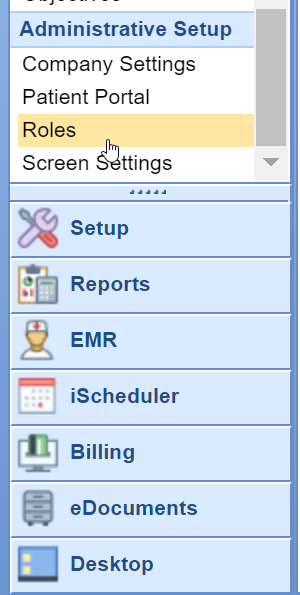
- Select Roles under Administrative Setup.
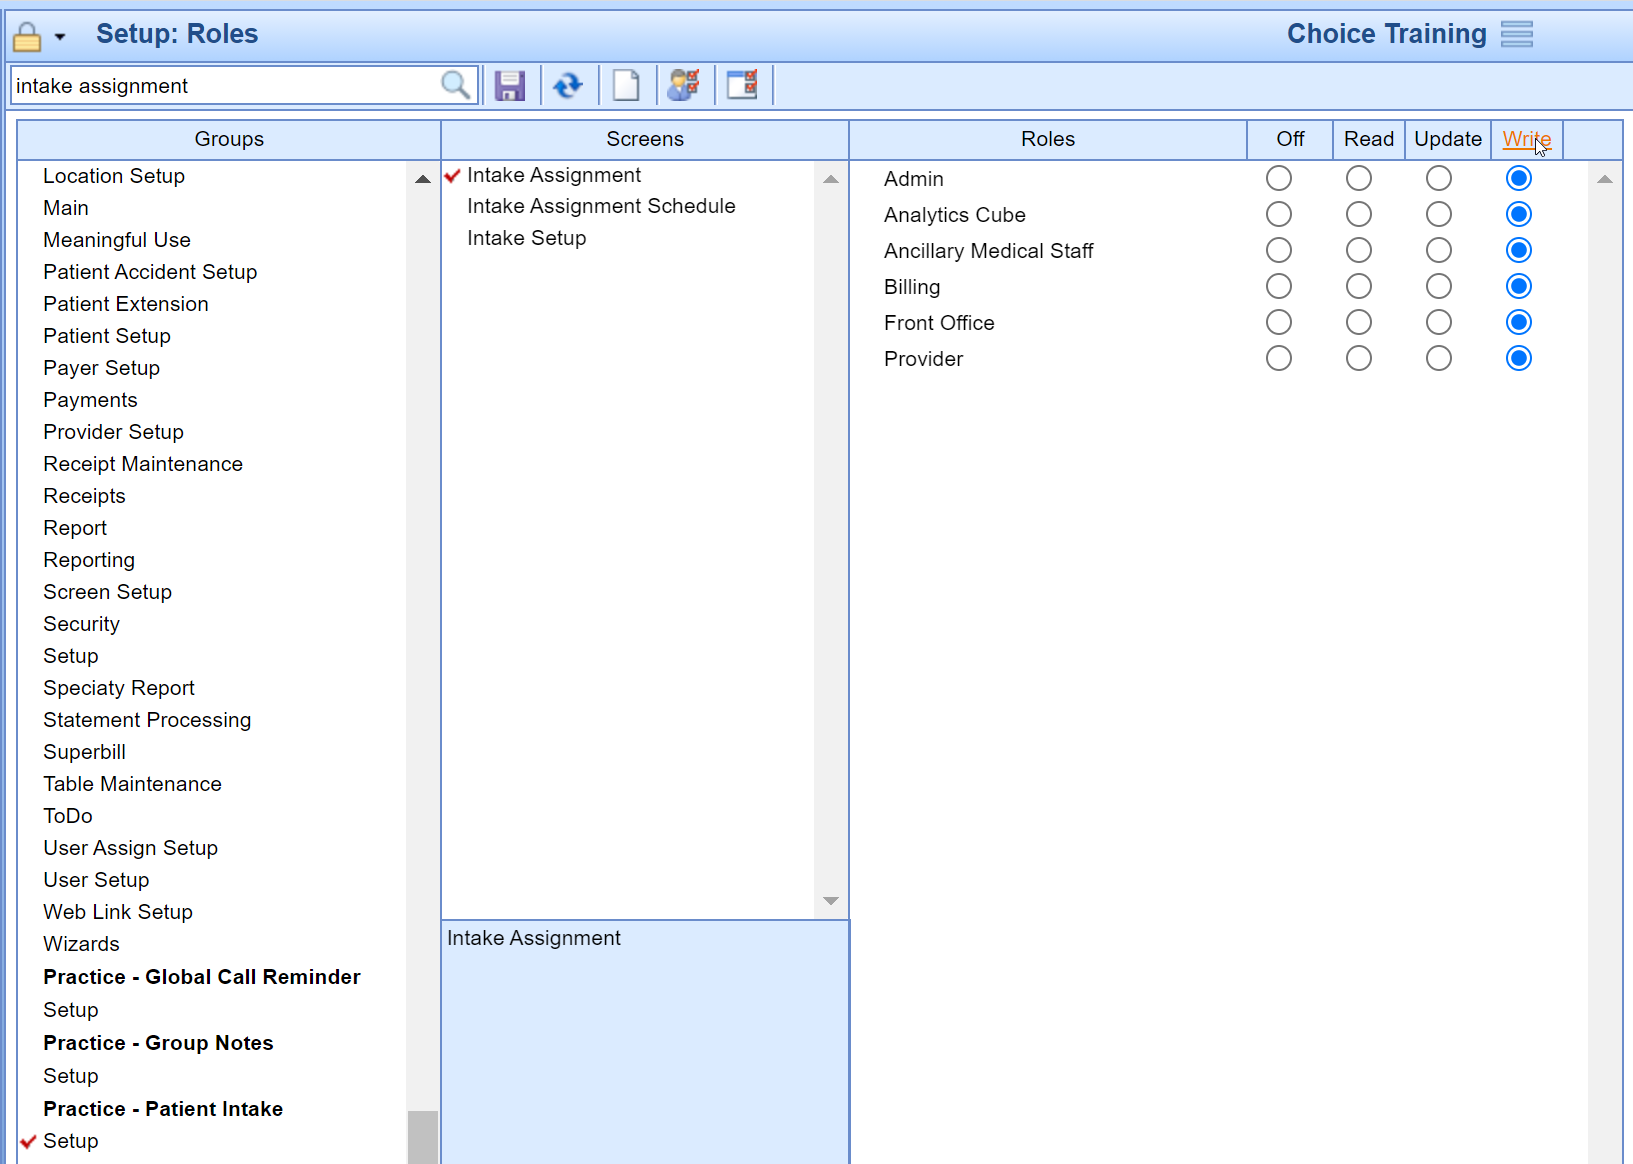
- Type Intake Assignment into the search box and hit the Magnifying Glass button.
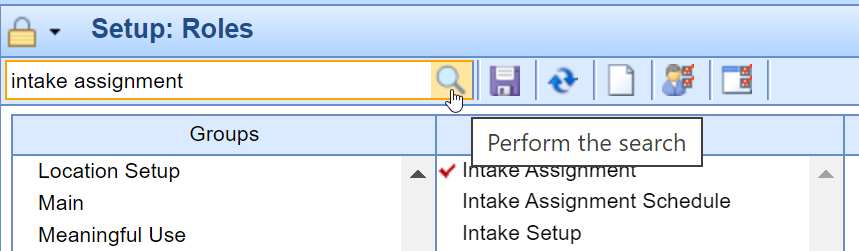
- The Practice - Patient Intake - Setup - Intake Assignment role should return and be selected. Assign Write access to all roles.
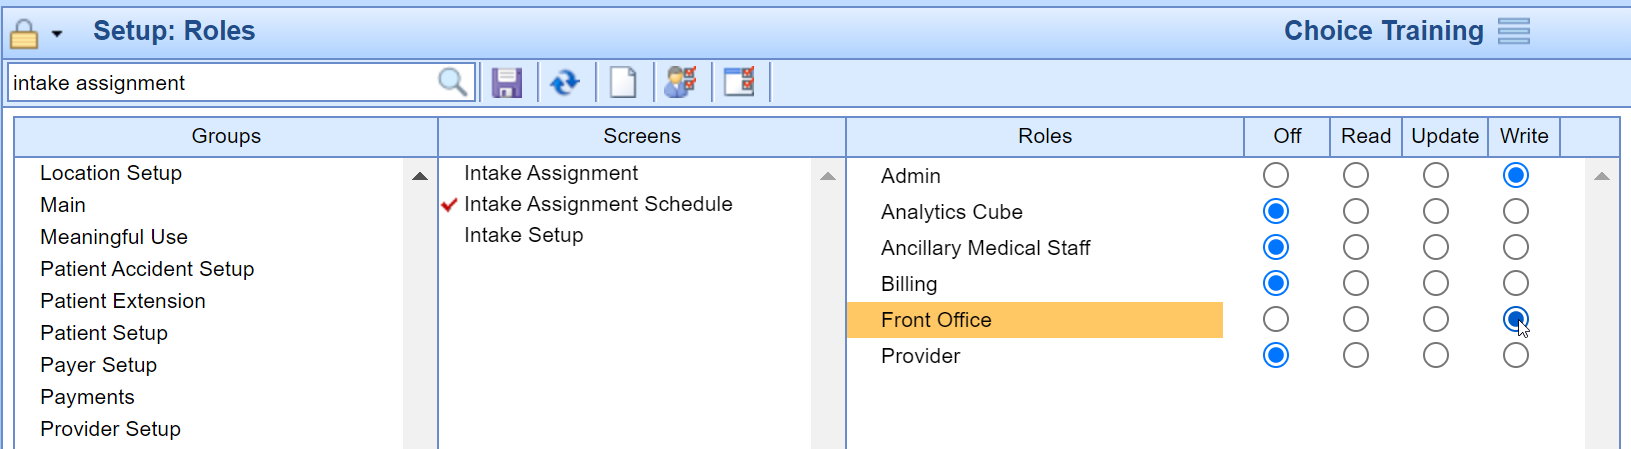
- Click on the Practice - Patient Intake - Setup - Intake Assignment Schedule Role screen. Assign Write access to the appropriate Admin, Front Office and Call Room Roles.
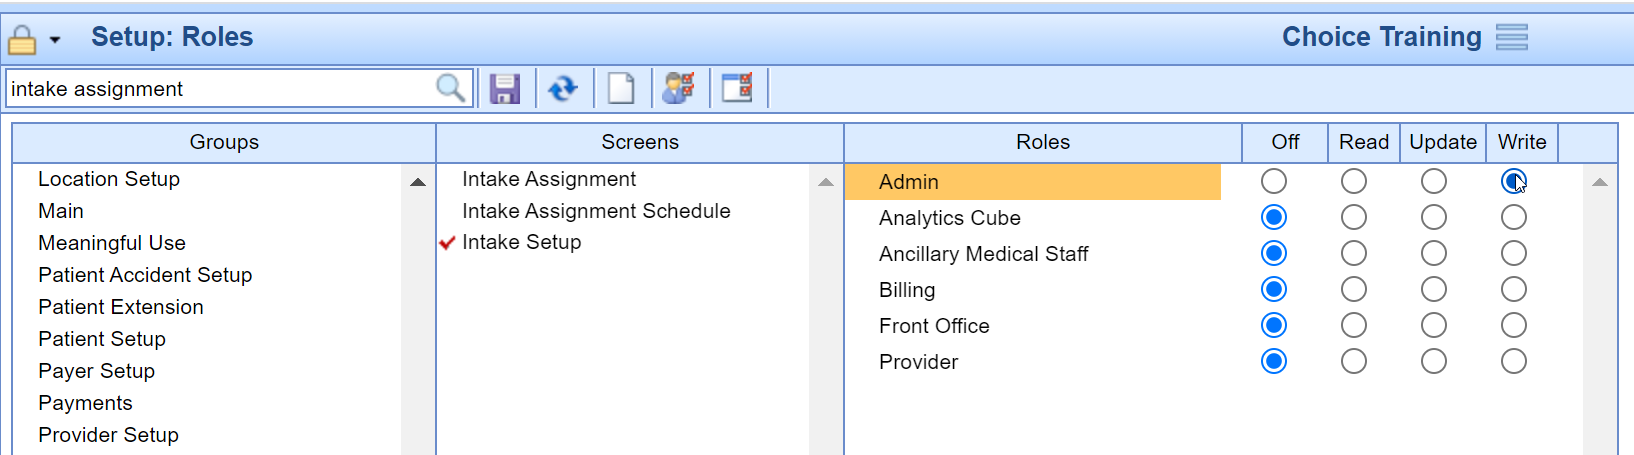
- Select the Practice - Patient Intake - Setup - Intake Setup Role screen. Assign Write access to the appropriate Admin and Intake Coordinator Roles.
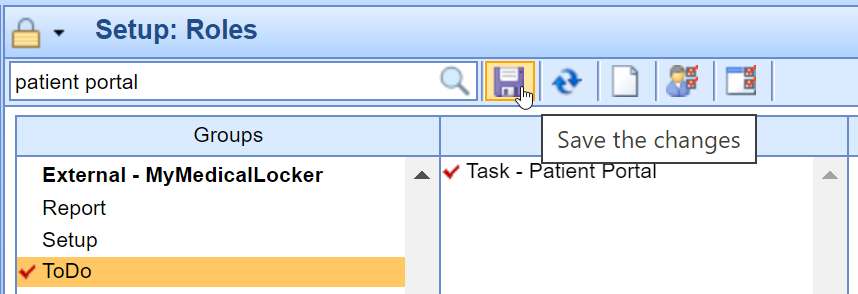
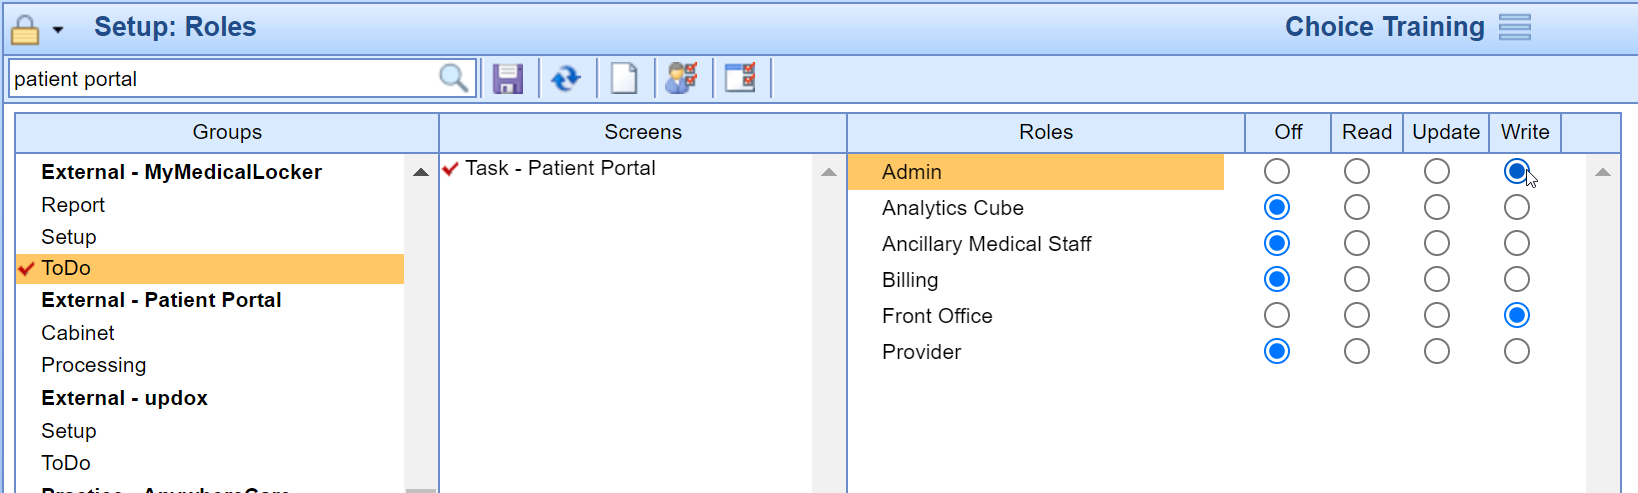
- Type in Patient Portal into the search box and hit the Magnifying Glass button.
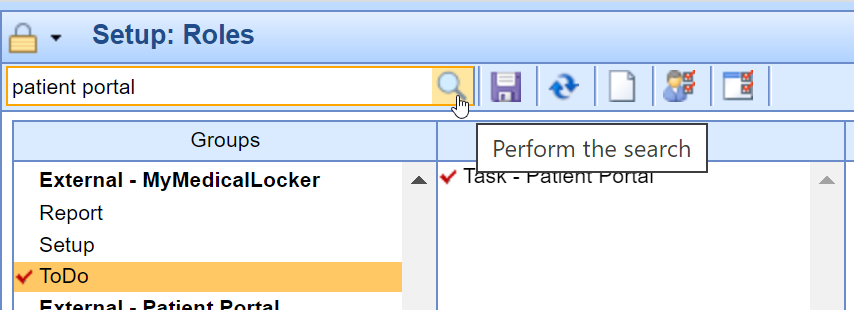
- The Task - Intelligent Intake role should be selected. All MML Patient Intake submissions are submitted to the Task Intake queue. Assign Write access to the appropriate role/s that should work this queue. Often, a new individual role is created to assign this security access. This allows the practice to individually select which users at the practice have access to the queue instead of all ancillary medical staff getting access.
- Press the Save button to save your changes.