Taking a Photo for a Patient Headshot
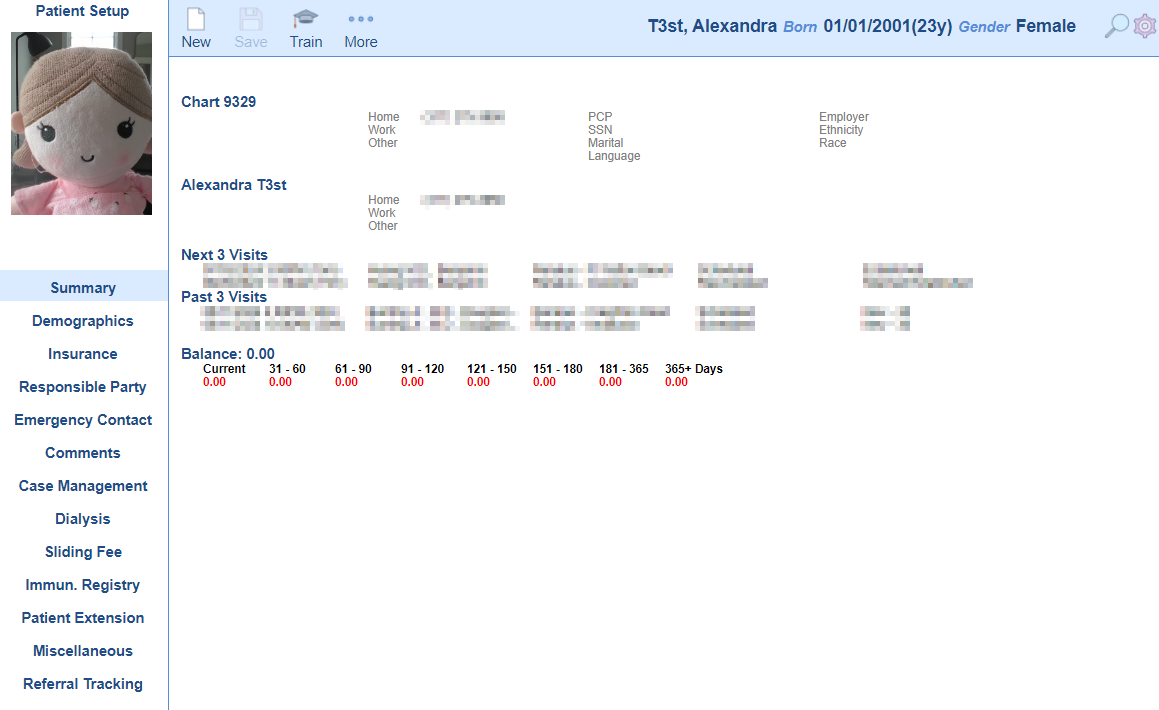
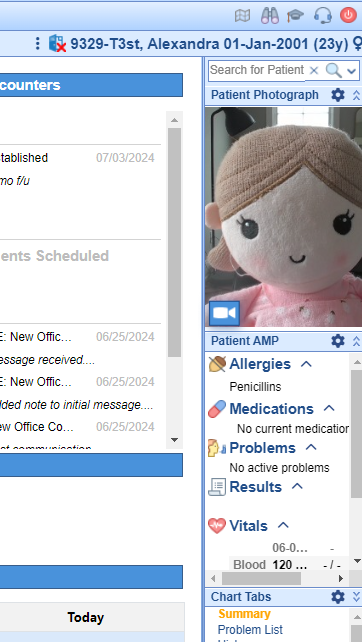
A practice may decide to include a photo of the patient, as part of the patient's medical record. Practices with either an external camera, or a webcam may choose to take a photo directly through the software. The patient headshot will display in both the Patient Setup window, as well as the Patient's chart in the EMR.
- Navigate to iScheduler
- Open the patient's chart
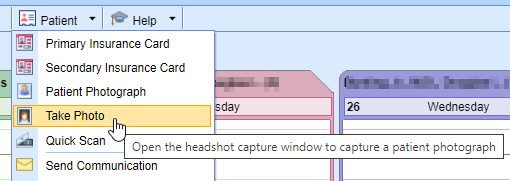
- Navigate to the Patient dropdown menu in the toolbar

- Select Take Photo
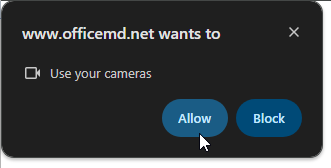
- Your browser will request permission to access your connected camera. Choose Allow
- Place the subject in the frame and choose Capture to record the image
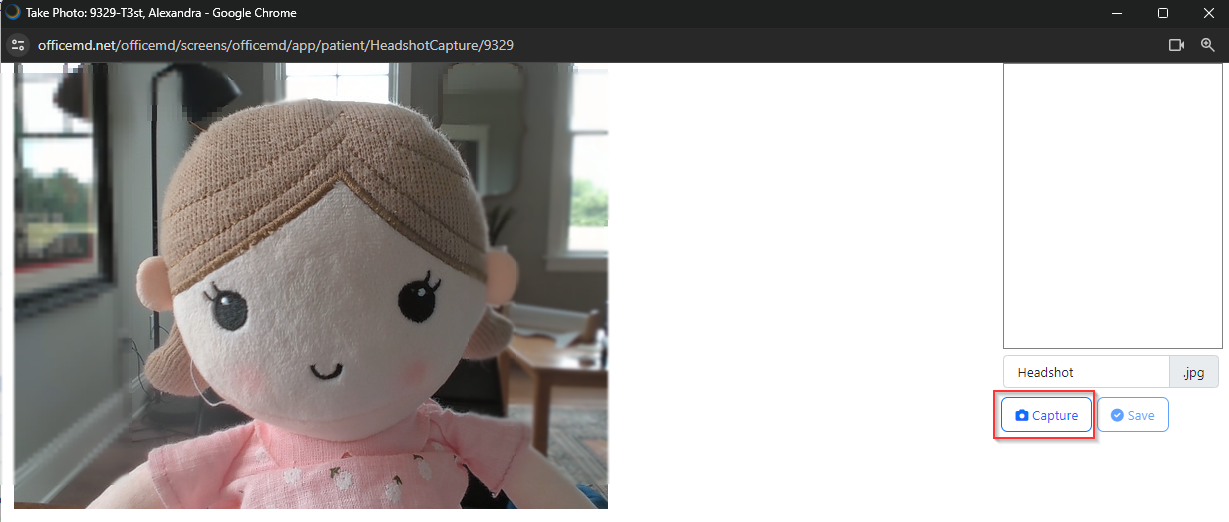
- The system will automatically label the image as "Headshot." Users may choose to modify the name of the file. Click Save

- The patient headshot can be viewed in the Patient Setup and the EMR