The primary purpose of the My Tasks - Results Work Area is to review the results, enter your findings, and determine the next step of the result. This article is used to describe workflow considerations with this process.

Considerations before reviewing results
- Determine Workflow: Before reviewing results, it is best to talk internally with your team about what you want to happen under various scenarios. The two most common considerations are what to do if a result is normal and what to do if a result is abnormal. Ask questions like the ones below to get prepared:
- Who should the results go to if the results are normal?
- Who should the results go to if the results are abnormal?
- Do we want our patients to be able to see these results in the patient portal (MyMedicalLocker)?
- Configure your User Settings: Once you understand your desired workflows, configure your user settings. This can be done by selecting Report Options > Settings. More can be found here on what each setting does: Results Work Area
Pro Tip: Sample Setup
Normal Results Workflow
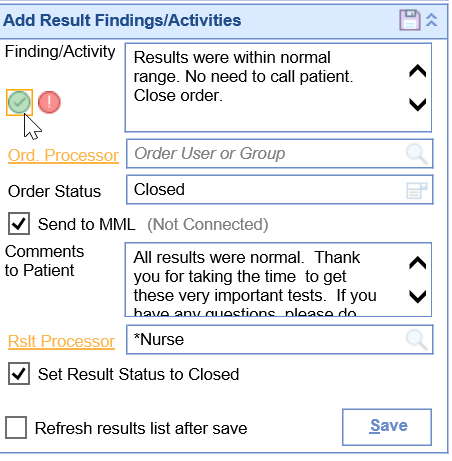
Imagine a practice that has decided that if a result is normal that the patient will not be directly contacted. Therefore, no one else in the practice needs to receive these results after the initial review Rather, the result will be shared with the patient via their Patient Portal. If this is the workflow, the 'Normal Finding/Activity Settings' might look like this.

Abnormal Results Workflow
Now, for the same practice, if the result is abnormal, maybe the practice wants to play it safe and follow-up with the patient by scheduling an in-office visit. This task may be completed by the Scheduling team. Because of the sensitive nature of some results, it may not be a good idea to automatically share these results with the patient. If this is the workflow, the 'Abnormal Finding/Activity Settings' might look like this.

Steps to enter a finding
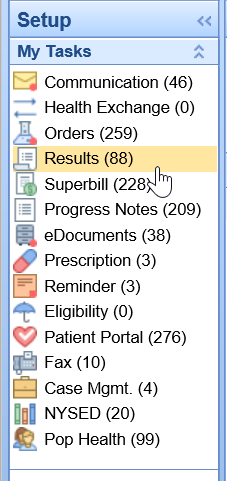
- Open the My Tasks - Results portal
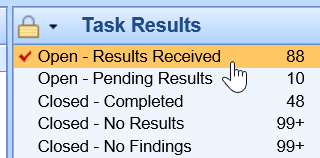
- Select the Open - Results Received queue from the Results Queues
- Select the result from the Result List

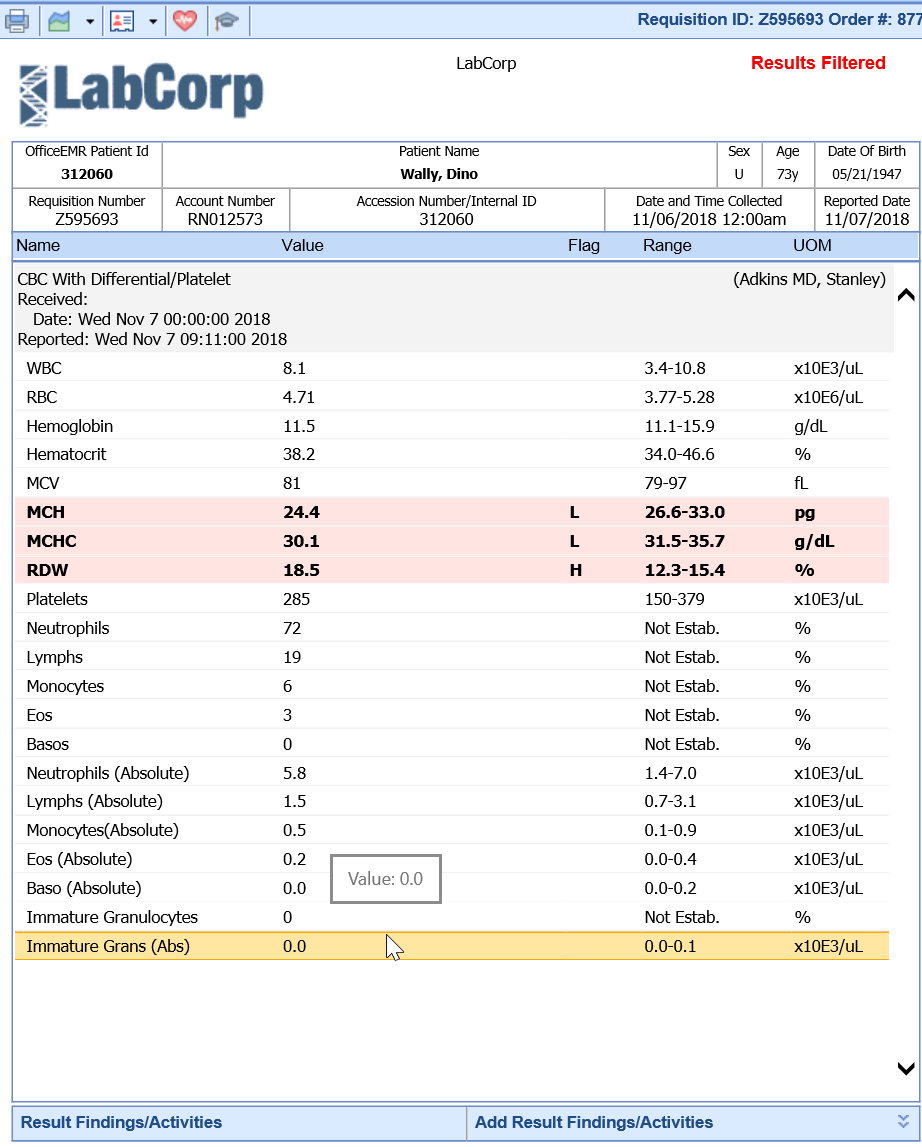
- The result will display in the Result Work Area.
- Click the 'Normal' icon to auto-set the Result Finding values based on your normal workflow or the 'Abnormal' icon for your abnormal workflow.
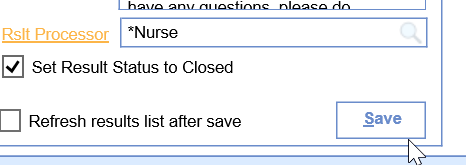
- Make any necessary changes to the defaults that were set to personalize the findings for this specific result.
- Click Save