Follow these steps to setup a new Intelligent Intake form:
- Create a new Intelligent Intake form.
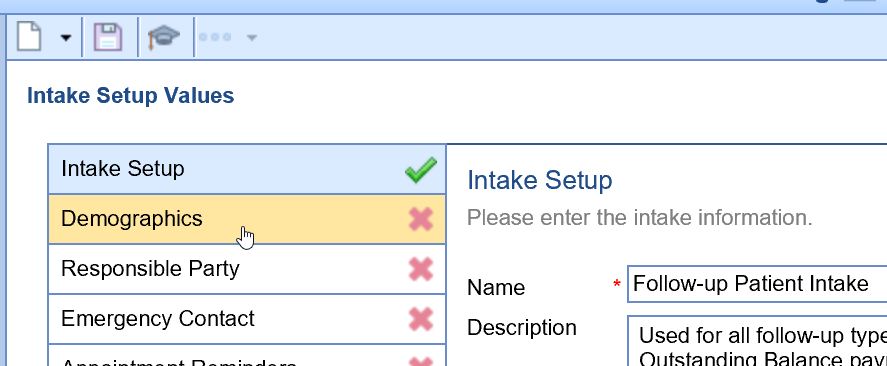
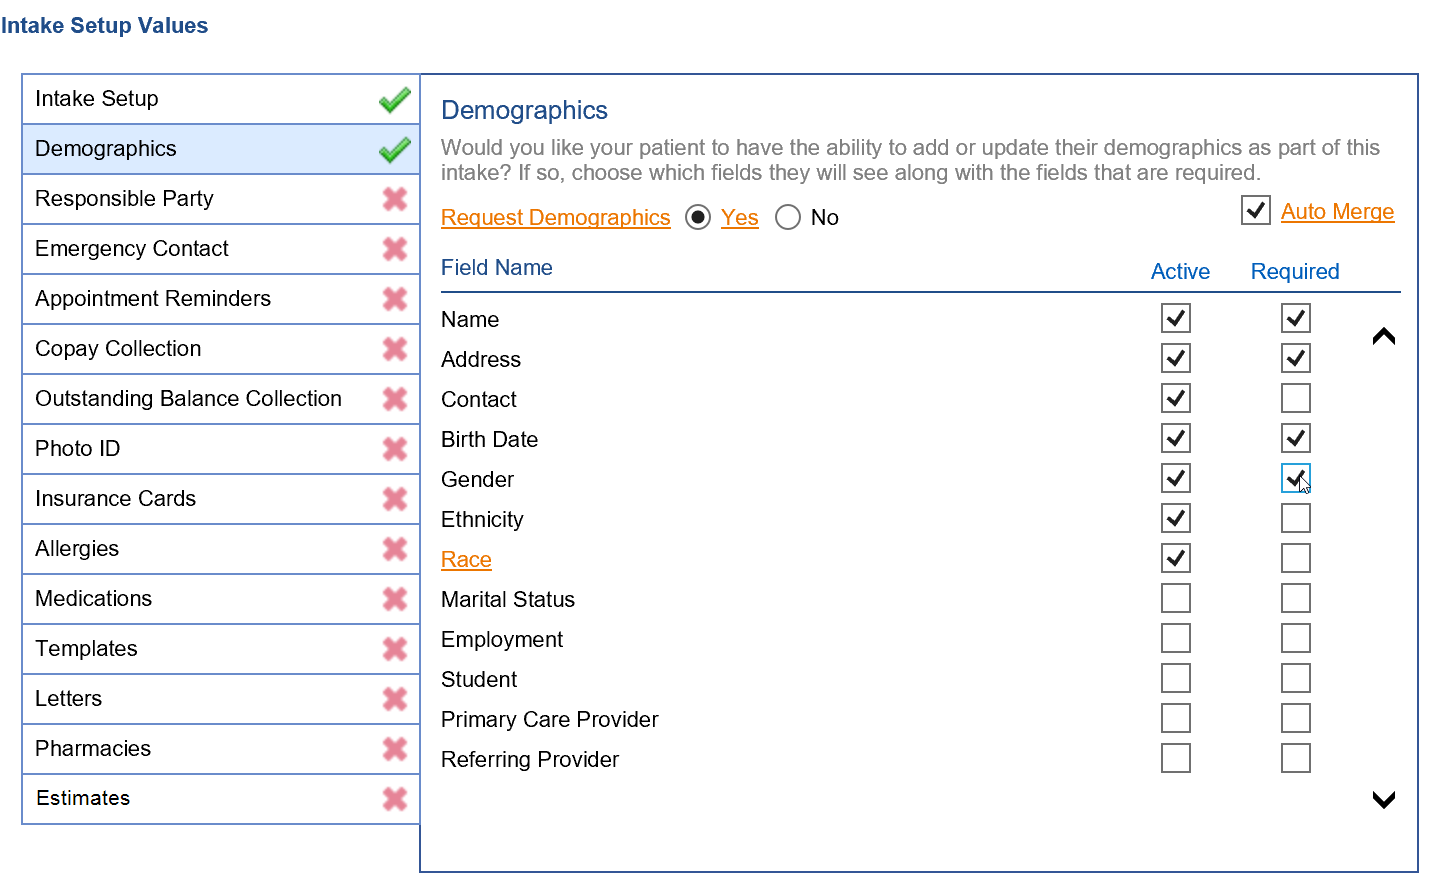
- Click on the Demographics section tab.
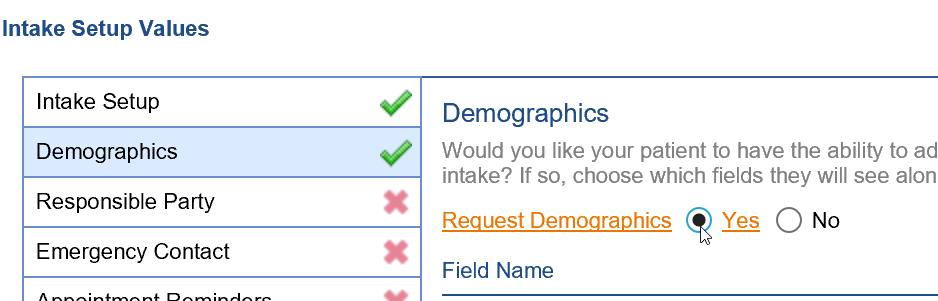
- Select the Yes option to request patient demographics for this intake form.
- Check the Auto Merge checkbox to automatically merge the demographic information captured in this intake form into the patient's chart. If you prefer to review the demographics captured on this intake before merging, keep the Auto Merge checkbox de-selected.

- Select the Active checkbox next to the demographic fields you wish to capture on this form. When you hover over the checkbox, the individual fields captured will display in a tooltip.
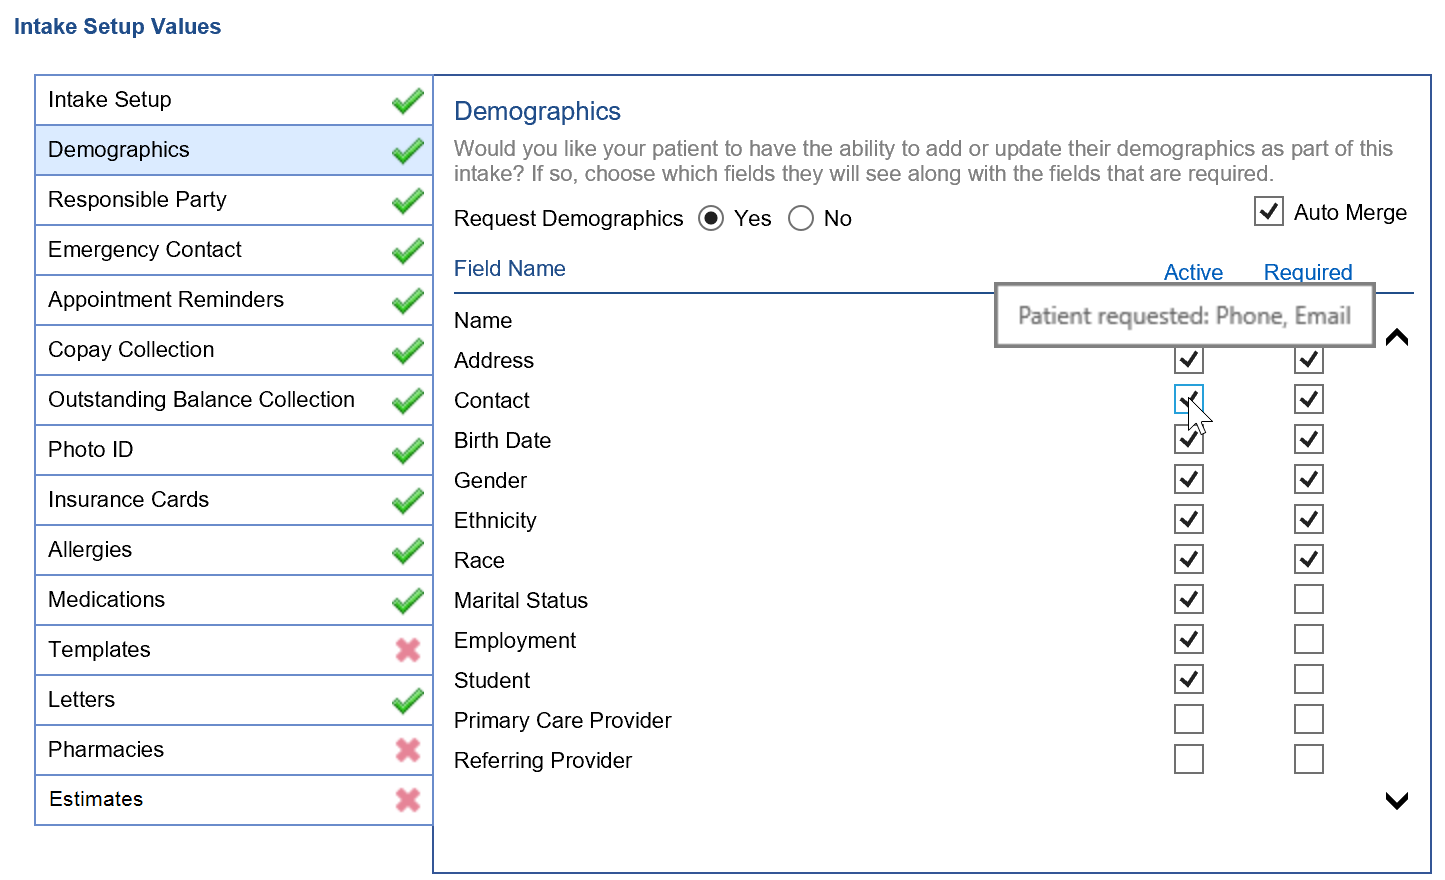
- Check the Required checkbox next to the demographic fields you wish to require on this form.
- Repeat steps 6-8 for the Responsible Party, Emergency Contact, Appointment Reminders, Allergies, Medications and Pharmacy sections.
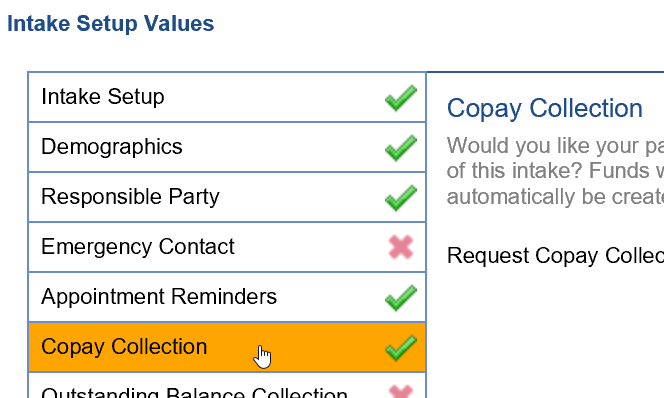
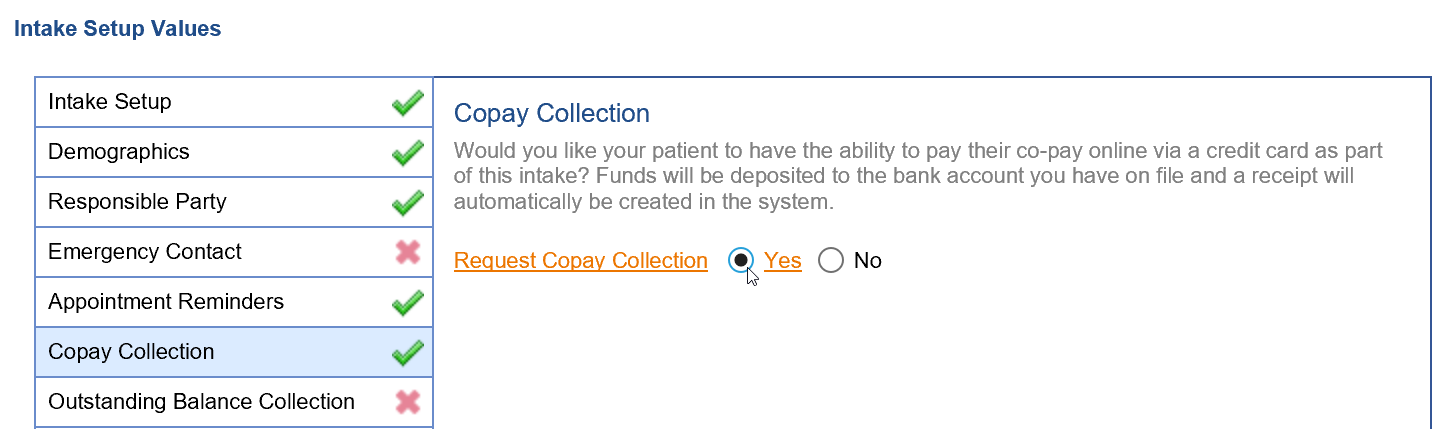
- Click on the Copay Collection tab.
- Select the Yes option to give patients the ability to pay their copay on this form. This requires integrated credit card payment with our vendor PaySimple. See Overview of Credit Card Processing with PaySimple guide to learn more about setting this up.
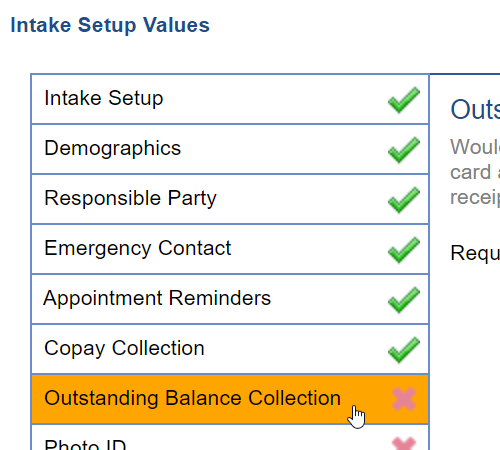
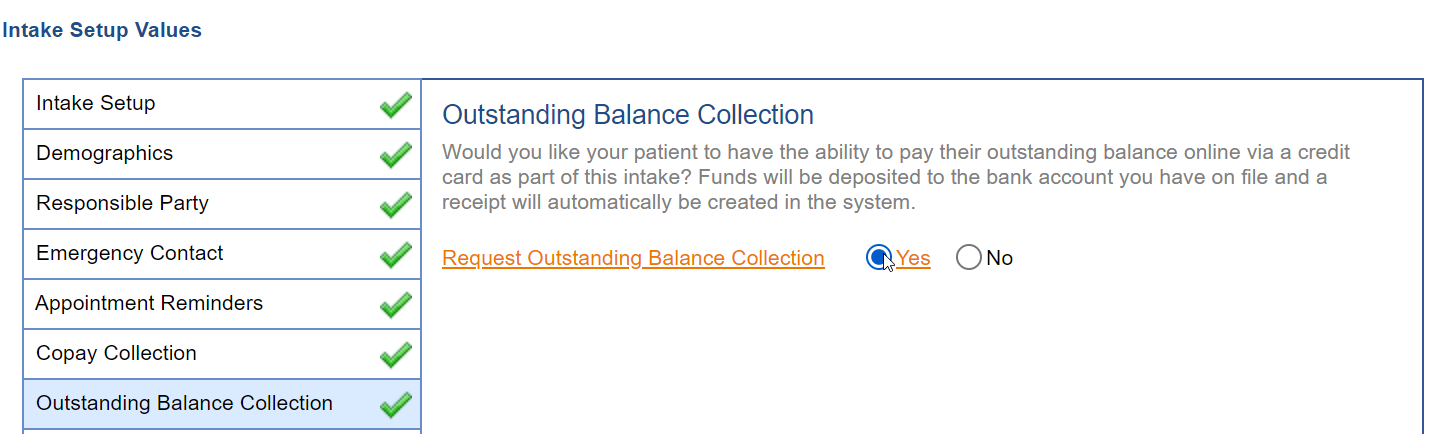
- Click on the Outstanding Balance Collection tab.
- Select the Yes option to give patients the ability to pay their outstanding balance on this form. This requires integrated credit card payment with our vendor PaySimple. See Overview of Credit Card Processing with PaySimple guide to learn more about setting this up.
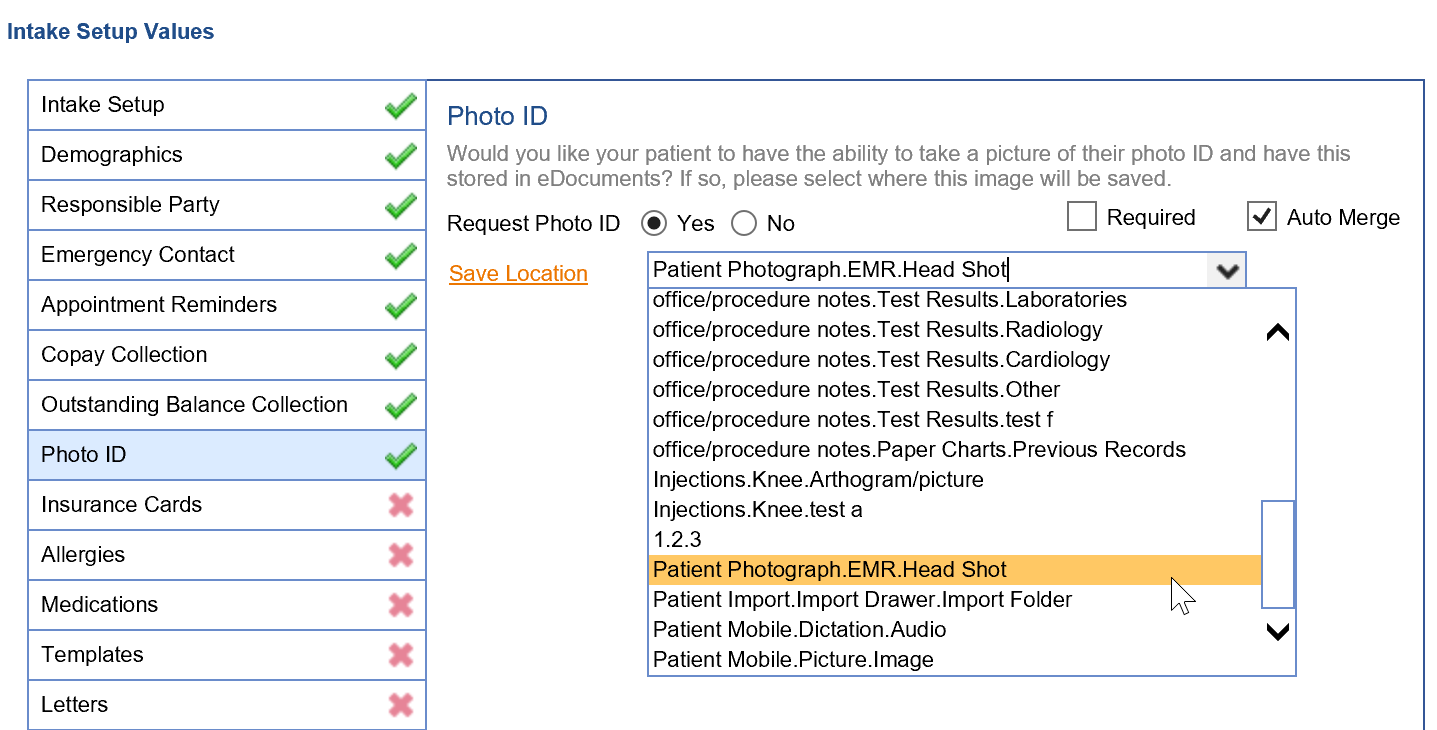
- Select the Photo ID tab. Select the Yes option to request the patient's photo ID. Check the Required checkbox to require the patient's Photo ID. Click on the Auto Merge checkbox to automatically merge the patient's shared photo into his/her chart.
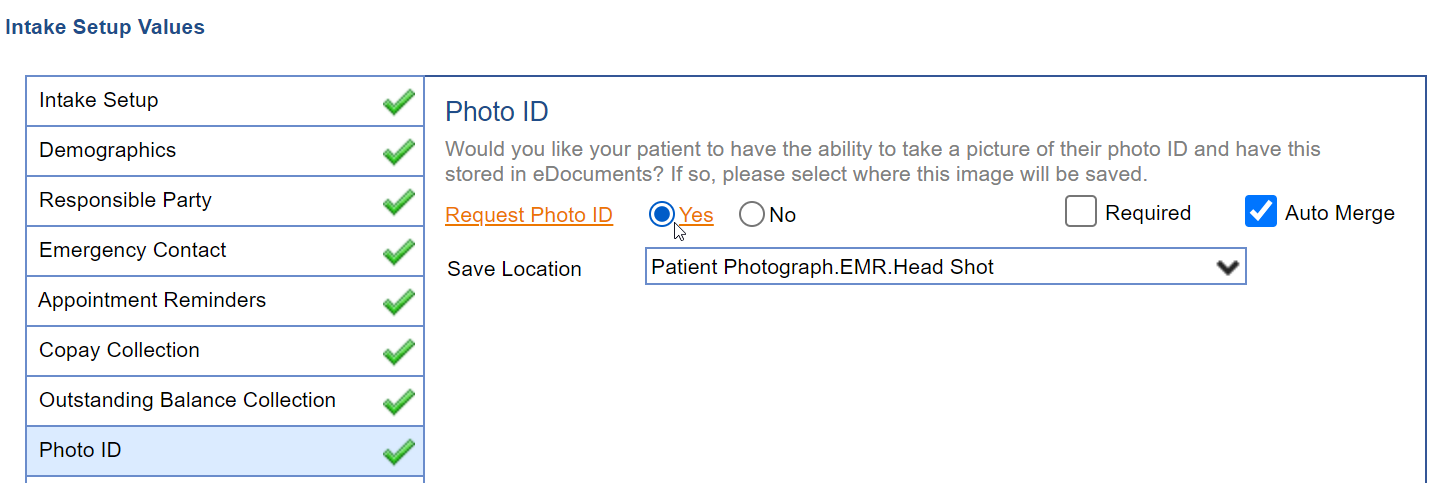
- Set the Save Location to the appropriate eDocuments folder the patient's photo ID should save to.
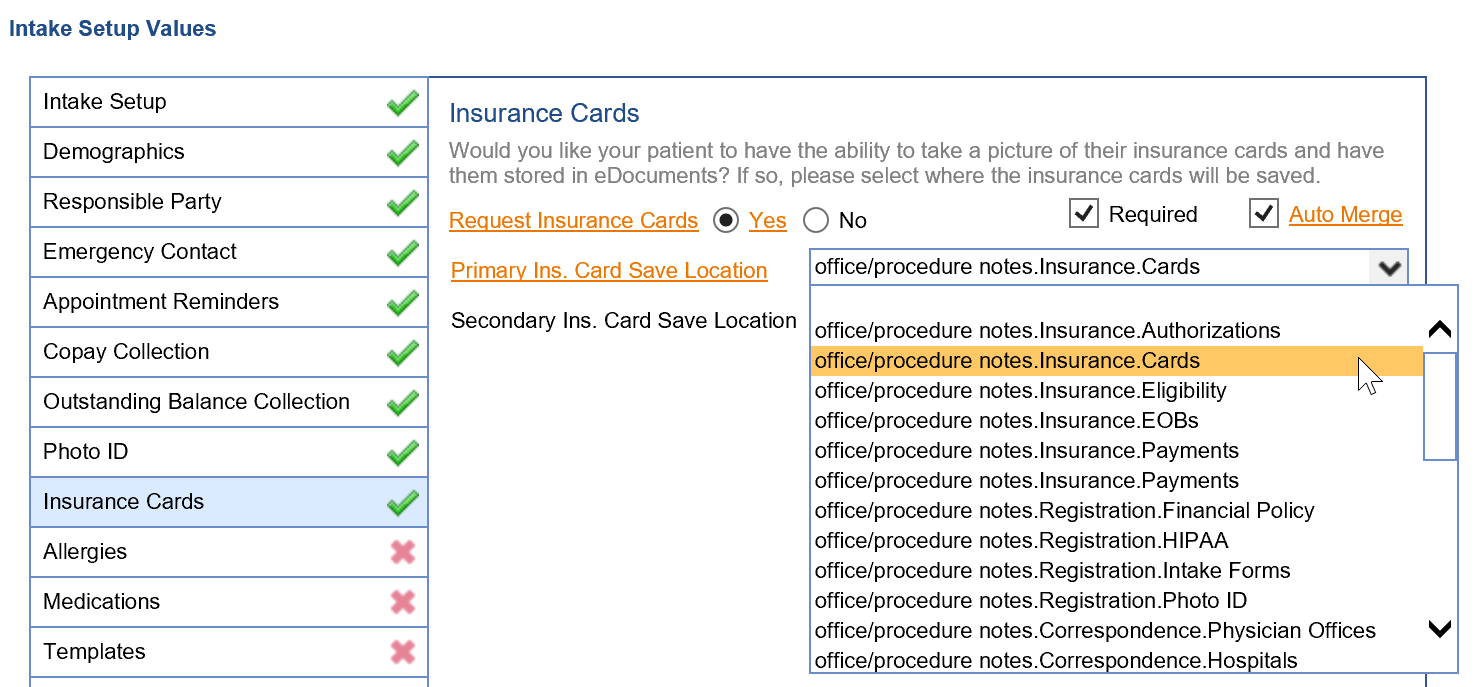
- Press the Insurance Cards tab. Select the Yes option to request the patient's insurance cards. Check the Required checkbox to require the patient's Insurance Cards. Click on the Auto Merge checkbox to automatically merge the patient's shared insurance cards into his/her chart.

- Set the Primary Ins. Card Save Location and Secondary Ins. Card Save Location to the appropriate eDocuments folder the patient's insurance cards should save to.
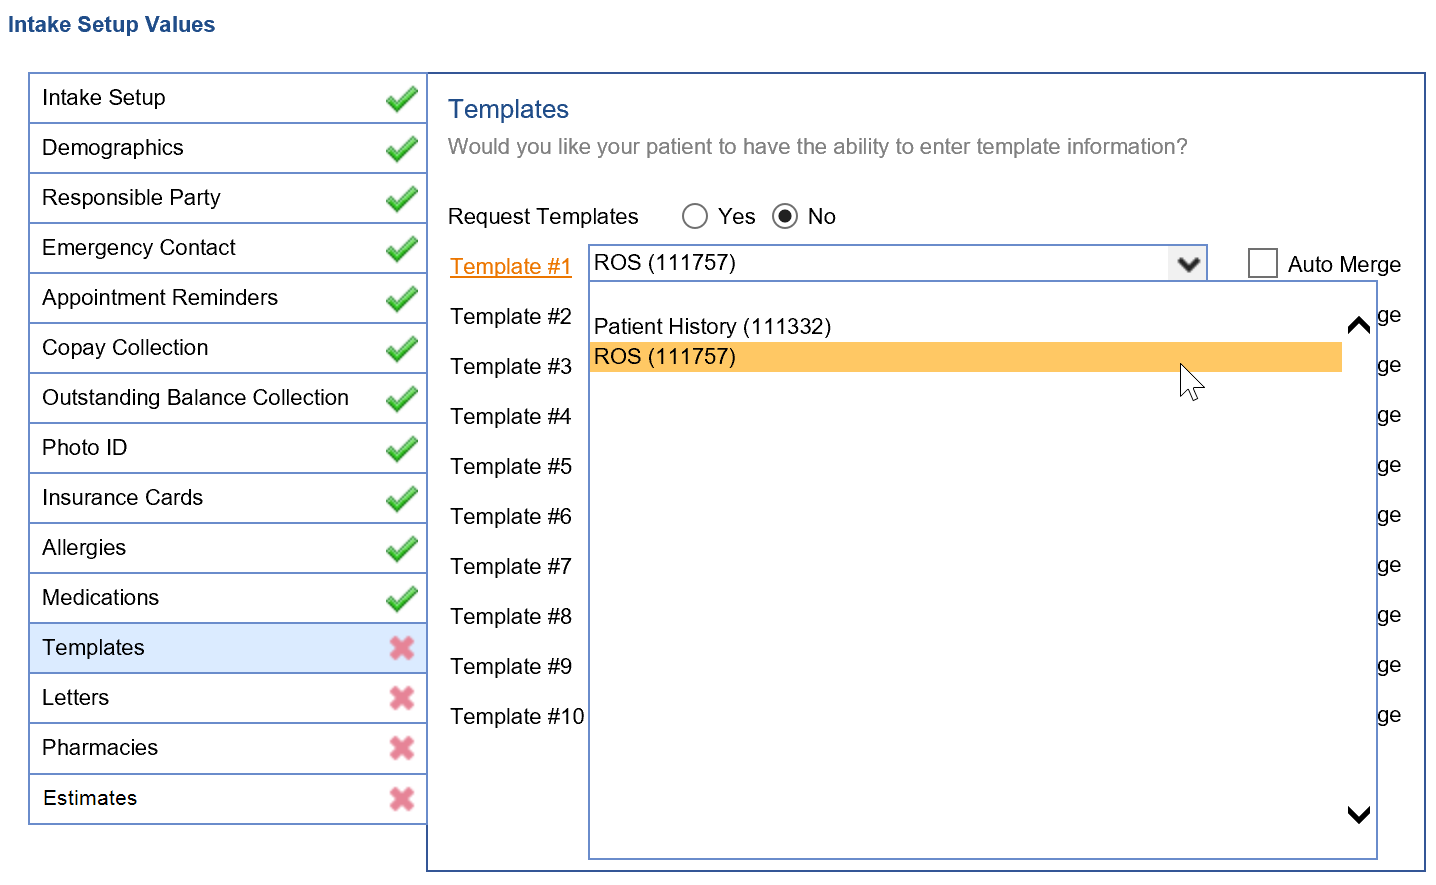
- Click on the Templates tab. This is where practices select which template/s patients need to fill out as part of this intake. Complete a Template Change Request Form to create additional Intake templates.

- Select the Template # 1 drop down to select which template/s are a part of this intake. Select the Auto Merge checkbox to automatically merge the collected template data into the patient's chart.
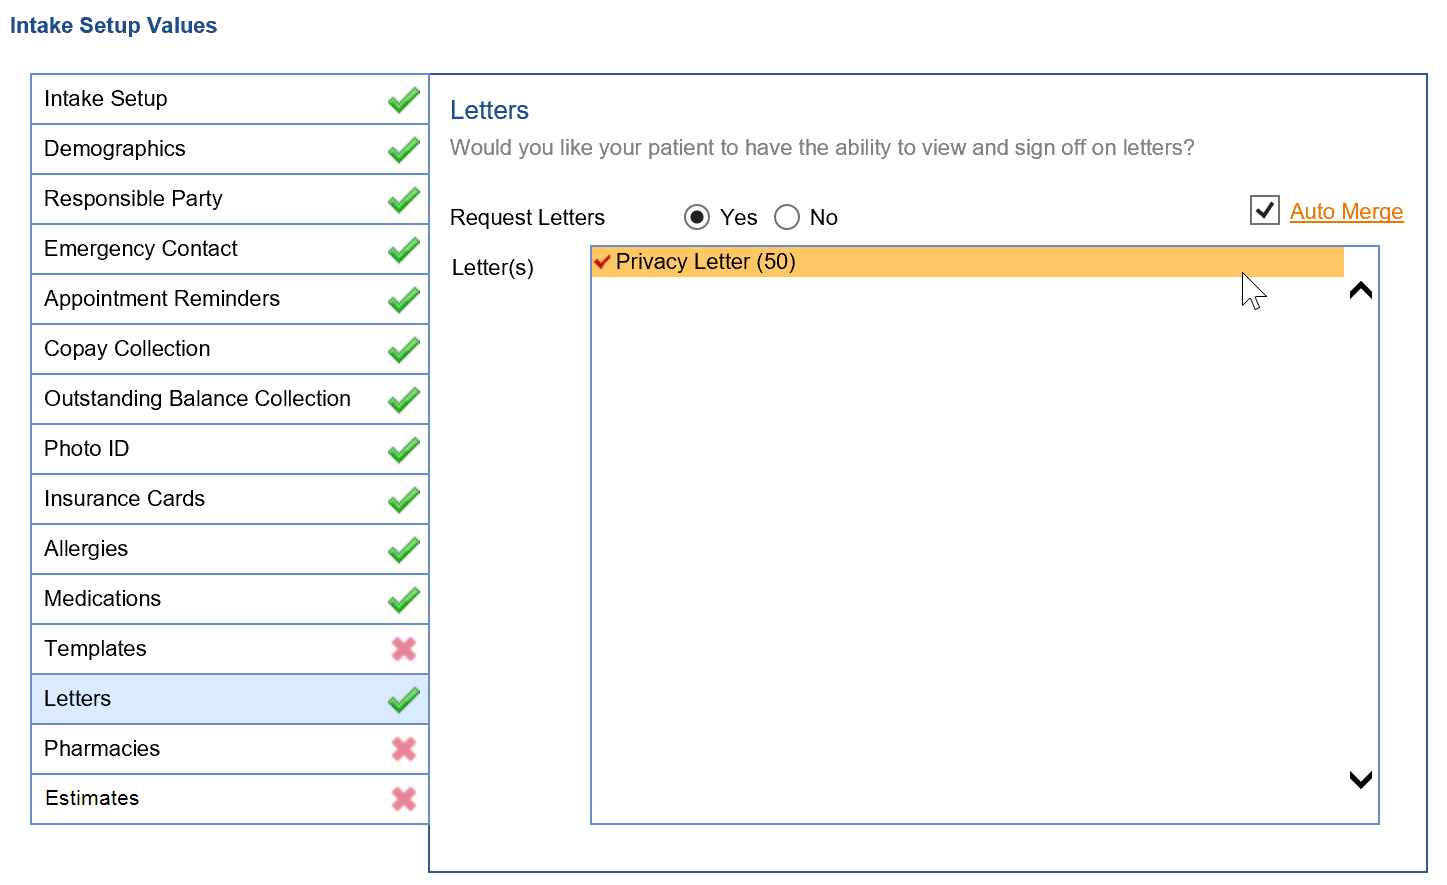
- Click on the Letters tab.
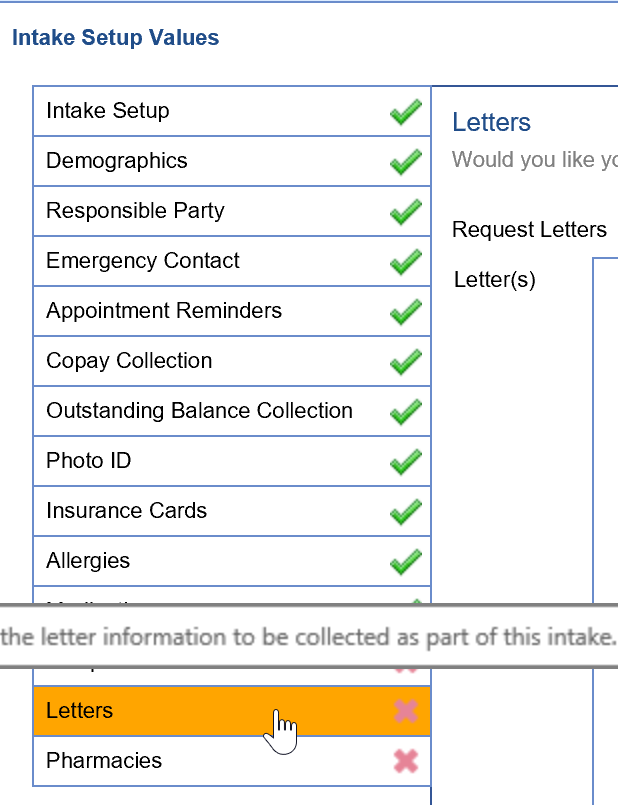
- Set the Request Letters option to Yes to capture patient letters. Then select which Letter(s) you wish to have signed for this intake. Click the Auto Merge checkbox to automatically merge the signed letters into the patient's chart. Complete a Template Change Request Form to create additional Intake Letters.
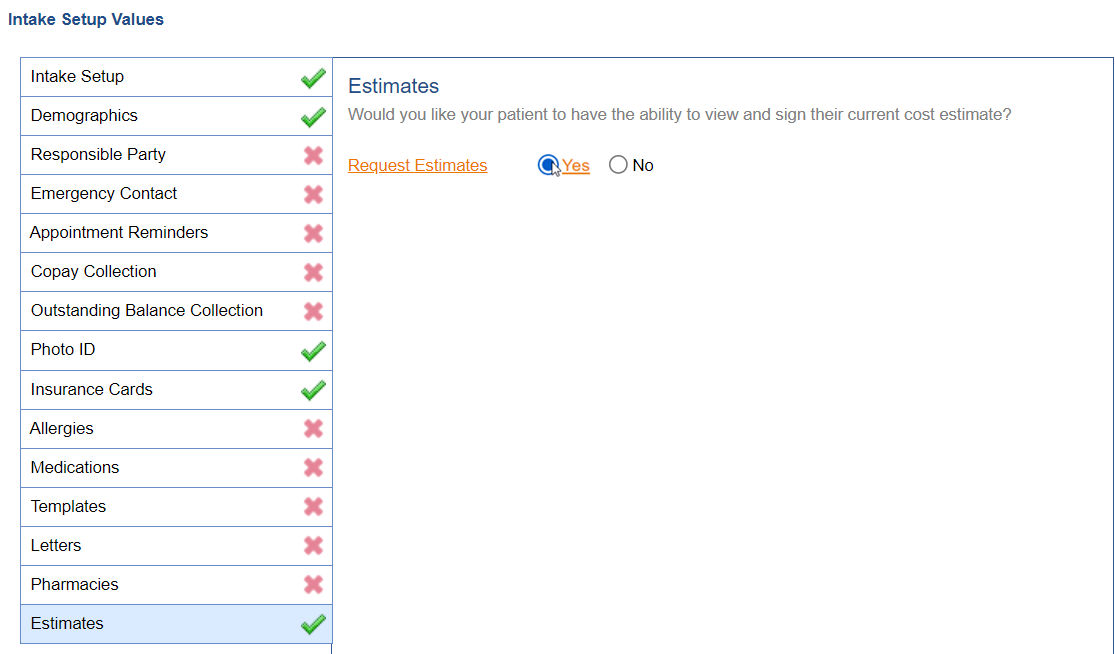
- Click on the Estimates tab.
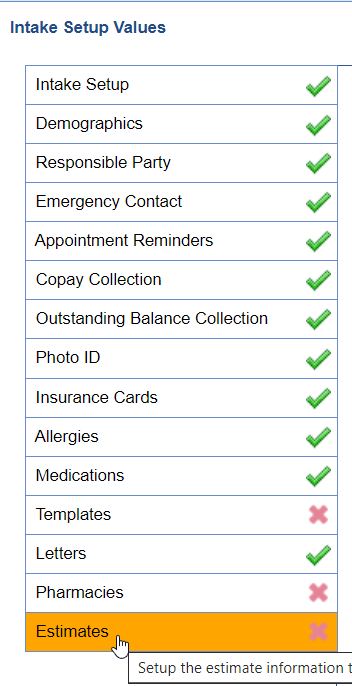
- Select the Yes option to give patients the ability to view their cost estimate(s). In order for the cost estimate(s) to be displayed within the intake the estimate(s) must be in an Accepted status. The patient will than be displayed the estimate that matches the intake appointment date of service. It will also allow the patient to electronically sign the estimate.
- Set the Communication Preferences for the Intake.
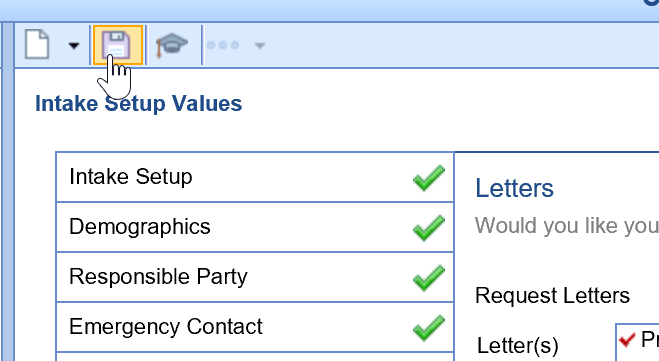
- Press the Save button to save the Intake you just created.