Follow these steps to Access the Statement Setup Screen:
- Log in to the software and Open the Billing Portal.
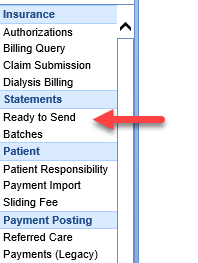
- Click the Ready to Send link under Statements on the navigation bar.
- Click the Gear icon at the top right of the screen and select Setup.
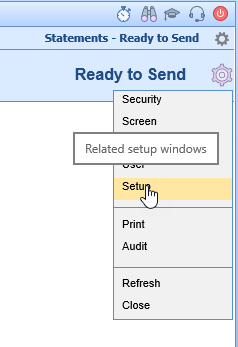
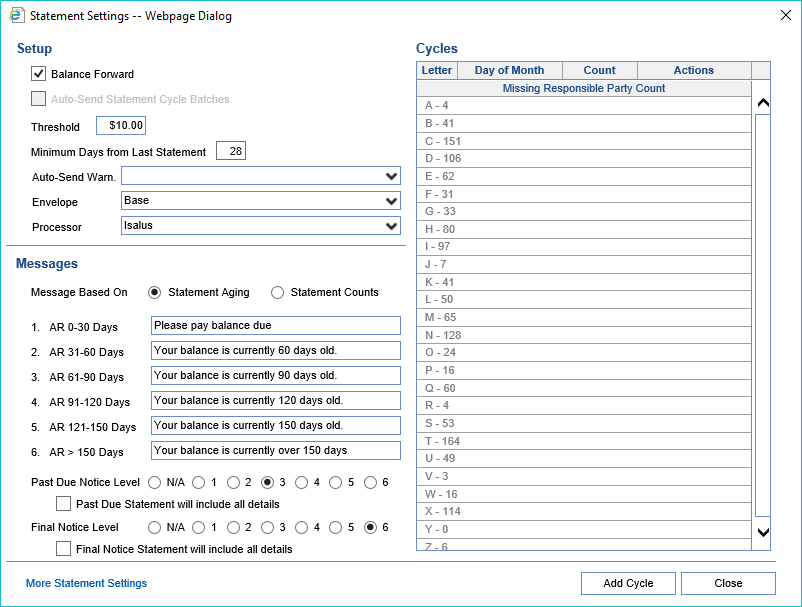
- The Statements Settings Screen appears.


Answer the following questions to help chose how to complete the Statement Setup Screen
Do you want to forward balances from previous statements without showing the detail from those balances, or would you rather full detail be displayed on all statements?
- To hide details that have appeared on previous statements, check the Balance Forward box.
Do you want Statement Batches in a Pending status to automatically be sent at night?
- If so, check the Auto-Send Statement Cycles Batches box.
What should the minimum patient due amount be for a statement to be printed?
- Enter this amount in the Threshold box.
How often do you want a patient to be able to receive a statements?
- Enter the number of days in the Minimum Days from Last Statement box.
Auto-Send Statements will only send Statements without warnings. Do you want statements to still go out even if an account has credits, unapplied receipts, or the responsible party is a minor?
- If you do, click the Auto-Send Warn drop down and select which warnings to ignore and send.
Are you printing statements in-house?
- If you are, select the Envelope type that you will be using so that the address is printed in the correct position.
Who will be printing your statements?
- This value should have been set for you.
- If you are printing your own statements, the Processor should be iSalus.
- If you are using our new recommended print vendor, the Processor should be Data Media.
- If you are using our legacy vendor, the Processor should be RevSpring.
- If you are downloading a file and sending it to an unsupported vendor, the Processor should be RevSpring.
Do you want the "dunning" message to be based on oldest aged item on the statement or by number of statements that a patient has received?
- Select the appropriate radio button for Message Based On.
Would you like custom "dunning" messages to be sent based on message level?
- If so, then they can be entered here in the Messages area.
Would you like a Past Due Notice to be sent to the patient once a patient has already received a specified number of statements?
- If so, then select the radio button for the Past Due Notice Level at which to start sending the Past Due Notice.
Would you like the Past Due Notice to be sent with a statement or in place of the statement?
- If you want both the Past Due Notice and the statement, check the box for Past Due Statement will include all details.
If you want statements automatically batched, how often do you want to send them? Do you want to batch specific letter ranges together?
- Create Cycles based on frequency and letter ranges. For example, you could set up:
- Monthly Statements Batched Weekly - A-E on the 1st, F-K on the 8th, L-S on the 15th, and T-Z on the 22nd.
- Weekly Statements - A-Z on the Monday (or any specified day of the week).
- Daily Statements - A-Z and set the Day of Month to Daily or Daily excluding weekends to batch on each day of the month.
- All of the examples above can also be set to manual batching by setting the Day of Month to Manual Mode.
For additional information about Statement Configuration, see Statement Setup.
