If a Blackout Overlay has been applied to a schedule, and the Blackout Appointment Status ID - To/Blackout Appointment Status ID - From settings have been configured, any existing appointments will be updated and placeholders will be removed as defined by both of the Blackout Appointment Status ID settings.

Existing appointments will be updated to the Appointment Status configured in the Blackout Appointment Status ID - To.
As defined by the Blackout Appointment Status ID - From.
Front Office users or Administrators may be trained to review these appointments in the event that they need to be rescheduled.
Steps:
- Right click over the schedule in the iScheduler
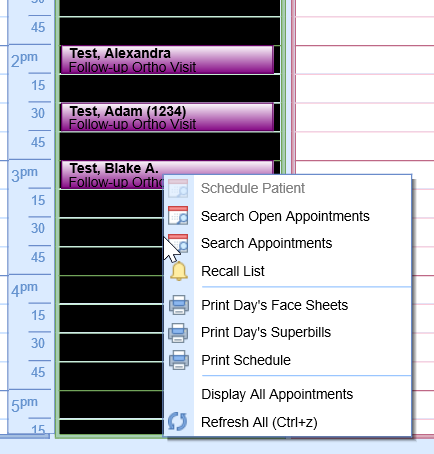
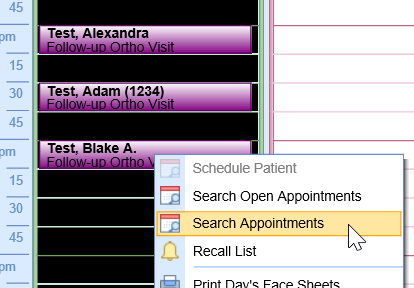
- Select Search Appointments
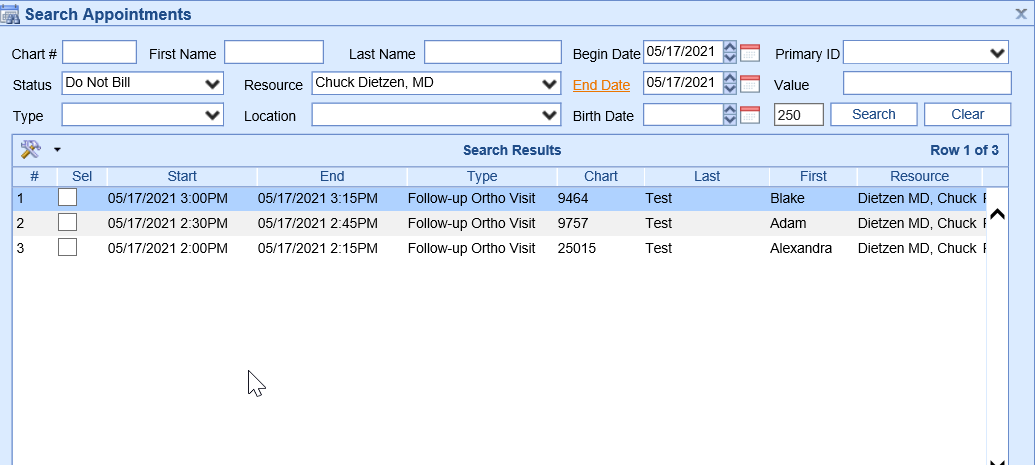
- Using the fields provided, set the search criteria to the corresponding data for the Blackout Overlay
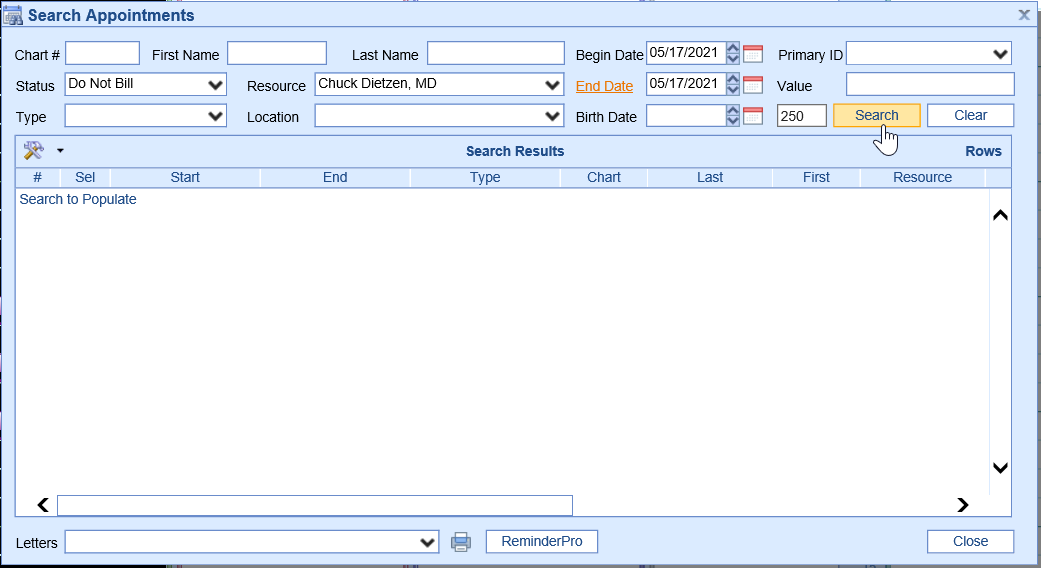
PRO TIP: Practices may choose to use the Search Appointments to populate a list of patient appointments that need to be rescheduled, due a Blackout being applied to the schedule. Therefore, the criteria should be set to limit the number of results to only those that apply to the Blackout Overlay occurrence.
Status = the appointment status used in the Blackout Appointment Status ID - To
Resource = the resource in which the Blackout Overlay was applied to
Begin Date = the date the Blackout Overlay was applied to
End Date = typically the same date as the begin date
- Click Search
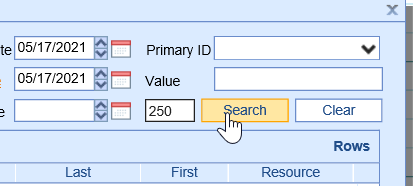
- A list of results will populate in descending order

- To open the appointment, double click on the search result

- Right click over the selected appointment and select Move
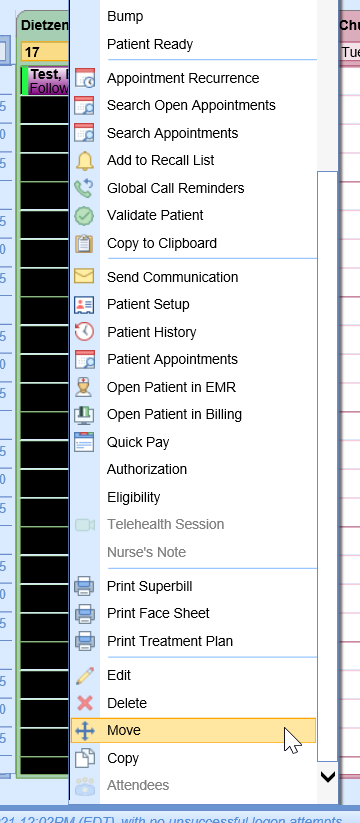
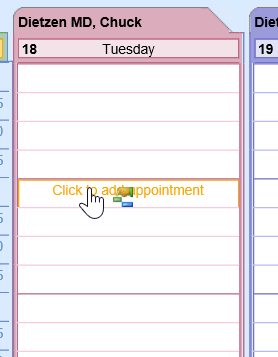
- Move the appointment to a new appropriate place
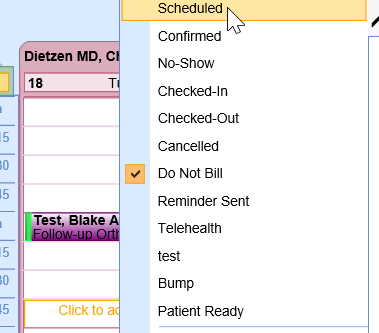
- Right click over the appointment and change the Status to Scheduled (or any appropriate status for scheduling)
- Right click over the schedule to re-open the Search Appointments report
- Re-run the report by selecting Search

- Repeat steps until all appointments haven been rescheduled and statuses have been updated


