Sign-Up
The first step is to sign-up for Electronic Faxing: https://isalushealthcare.typeform.com/to/GBlJIZ
Products
In order to have a product activated, the practice must request this from iSalus by contacting our support team.
The support team will need to activate the following product:
- UpDox
Roles
The following screens need to be assigned to administrators:
- External - UpDox - Setup - UpDox Account Setup: Provides access to create UpDox Accounts
- External - UpDox - Setup - UpDox Fax Setup: Provides access to set up and manage fax settings for UpDox accounts.
The following screens need to be assigned to users that should have access to manage inbound and outbound faxes:
- External - UpDox - ToDo - UpDox Task List - Provides access to the Fax Inbox in the My Tasks section of the system.
Company Settings
The following company settings can be configured:
- Company Setting: Automated Fax to Care Team Members
- Company Setting: Patient Insurance Fax Favorites
- Company SEtting: Send communication on failure
- Company Setting: Send communication on success
- Company Setting: Additional Outbound Fax Numbers
User Settings
The following user settings can be configured:
- User Setting: Automated Dialysis Letter Template
- User Setting: Automated Fax Auto Send
- User Setting: Automated Letter Template
- User Setting: Cover Page For REview
- User Setting: Cover Page From
- User Setting: Cover Page Information
- User Setting:: Cover Page Message
- User Setting: Cover Page Please Comment
- User Setting: Cover Page Please Reply
- User Setting: Cover Page Subject
- User Setting: Cover Page Urgent
- User Setting: Send Communication on failure
- User Setting: Send Communication on success
- User Setting: The maximum number of rows to return for the tas fax lists
UpDox Account Setup
The first step in the setup process for faxing will be to configure an UpDox account. Follow the below steps to create this account:
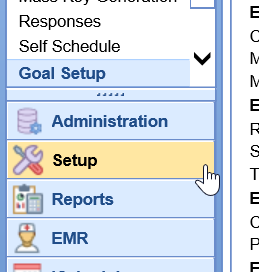
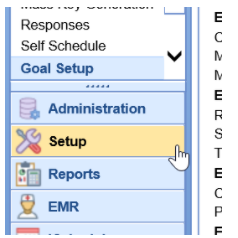
- Navigate to the Setup portal
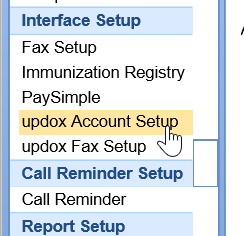
- Select UpDox Account Setup
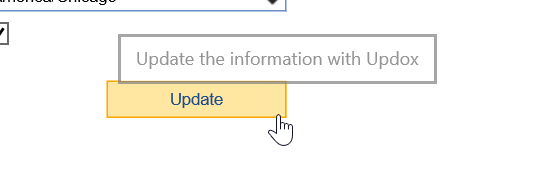
- Verify the information displayed and update as you see fit.
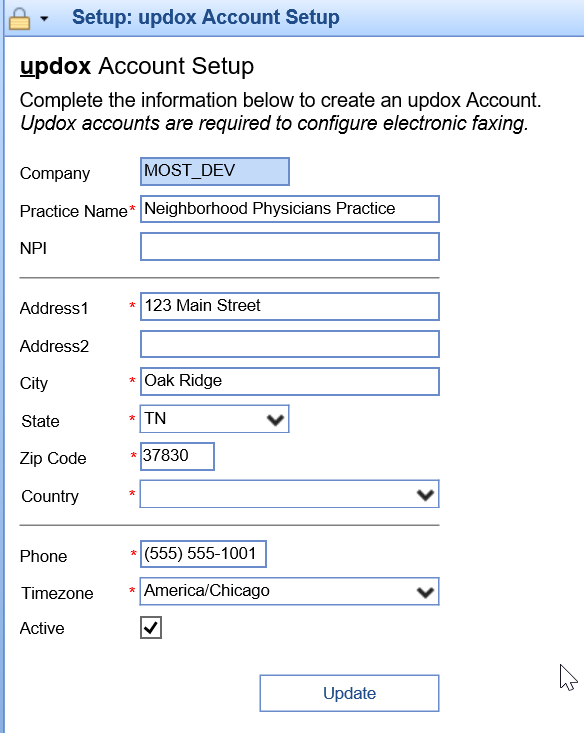
- Click Update to register your account.


UpDox Fax Account Setup
Once you have set up an UpDox account, you can then configure your fax settings through UpDox. Here you will be able to manage your fax numbers, decide which users have access to the fax lines, and determine what cover pages are used.
- Navigate to the Setup portal
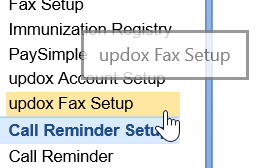
- Select UpDox Fax Setup


Create a New Fax Number
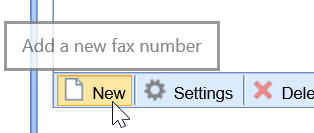
The first step in the UpDox Fax Setup process will be to provision a fax number.
- Click the New button
- Select your desired number type:
- UpDox: Select this option if you would like to generate a brand new fax number.
- Follow the prompts on the screen to retrieve a new fax number:
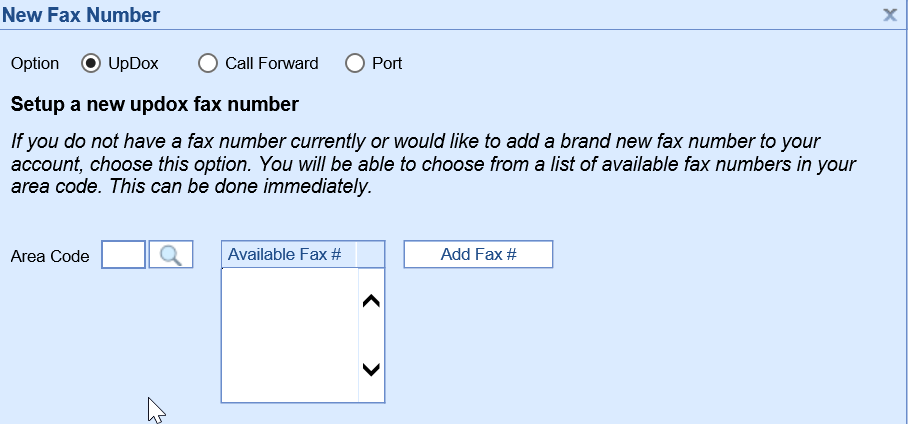
- Click Add Fax# to add this new number to your account.
- This number is now ready for use.
- Follow the prompts on the screen to retrieve a new fax number:
- Call Forward: Select this option if you would like to have your current fax number forward data to a newly created UpDox fax number.
- Follow the prompts on the screen to retrieve a new fax number.
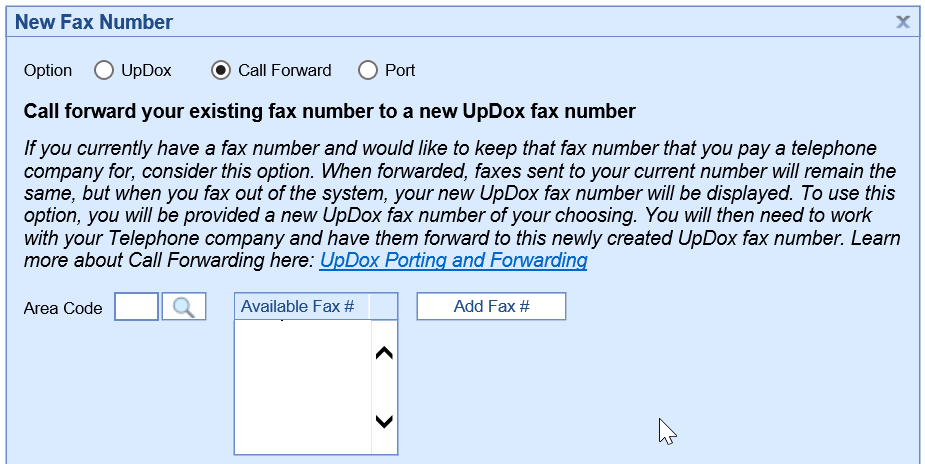
- Click Add Fax # to add this new number to your account.
- You will need to contact your current phone company to have your existing fax number forwarded to this newly created number.
- Once your phone company confirms that the call forward is in place, this number will be ready to use.
- Follow the prompts on the screen to retrieve a new fax number.
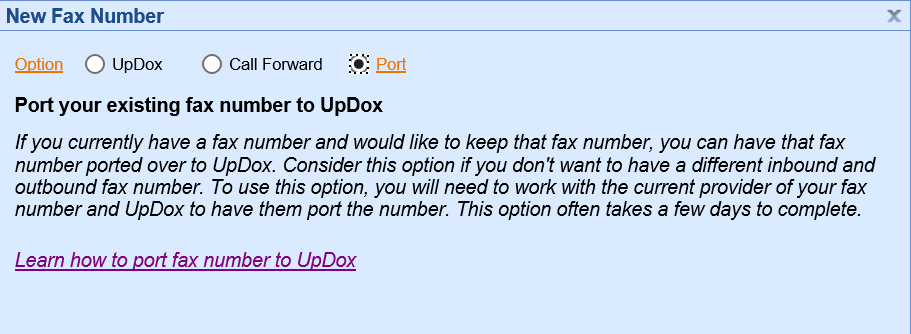
- Port: Select this option if you have a fax number through a different company, but need to move the fax number over to UpDox.
- Follow the prompts on the screen. This will take you to this website to complete the porting process: https://help.updox.com/help/porting-information-how-to-port-your-fax-line-to-updox
- Once you have received confirmation that the port process is complete, this number will be available in your list of Provisioned numbers. Click Provisioned from the menu bar.
- Look for the number that you had ported and select it.
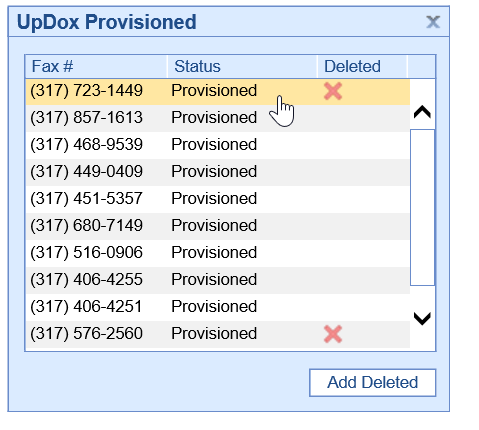
- Click Add Deleted to move this into your active fax number list.
- Follow the prompts on the screen. This will take you to this website to complete the porting process: https://help.updox.com/help/porting-information-how-to-port-your-fax-line-to-updox
- UpDox: Select this option if you would like to generate a brand new fax number.


Manage Fax Settings for a Fax Number
To manage which users have access to the inbox for a given number as well as which cover page is used for that fax number, follow the steps below:
- Select the number from the list of fax numbers you would like to manage.
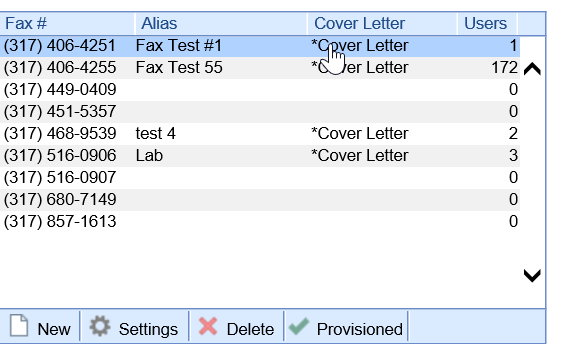
- Click Settings.
- Edit the following details as you see fit:
- Alias: A user-friendly name that identifies this fax number.
- Cover Letter: A list of letters that can be used as a cover page for outbound faxes from this phone number.
- User(s): A list of users that can see faxes from this number in the Fax Inbox.
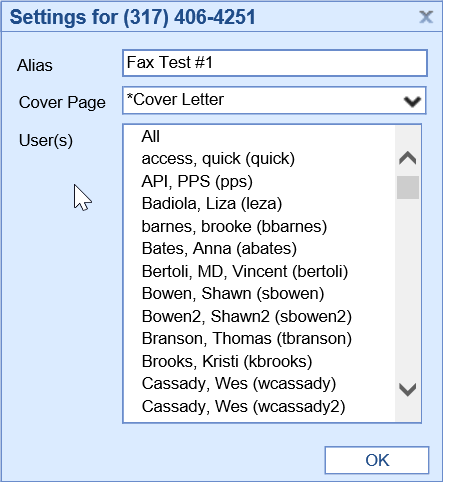
- Click OK to save your changes.


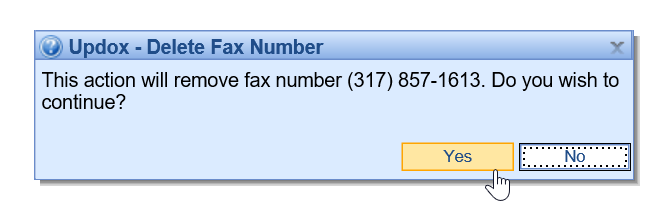
Delete a Fax Number
To delete a fax number from your account, follow the below steps:
- Select the number from the list of fax numbers you would like to manage.
- Click Delete.
- Confirm the request by clicking Yes.