To change an order's processor you can complete this while placing the order, in the Order Entry - History, or My Task - Orders. This article explains the steps to complete this in the Order Entry - History chart tab. There are two ways to complete this task within Order Entry - History.
Steps to Complete (Right Click Menu)
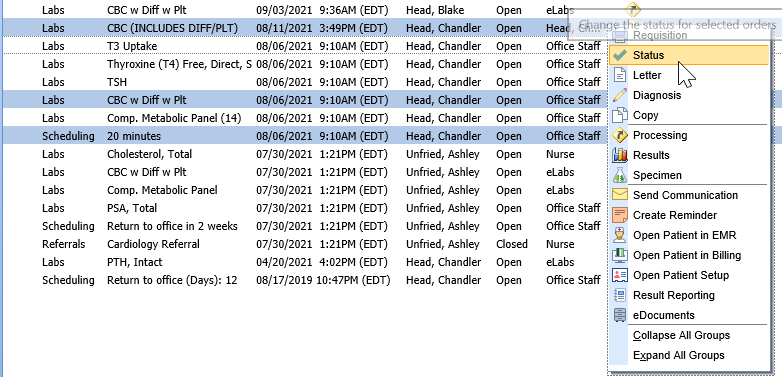
- After an order has been placed, navigate to the History of the Order Entry chart tab within the patient's chart.

- From the list, you can either select and right-click over a single order or select multiple orders at once by using SHIFT+Click and/or CTRL+Click.
- Right-click over the selected order(s), Select Status
- From here, use the select list to change the Processor. You may also change the status of the selected order(s) from this screen.
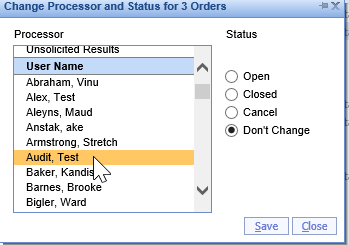
- Save


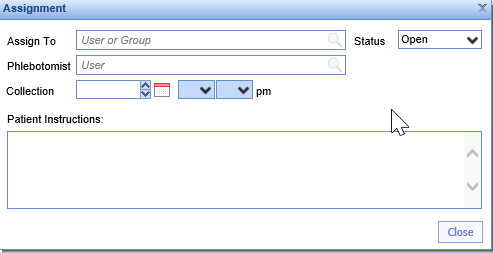
Steps to Complete (Processing Window)
- After an order has been placed, navigate to the History of the Order Entry chart tab within the patient's chart.

- From here, locate the order.
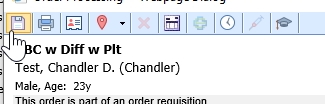
- Select the Processing Window icon from the list.

- Within the processing window, select Processor
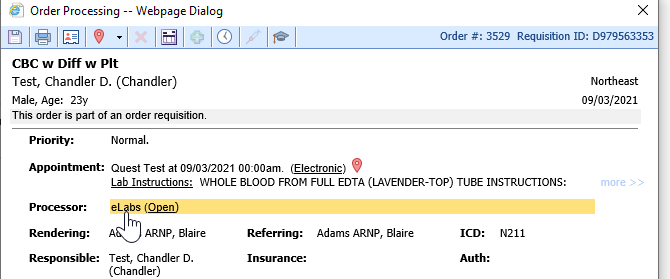
- This will open a separate window where the processor can be changed via a Search Field
- Save