The text to pay request can be sent utilizing the Quick Pay screen. On the Quick Pay screen selecting the payment method of credit card will allow the selection of the Text to Pay button. Follow the below step by step instructions on how to do this.
Step-By-Step Instructions
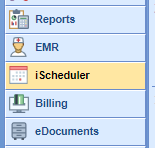
- Go to iScheduler portal.
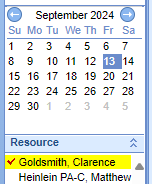
- Select the resource you would like to view appointments for.
- Right click on the patient appointment and select Quick Pay to Open the Quick Pay screen from a scheduled appointment. Note that the Quick Pay screen can also be opened by checking-in or checking-out an appointment.

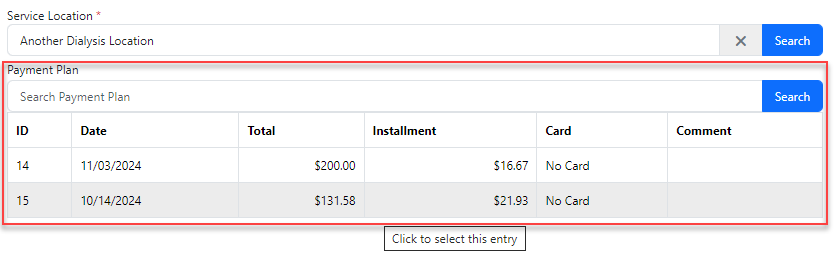
- Optional: You can choose any existing payment plans you wish to include from the Quick Pay screen by utilizing the "Payment Plan" search function.
- Document the payment information (amount, paid by, and type) and set the payment method to "Credit Card." Upon doing this you will see the Text to Pay button.
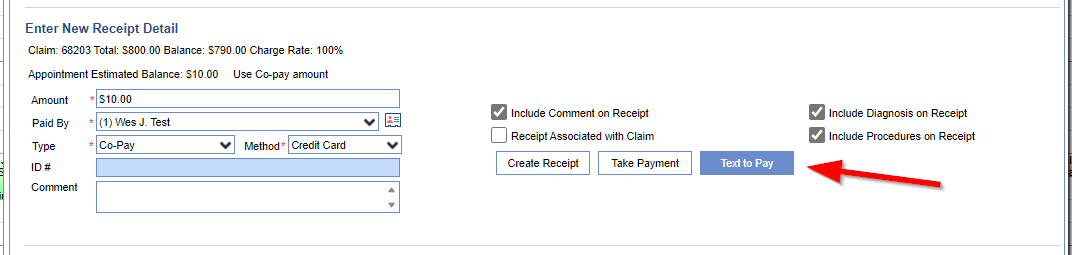
- Click the Text to Pay button.
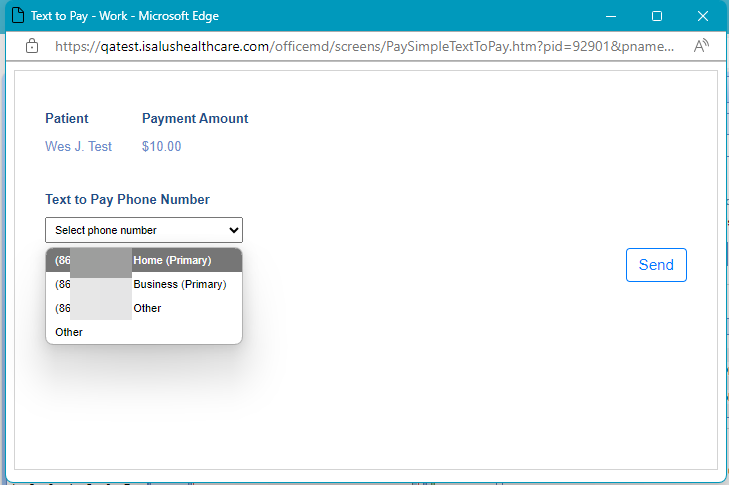
- On the Text to Pay screen choose the phone number to send the text of the payment link to.
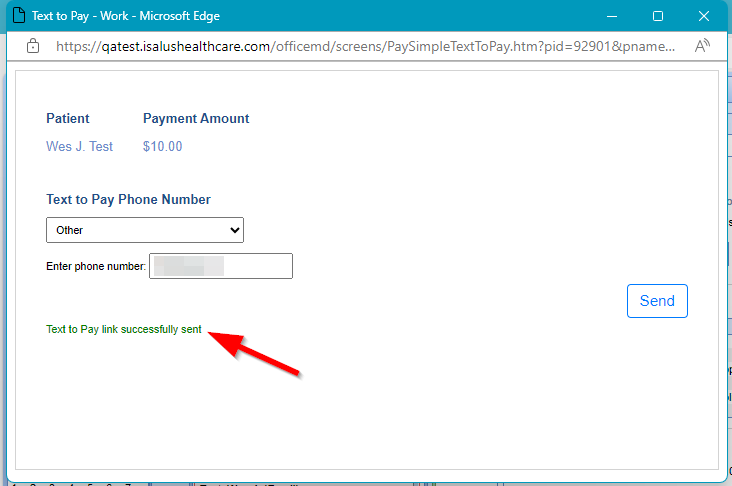
- Click Send.
- You will receive a confirmation that the link Text to Pay link was successfully sent. Following this the Text to Pay screen will auto close.


**Once the patient completes the payment they will be emailed a receipt for the payment. The payment will only be reflected in the Receipt Transaction section of the Quick Pay window once the patient has completed the payment and the Quick Pay window is refreshed.
