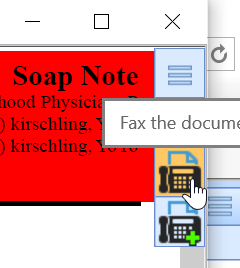
For practices that have configured integrated faxes, you will be able to electronically fax any document that you can print out of the application. Printing documents can occur from nearly any screen in the system.
- Select the print icon for any document or screen that you are on.
- When the Print Preview window appears, locate the Fax button. This is usually found in the upper right-hand corner or along the toolbar.
- Complete the Send Fax details:
- From: This defaults to your user name. You can also select a specific fax number for this to be sent out on.
- Subject: The subject that will be added to the fax cover page.
- Flags: The Urgent, Review, Comment, Reply, and Info flags are used to set values on the fax cover page.
- Message: The message that will be added to the fax cover page.
- To the Following #'s: This is a search box for all contacts in the system.
- Create Contact: Click the Create Contact button to add a new contact to the system to fax to.
- Add: Add's the selected number to the Recipient(s) list
- Delete: Removes a number from the Recipient(s) list.
- Recipient(s): The list of individuals that will receive the fax.
 Click Send.
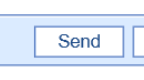

 Click Send.
NOTE:
After clicking Send, the fax will be queued up to be sent. You can find the current status of a sent fax in theMy Tasks Fax Sent Items list.
