
Statement Cycles can be setup up so that batches are built automatically on a specified day of the month and then all statements without warnings/issues from those batches are automatically sent to the print vendor. All warnings/issues can then be worked on the Ready to Send screen.

Automatic Statement Batch Setup
Workflow
Batches are built and sent nightly automatically according to the Day of the Month specified for the Cycle. Users will need to review Past Due Warnings on the Ready to Send Screen the day after a batch is created and sent. Using the example Cycles above the following procedures would take place on the 2nd, 9th, 16th, and 23rd of each month.
Review Past Due Warnings
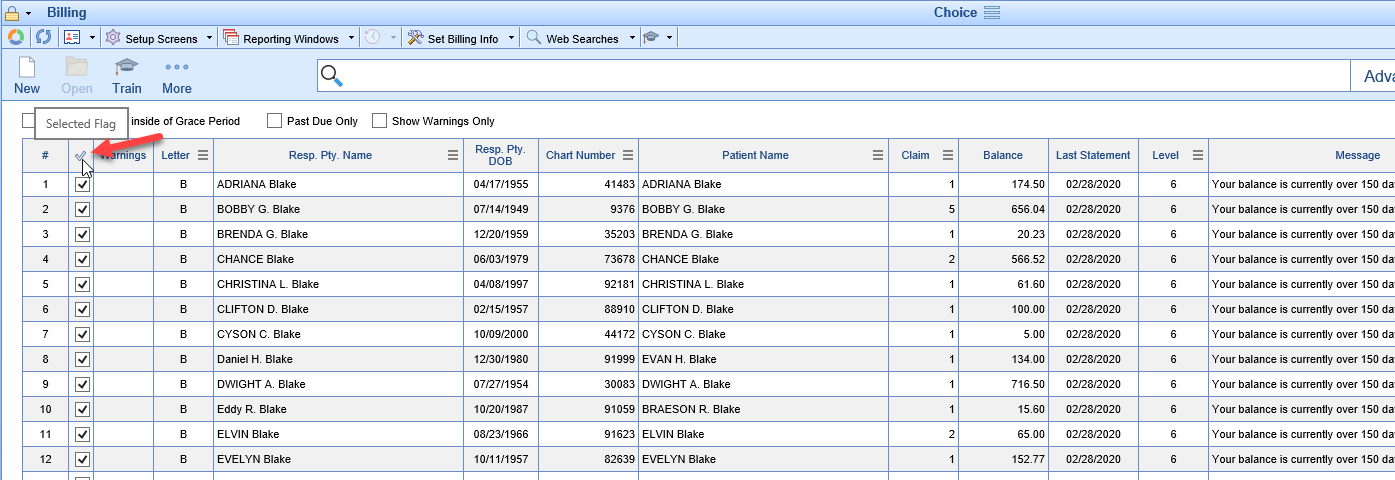
- Open the Ready to Send screen under Statements in the Billing Portal
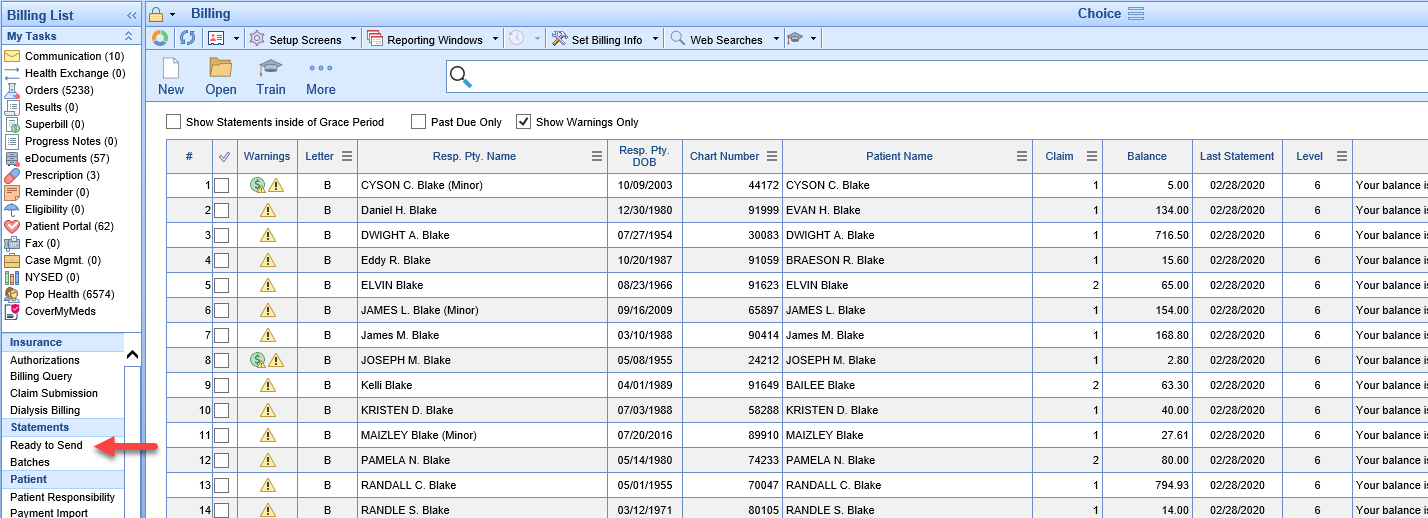
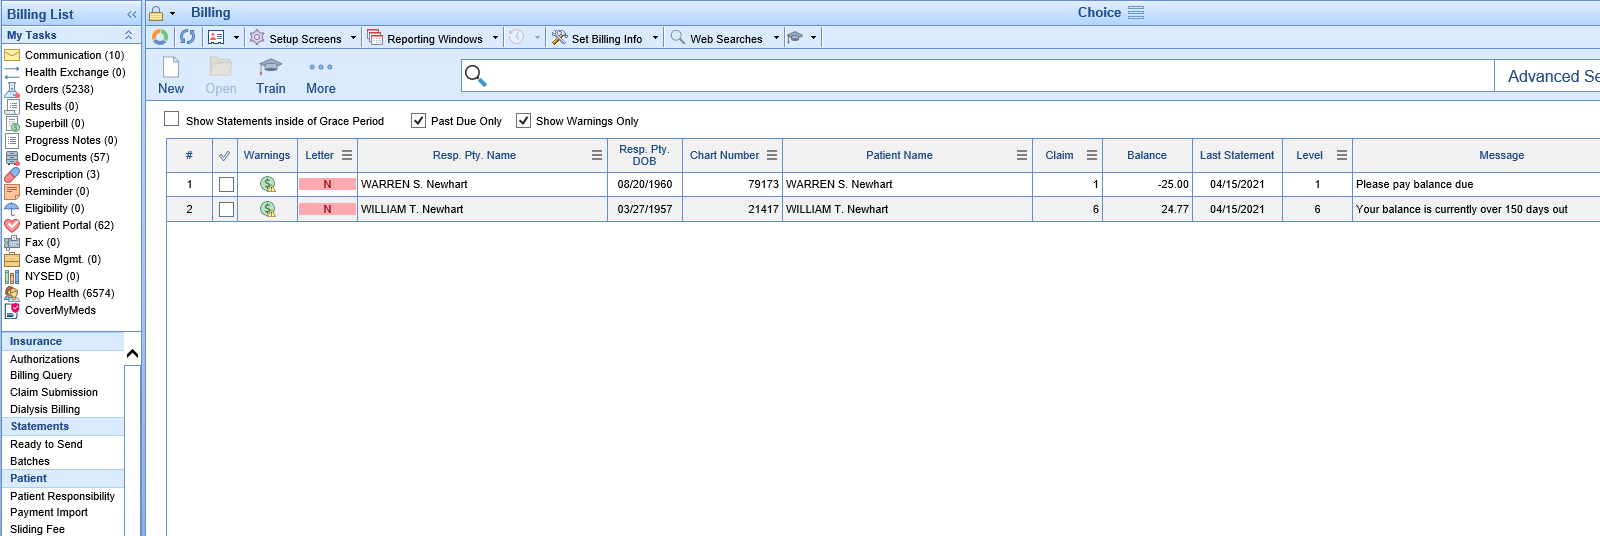
- Select the Past Due Only box in addition to the Show Warnings Only box that should be already selected to show all of the statements from the batch that was auto-sent that had warnings/issues and were excluded
- Double Click to open Statement Details
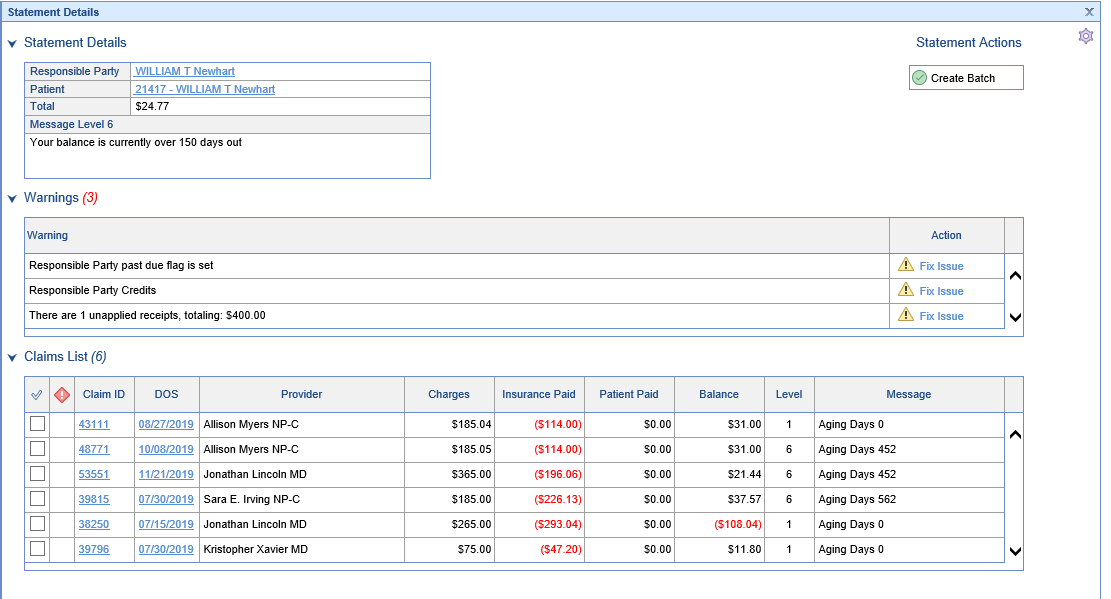
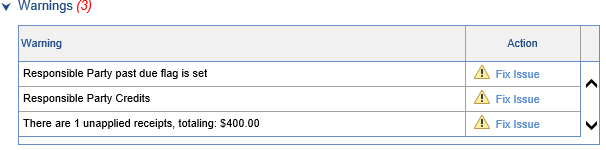
- Fix the Warning(s)/Issue(s) - How to fix Statement Warnings
- Continue until all necessary Warnings/Issues are corrected and close the final Statement Details Screen (any warnings that were left can be corrected or ignored in the batch/submit process)


You can now either be done and the statements will be sent out next month when the cycle processes again or you can batch and submit the corrected statements manually.
To batch and submit manually
- Click the Check mark on the Headings bar to Select All
- Click the New button to open the Prepare Batch screen
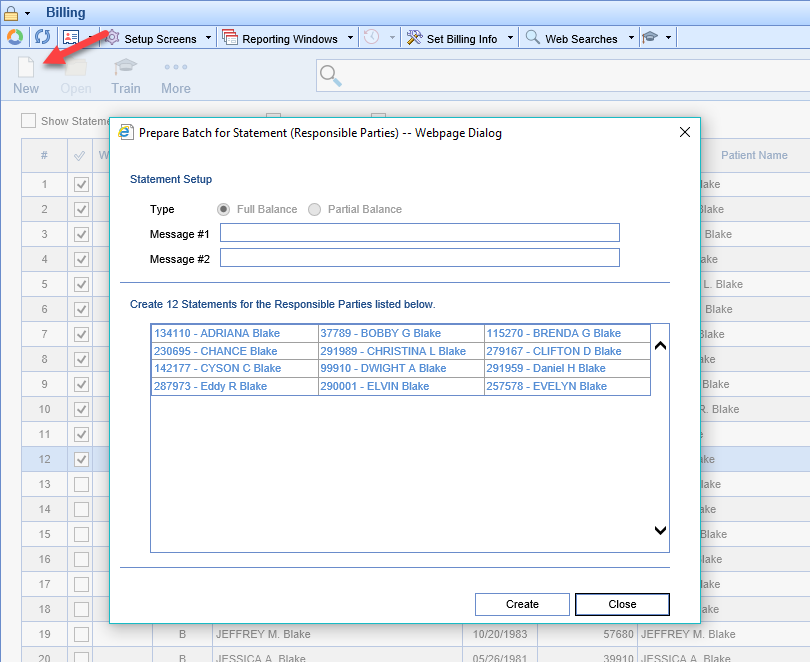
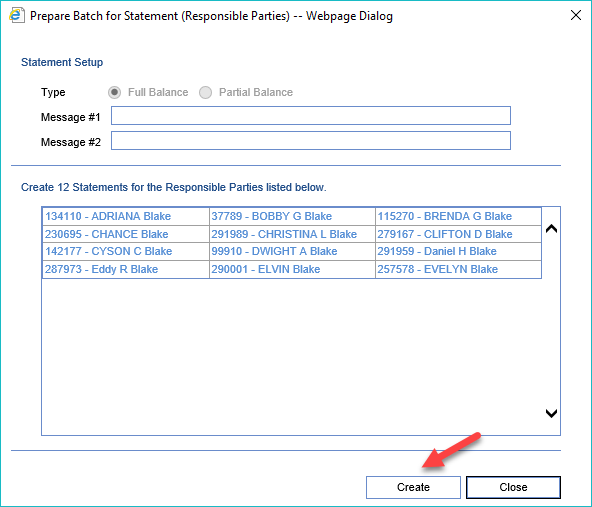
- Click the Create button to create the batch of statement for all of the selected responsible parties
- Open the Batches screen
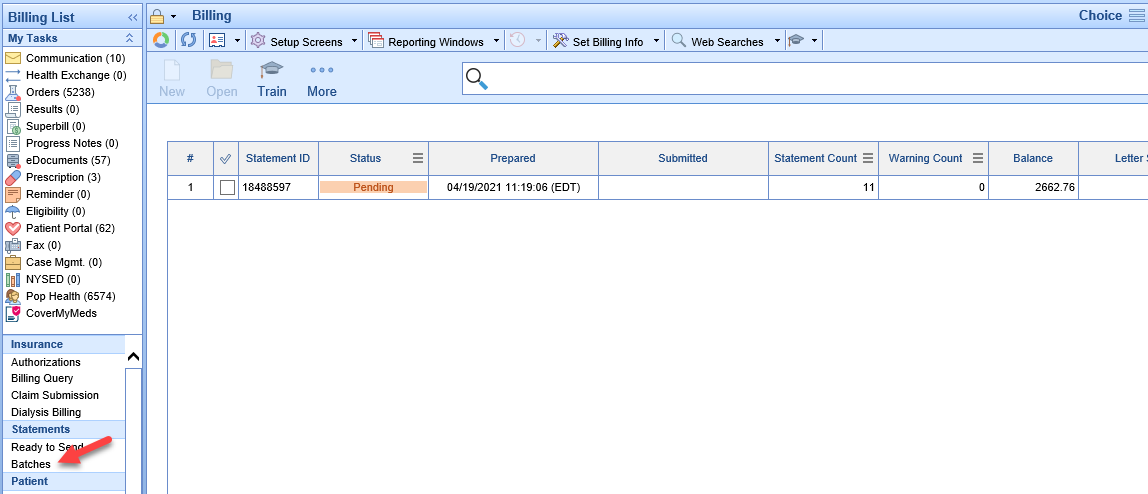


If there are no warnings
- Select the Batch
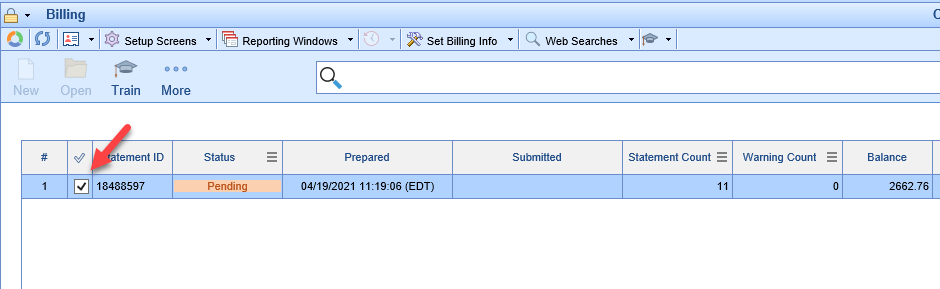
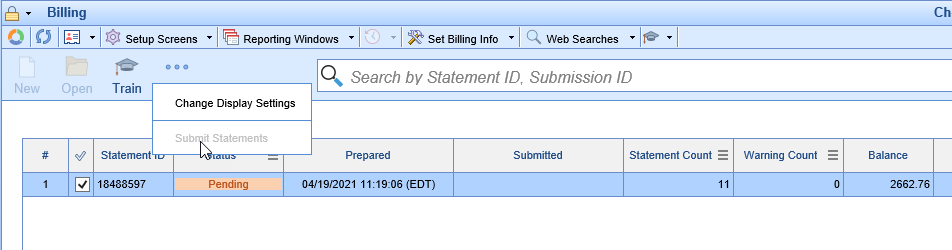
- Click the More button and select Submit Statements


If there ARE warnings on the batch
- Double Click on the Pending Batch to open Batch Details
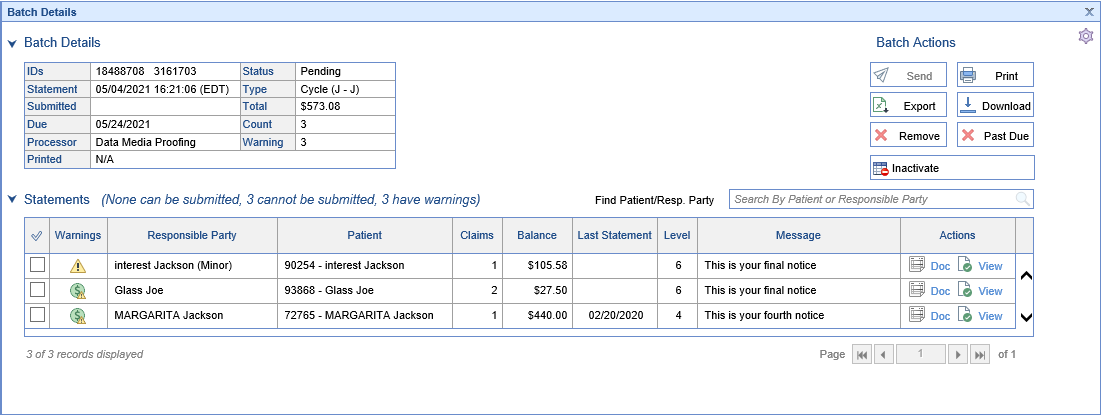
- Double Click on the first row to open Statement Details for the first statement with a warning
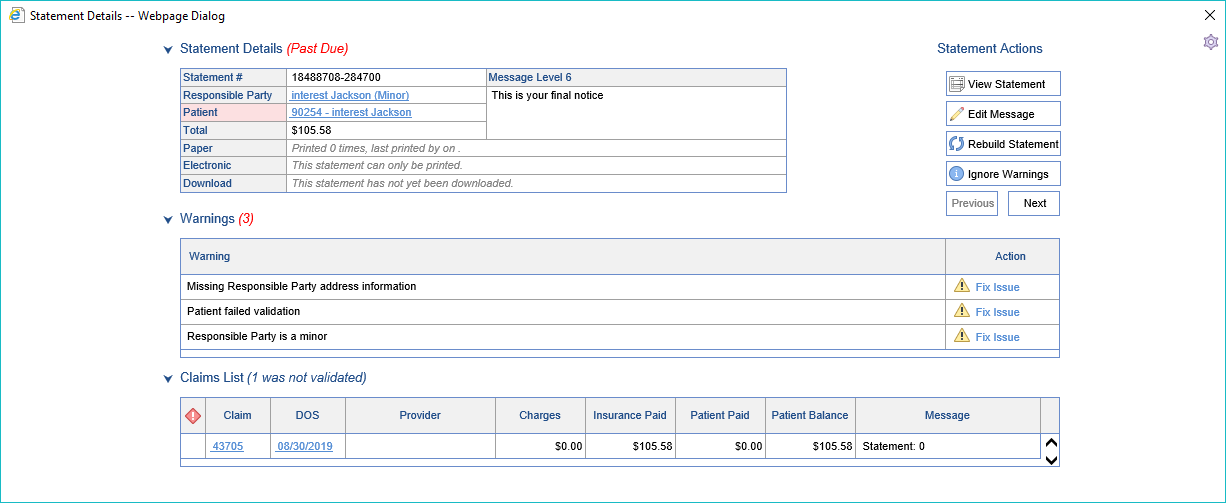
- You may now:
- Fix the necessary Warning(s)/Issue(s) - How to Fix Statement Warnings

- Click the Ignore Warnings button to Ignore remaining, unfixed warnings and send the statement out as-is

- Fix the necessary Warning(s)/Issue(s) - How to Fix Statement Warnings


