Once you have set up a payment plan, you may find that some edits or updates need to be made to the existing plan. There are various actions you can perform on the existing payment plans from the Payment Plan Details Screen.
Payment Plan Actions
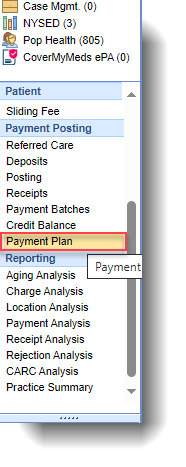
- To perform additional actions on an existing payment plan, navigate to the Payment Plan window within the Billing portal.
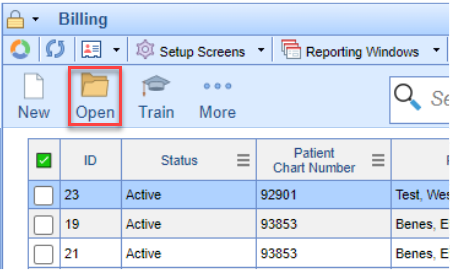
- From the Payment Plan window, highlight the desired payment plan and click "Open." Alternatively, you can simply double-click on the desired payment plan from the list to open it.
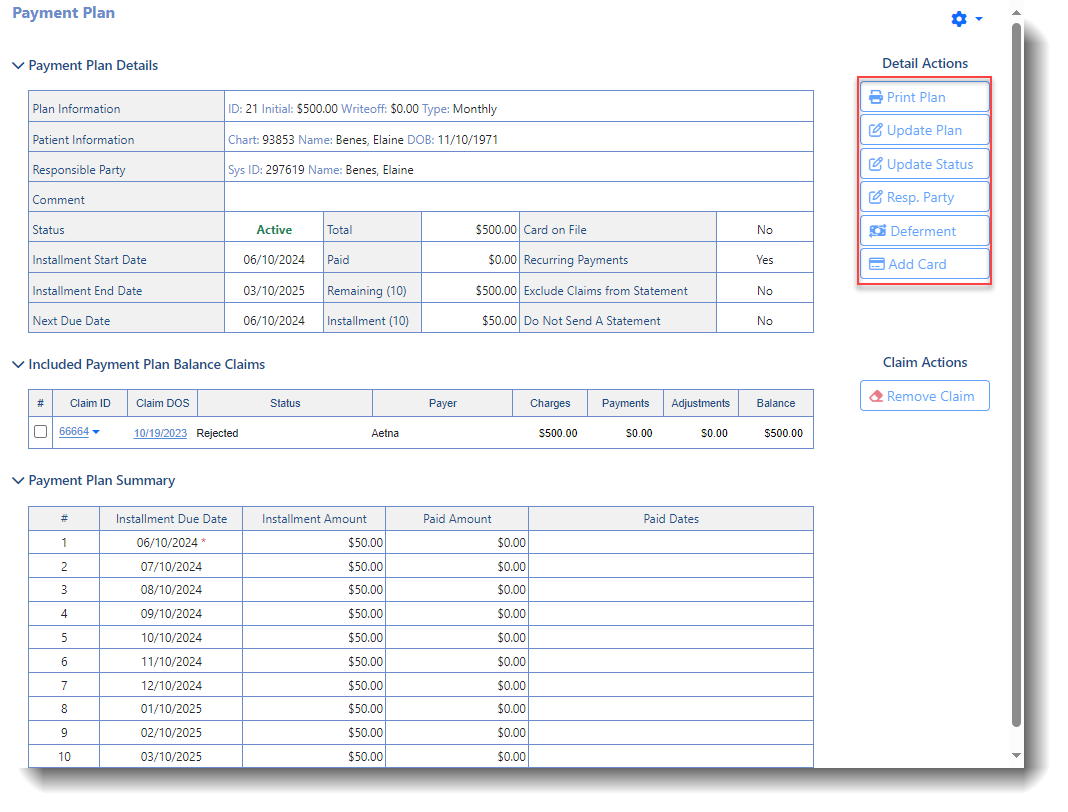
- Within the payment plan Detail Actions, select the desired action from the available options.


Update a Payment Plan
When a user clicks Update Plan within the Detail Actions in the Payment Plan Details Screen, the following takes place:
- The Update Payment Plan screen comes up.
- Enter any desired edits or updates.
- Optional: Enter any applicable write-off or adjustment.
- Optional: Edit the total amount due.
- Optional: Edit the installment amount.
- Optional: Edit the number of installments.
- Optional: Enter any payment plan comments.
- Optional: Select any payment plan flag(s)
- Recurring Payment: This will flag the payment plan for the recurring payment process.
- Exclude claims from statements: This will exclude the selected claims from being included in the patient’s statement.
- Do not send statements: This will set the Do Not Send Patient Statement flag for the patient while the payment plan is in Active Status.
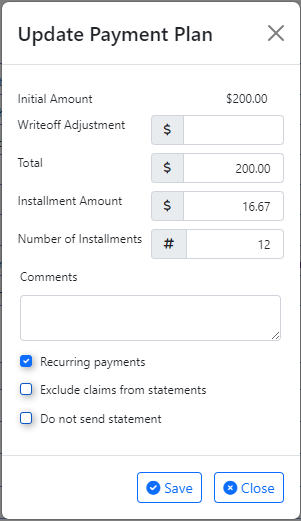
- Click Save.

Update a Payment Plan Status
When a user clicks Update Status within the Detail Actions in the Payment Plan Details Screen, the following takes place:
- The Payment Plan status screen comes up.
- Select the new status from the list:
- Active: The Payment Plan is active and up to date with the expected installment payments.
- Cancelled: The payment plan has been canceled.
- Completed: The entire payment plan balance was paid in full and no remaining balance exists.
- On Hold: The payment plan is in a hold state and will not be included in the recurring payment processing.
- Past Due: The payment plan has an installment that has not been paid in full by the installment due date.
- Select if you want to remove any unused claims from the plan.
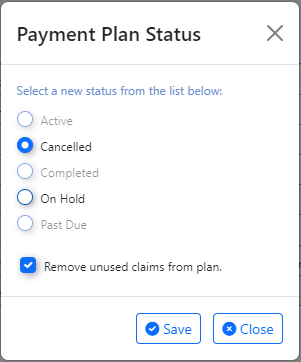
- Click Save.

Change Responsible Party
When a user clicks Resp Party within the Detail Actions in the Payment Plan Details Screen, the following takes place:
- The Change Responsible Party screen comes up.
- Click the dropdown to select the responsible party from the options.
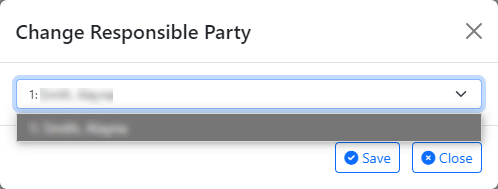
- Click Save.

Defer a Payment Plan
You can choose to delay/defer a payment until a future date by selecting this option. When a user clicks Deferment within the Detail Actions in the Payment Plan Details Screen, the following takes place:
- The Defer Payment Plan screen comes up.
- Select a new deferment date (new date for the payment) from the dropdown list.
Please note that any existing deferments will be removed.
- Optional: Add any additional periods (# of additional installments to extend the timeframe).
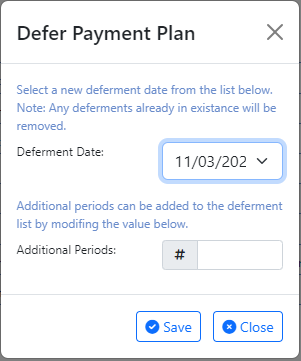
- Click Save.

Adding a Credit Card to a Payment Plan
You can save a new or existing patient credit card and associate it with the payment plan for recurring and manual processing by selecting this option. When a user clicks Add Card within the Detail Actions in the Payment Plan Details Screen, the following takes place:
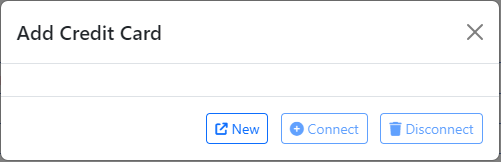
- The Add Credit Card screen comes up.
- Select new to add a new credit card, or select an existing card to connect/link to the payment plan (this is the same as the existing process of saving a patient credit card).