The iScheduler Day Setup is used to create structured schedules for individual resources. User access to the iScheduler Day Setup can be configured in the roles.
NOTE FROM IMPLEMENTATION: Most databases are setup to provide only the users with Admin privileges the ability to access and setup the iScheduler Day Setup. Practices who wish for additional users without Admin privileges to have access to the iScheduler Day Setup should configure a new role specifically for the iScheduler Day Setup.
This guide will explain how to configure custom schedules within the system, how to manage the unique locations, and how to build available times for appointments within the iScheduler.
When building a schedule, it is important to note that the schedule is being built on true dates. Meaning that the schedule is being applied directly to an actual date and not just a stored template. Users may wish to copy days to dates in the future in order to efficiently build schedules. Keep reading for how to copy a schedule forward.
Accessing the iScheduler Day Setup
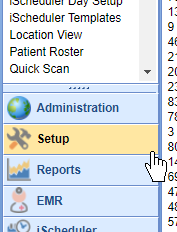
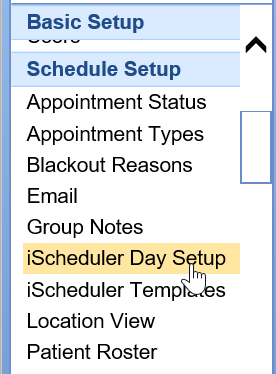
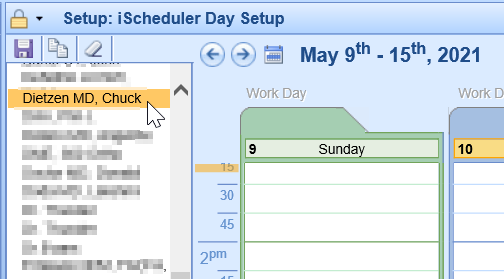
Begin by navigating to the Setup portal and locating the Schedule Setup section of the navigation pane.
- Navigate to Setup
- Find the Schedule Setup section and select the iScheduler Day Setup
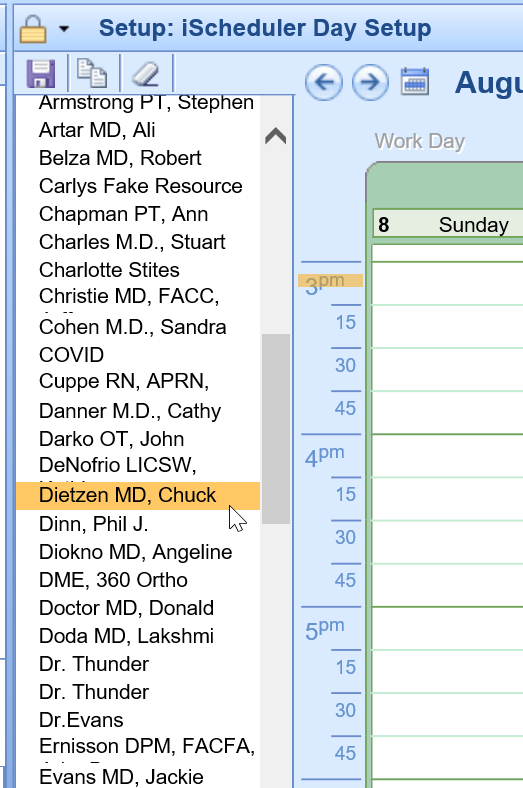
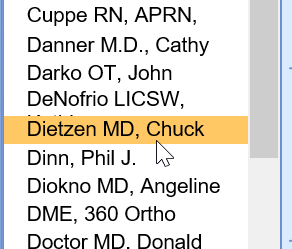
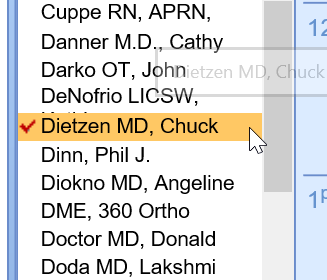
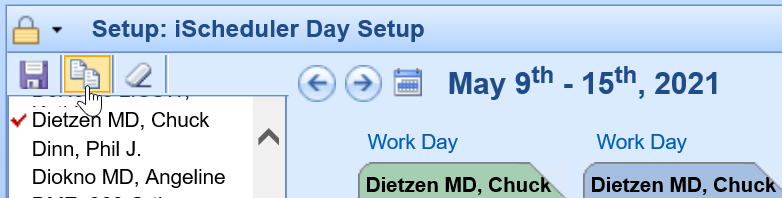
- Review the list of resources displayed on the left-hand side of the screen
 NOTE : If you do not see the resource that you are looking for, be sure that your user has access to that resource.
 - Select the resource that wish to modify


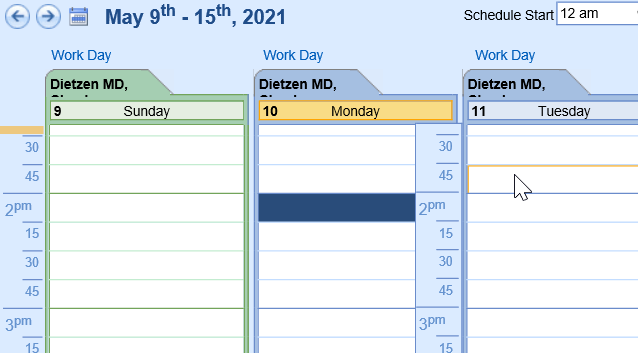
Schedule Start and End Time
Schedules are setup by default to display 24 hours of availability. For the best experience in the iScheduler, we recommend that the practice setup the Schedule Start and End Time to a more focused area of available time.
NOTE FROM IMPLEMENTATION: For best practices, your implementation team recommends identifying a universal start and end time that easily applies to all resources and also allows for a minimum of one hour of "buffer" time.
For example:
- If the practice opens at 8:00 AM and most providers begin seeing patients at 8:30 AM, 7:00 AM would be an ideal Schedule Start Time.
- If the latest provider taking their last appointment is finished at 4:00 PM, an ideal Schedule End time would be 5:00 PM.
By unifying the Schedule Start and End Time across all resources, this will create a streamlined view within the iScheduler.
To configure the Schedule Start and End Time for a resource:
- Ensure that you have your resource selected.
- Set the appropriate Schedule Start and End Times, located at the top of the screen.

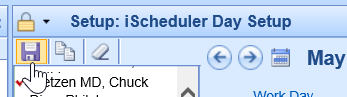
- Click Save


Work Day Start and End Time
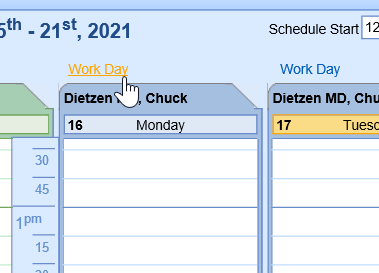
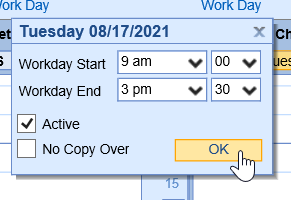
The Work Day Start and End Time can be found by selecting the "Work Day" link, located at the top of each day. The Word Day is used to limit the number of true "working hours" that are displayed for a schedule resource.
NOTE FROM IMPLEMENTATION: The Work Day Start and End Time should be set to accurately represent when appointments can be scheduled.
For example: If a provider will take appointments from 9:00 AM to 3:00 PM, their Work Day start will be 9:00 AM and Work Day End will be when their last appointment is over (Ex: 3:30 PM).
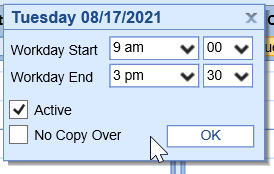
- With your Resource selected, navigate above the day of the week you wish to modify
- Set the appropriate Work Day Start and End Time
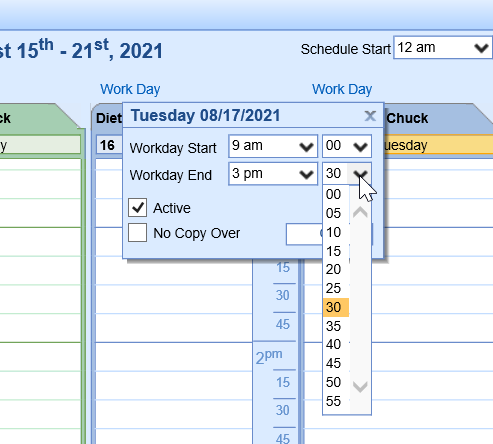
- Click OK to apply changes
- Save the schedule


Note: The "Active" indicator determines whether or not this day will display on the iScheduler. The "No Copy Over" indicator determines whether or not the parameters set for this day can be copied over.
How to use:
- Active: For most Saturdays and Sundays, users may wish to deselect the Active indicator so that the weekends do not display on the iScheduler.
- No Copy Over: For days that should not be changed, the No Copy Over will keep the parameters for that single day. For example, Holidays could be set as "Do Not Copy Over" because those days will not change, even if a user wishes to copy a schedule forward over that previously set holiday.

Apply Locations
It is important to appropriately assign locations to a schedule in order to efficiently schedule and navigate within the iScheduler. Locations can be assigned unique colors within the Location Setup.
To apply a location to a schedule:
- Ensure that your resource is selected
- Select a time interval on the schedule to turn the block navy blue
- Right click over the navy blue block, select Add Location
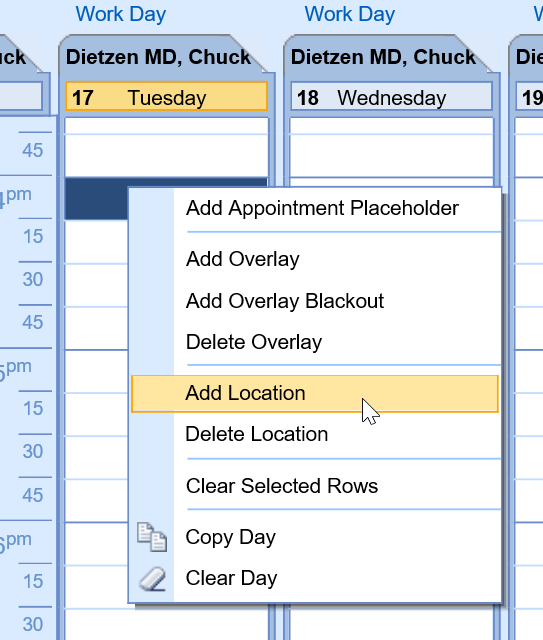
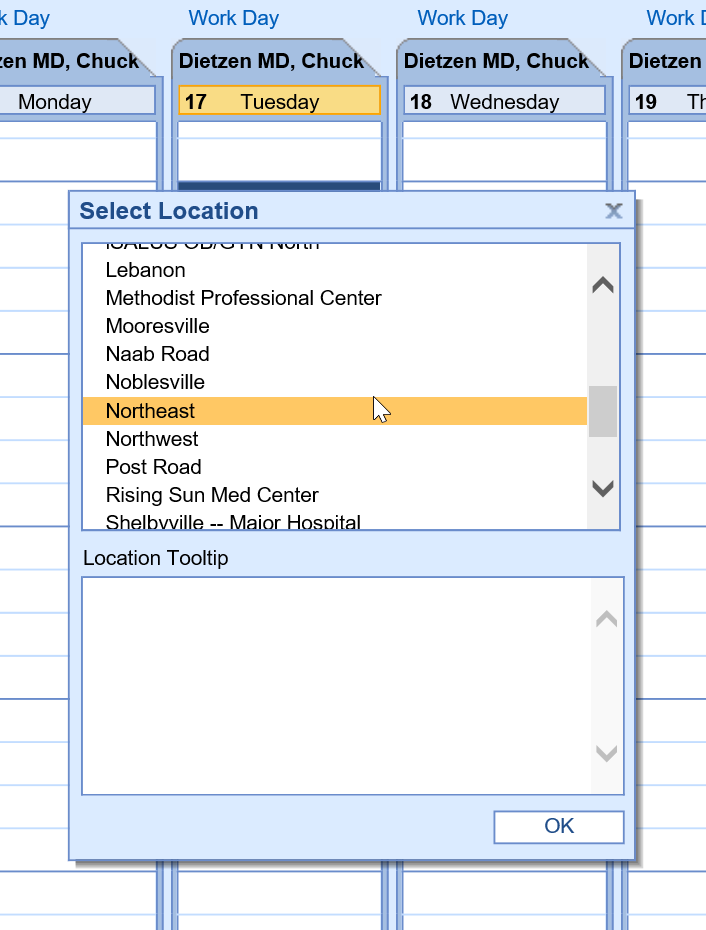
- Select the desired location, Click OK
- Save the schedule


PRO TIP: To apply a location for an extended period of time, single click on the first interval of time, turning the block navy blue. Then, hold SHIFT down on your keyboard and click a later time interval.
For example: If a provider services a single location for several hours, select the 2:00 - 2:15 block, hold SHIFT down on the keyboard, then select the 4:00 block.
This will select multiple blocks at once in order to apply a Location to a longer period of time.

Locations are displayed with a stripe of color on the left-hand side of the day. Users can hover their mouse over the color to display a tooltip description of the location name.

Apply Placeholders
For practices who wish to set specific appointment types throughout the day, the placeholder function will allow a user to determine a unique template within the iScheduler Day Setup.
To apply a placeholder to a schedule:
- Ensure that your resource is selected
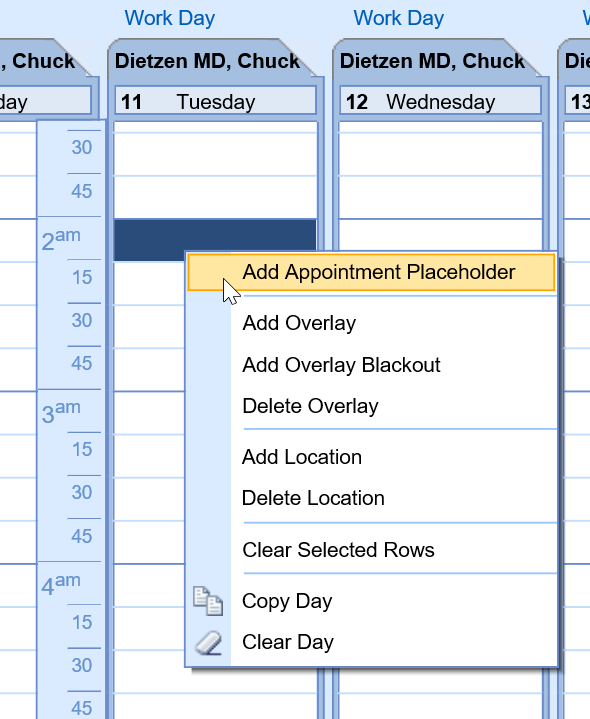
- Select a time interval on the schedule to turn the block navy blue
- Right click over the navy blue block, select Add Appointment Placeholder
- Select the desired Service Location and Appointment Type, click OK
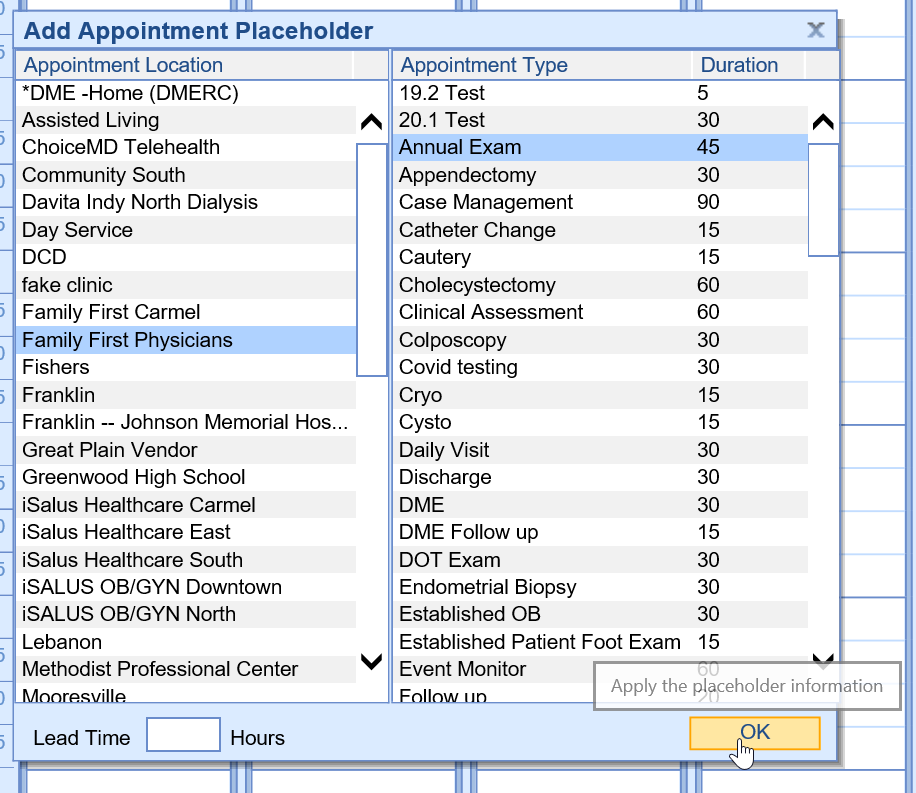
- Placeholders will be displayed using the duration indicated in the Appointment Type setup
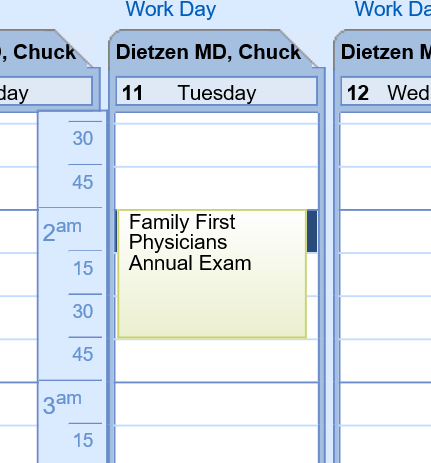


PRO TIP: To quickly create a custom workday using placeholders, simply right click over the placeholder to easily Copy or Delete an existing placeholder.

Simply drag and drop the duplicate placeholder to the desired time.

Copying a Schedule
In an effort to efficiently create, manage, and distribute schedules, several copying functions are available for use in the iScheduler Day Setup. Once a schedule has either been built for a single day or an entire week, user will have the opportunity to copy that schedule forward.
Copy a Single Day
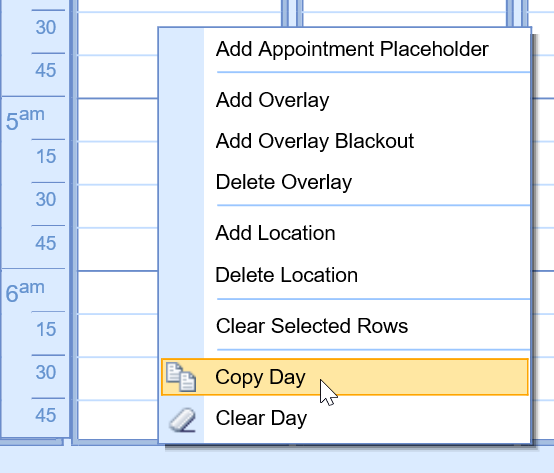
- Simply right click over a single day and select Copy Day
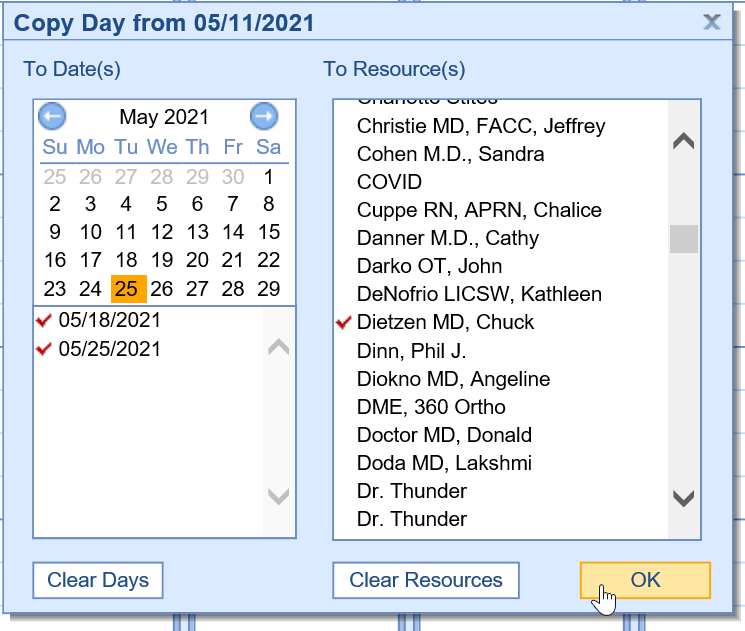
- Using the calendar, select the desired dates to copy the selected date forward. Then select the desired resource(s) in which you wish to apply the schedule to. Click OK


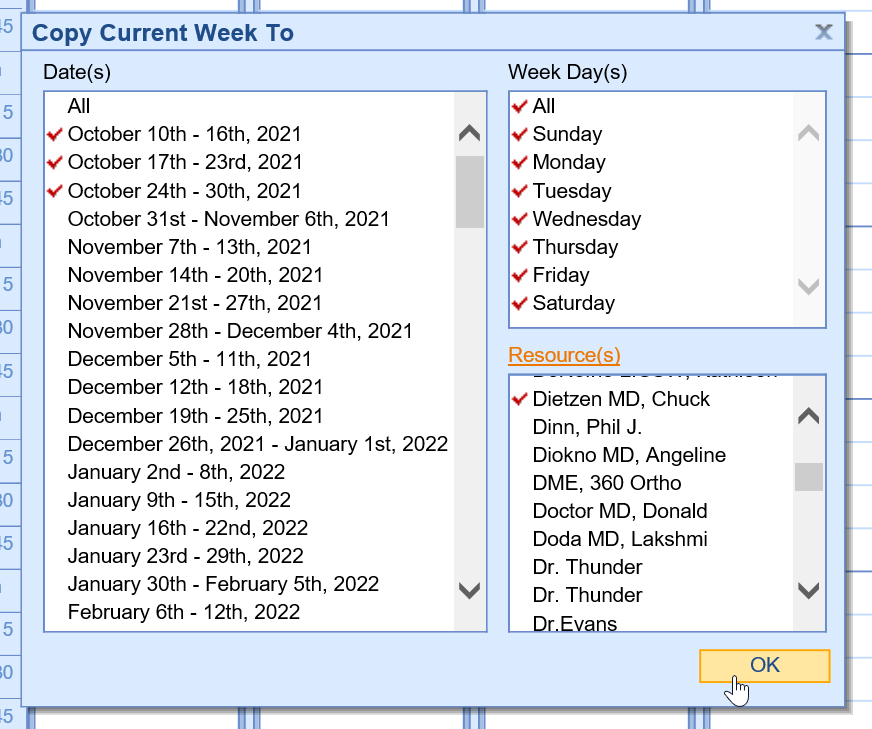
Copy an Entire Week
- From the iScheduler Day Setup toolbar, select the copy button
- Using the list of available weeks, select the desired dates to copy the selected week forward. Then select the desire days of the weeks you wish to copy. Finally, select the desired resource(s) in which you wish to apply the schedule to. Click OK