Filtering options for working your CoverMyMeds ePA requests:
We have added new advanced filtering capabilities to compliment practice workflows when using CoverMyMeds for ePA processing. This new functionality includes moving expired, cancelled, or cancelling ePA records to new Expired/Cancelled queue. Filtering via the search field allows users to narrow down their ePA records based on Patient, Provider, or Drug. Further data refinement is made possible using the filter icon which allows users to further refine their data view by icon and then constraining data by keying in the desired filter for the remaining data fields (ePA status, date, user). The final filtering enhancement is to allow users to sort data by clicking on the column headers.
If you are not currently set up on CoverMyMeds for electronic prescription prior authorizations, you will need to reach out to have this feature enabled by an iSalus representative. Please complete the Typeform if you wish to enable this functionality for your practice. Please be aware that some of the settings below may not be visible until the corresponding features are enabled.
Additionally, once the feature is enabled for your practice, you will want to start off by reading through this article to get started.
Data Filtering Options:
- To reduce volume of records displayed in the CoverMyMeds ePA queue we have added a new Expired/Cancelled queue category where we are automatically moving records in status of expired, cancelled, or cancelling. This helps reduce the volume of records a user has to work through but allows a user to locate and view records in these statuses should that be necessary (by accessing the new queue category).
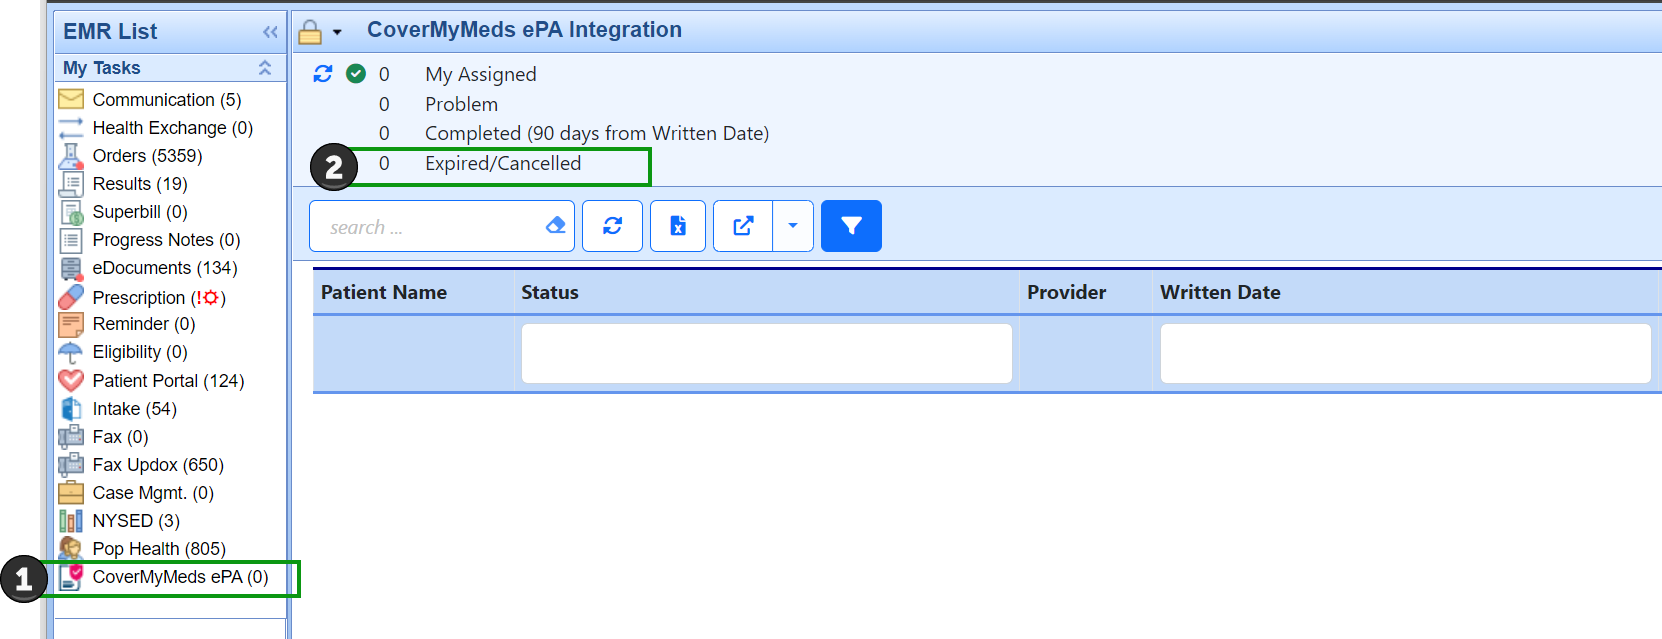
- Filtering via the search field allows users to narrow down their ePA records based user input in the search box related to Patient, Provider, or Drug. Note: The eraser icon in the search box removes the filtering and restores the full list of records.
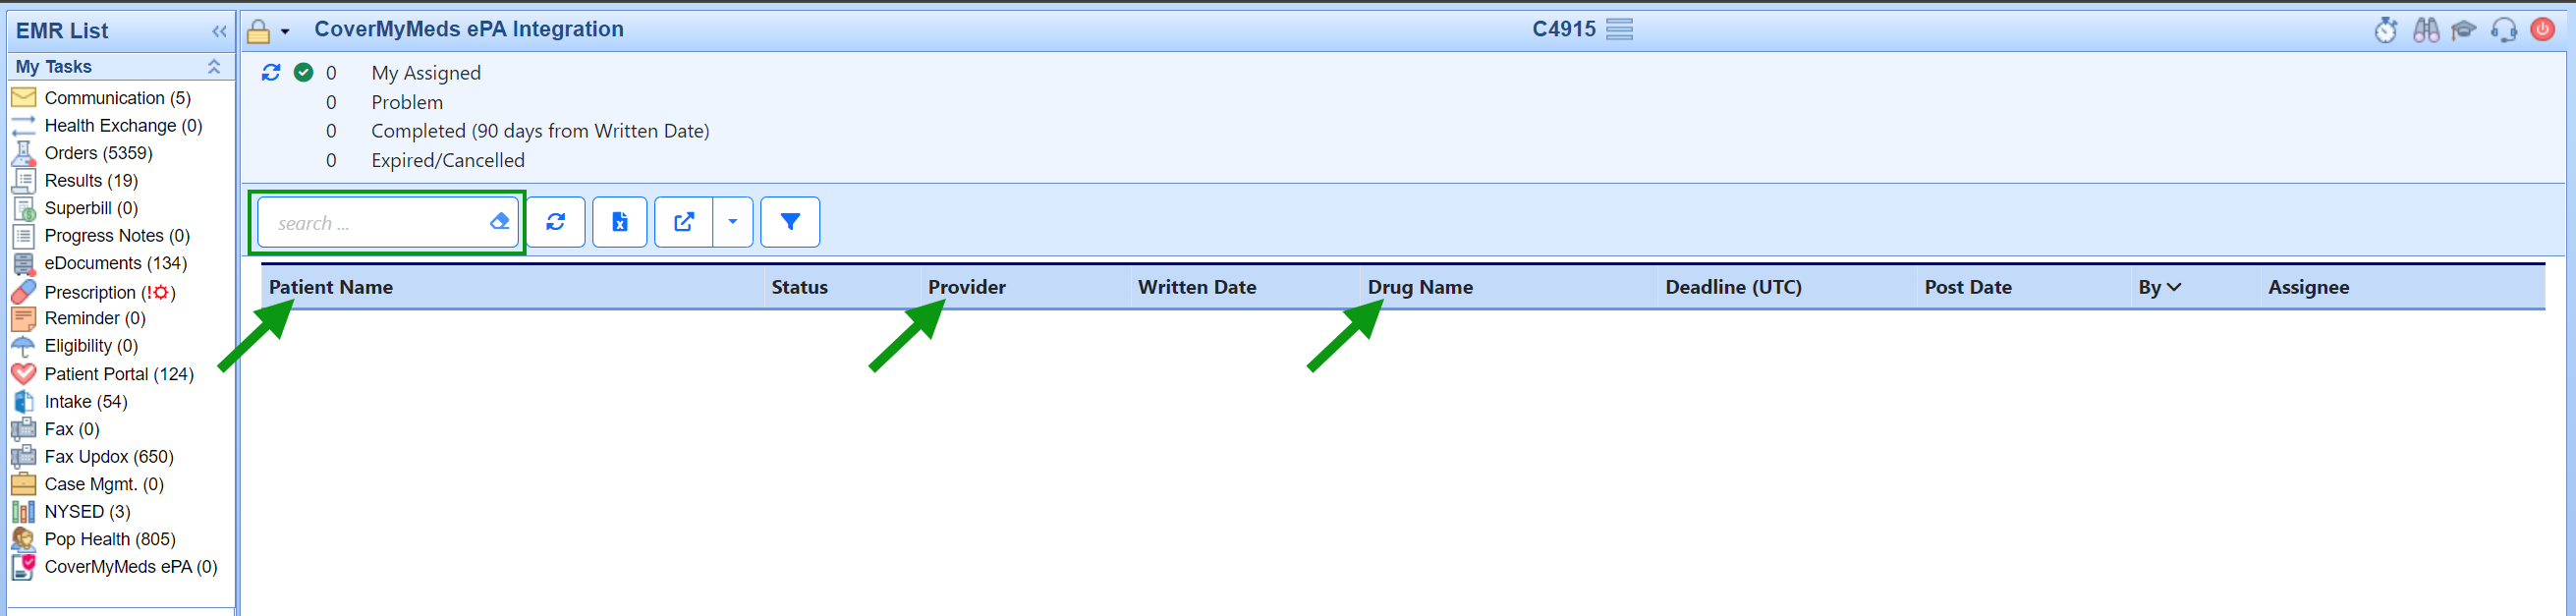
- Further data refinement is made possible using the filter icon. The filter allows users to further refine their data view by icon and then constraining data by inputting the desired filter for the remaining data fields (ePA status, date, user).

- Clicking on the column headers allows users sort the records displayed in ascending/descending order based on the column header that they click. Note: Once a user has sorted using this method the only way to restore the system default for sorting of these records is to use the Reset Current Window.


Users can combine the data filtering options listed above for the most detailed refinement of data for maximum efficiency as shown in the example below:

