The Appointment Report is used for pulling data based on scheduled appointments. This may include appointment data, patient demographic data, and more.
If you have set display settings already, you may skip to step #6.
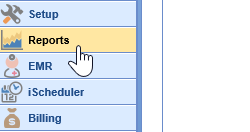
- Navigate to the Reports portal in the lower left hand corner.
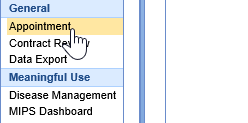
- In the left hand navigation pane, select the Appointment option underneath the General header.
- Once the report is opened, a user may select which columns to display in the report by clicking the More button at the top of the screen, then selecting the Change Display Settings button.

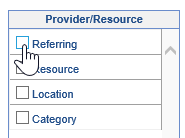
- Check the appropriate fields you would like to display in the report.
- Choose the Save Settings option in the lower right corner.
- To set the report criteria, open the Advanced Search

- Set the appropriate criteria, then click the Search button at the bottom of the Advanced Search criteria.
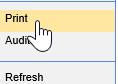
- The report will run. To print or export the report, click the Gear Icon in the upper right corner.
- Choose the Print option from the dropdown menu and you will be prompted to print or export to excel.