For users that have the ability to respond to a prescription change request, you will need to take action on the requests that are assigned to you. Taking action means completing one of the following for each request: approve, deny, replace, validate or reassign the request.
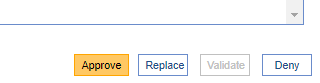
- Approve the Request: Take this action when you want to approve the change request exactly as it has been requested from the pharmacy. The only change you can make is to add an approval note to the pharmacy.
- Please note, you may not be able to approve a request under the following conditions:
- If the medication is a controlled substance. Controlled substances can only be denied, validated or replaced.
- If the request is missing required information.
- Please note, you may not be able to approve a request under the following conditions:
- Replace the Request: Take this action when you want to change anything about the original request or you wish to "approve" a request for a controlled substance. This could include changing the dosage, instructions, or the medication entirely.
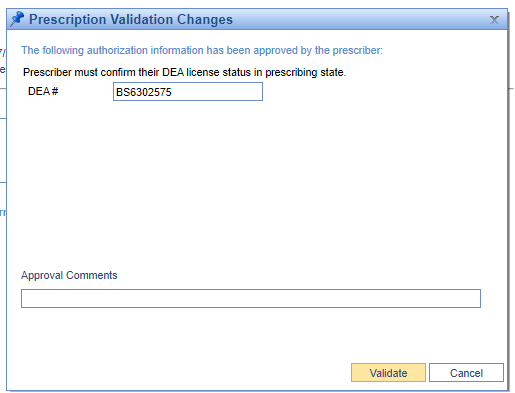
- Validate the Request: Take this action to validate prescriber authorization information, such as confirming DEA number or enrollment with prescription benefit plan.
- Deny the Request: Take this action when you do not want the request to be approved in any way. This may be because the patient is no longer in your care, they stopped taking the medication, or any other reason.
- Please note, you may be required to deny a request under the following conditions:
- if the medication is not a codified medication (i.e. a compound medication), the medication is for a controlled substance and the pharmacy cannot accept controlled substance change responses.
- Please note, you may be required to deny a request under the following conditions:
- Reassign the Request: If you don't feel that you have enough information to respond to the request, you may find it beneficial to type in an "office memo", then change the owner on the request so that another user can gather the information and then re-assign it to you.
Steps to Approve
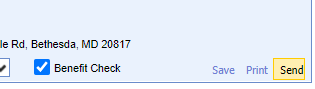
- After selecting the change request from the list on the left, you will see all the details of the request.

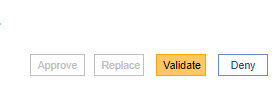
- Click Approve.
- Select the appropriate Fill Statuses you wish to receive. You can optionally decide to add an approval comment to send to the pharmacy.
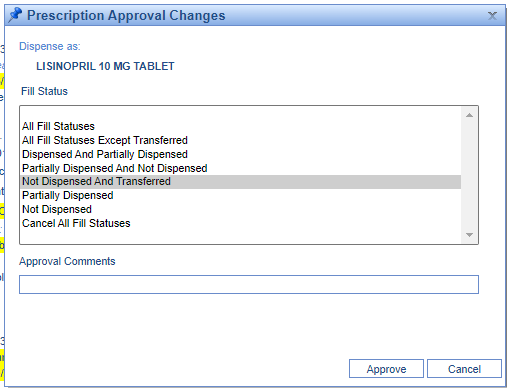
- Click Approve.


Success!
This request will now be moved to the 'Completed Change Request' queue.
Steps to Replace
- After selecting the change request from the list on the left, you will see all the details of the request.
- Click Replace.

- Add an optional comment to the pharmacy and select the Replace button.
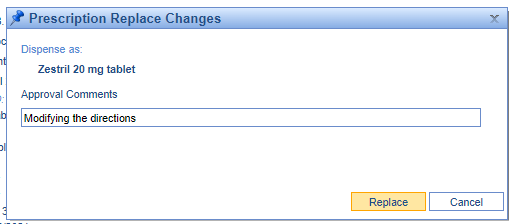
- The prescription pad will open. Use this to modify the prescription in any way you see fit other than the prescriber and pharmacy.
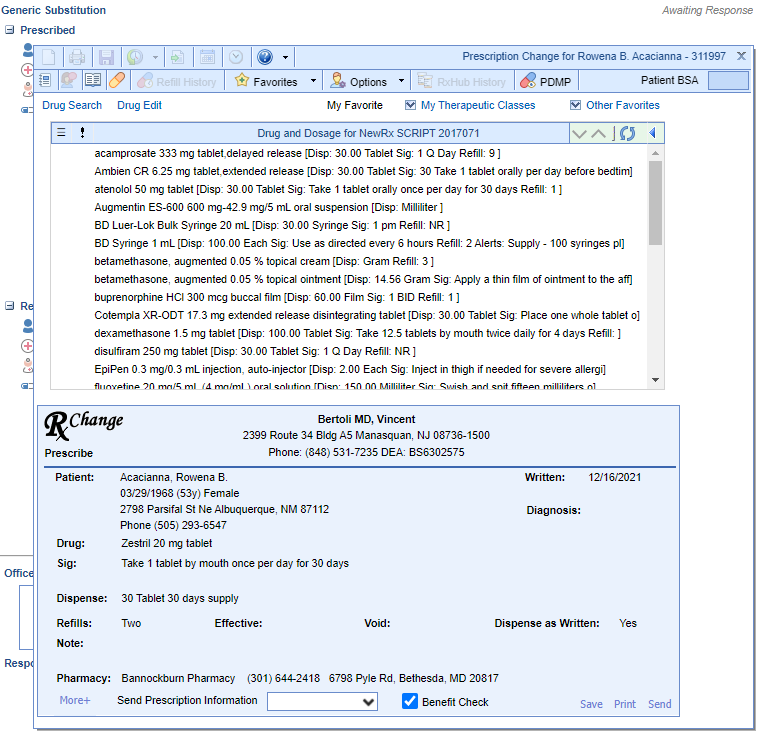
- Click Send on the Rx Pad.


Success!
This request will now be replaced and moved to the 'Completed Change Requests' queue.
Steps to Validate
- After selecting a prescriber authorization change request from the list on the left, you will see all the details of the request.
- Click Validate.
- Supply appropriate authorization information and optional comment to the pharmacy. Click the Validate button.


Success!
This request will now be validated and moved to the 'Completed Change Requests' queue.
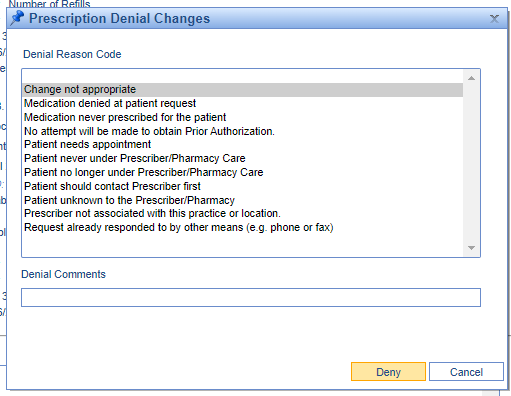
Steps to Deny
- After selecting the change request from the list on the left, you will see all the details of the request.
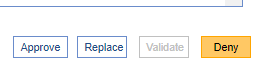
- Click Deny.
- Supply a denial reason and/or a denial comment to the pharmacy. Click the Deny button.


Success!
This request will now be denied and moved to the 'Completed Change Requests' queue.
