The Photos window in the OfficeEMR Mobile application will allow a user to add a new image for a patient. Once the image is captured, it can then be saved to the patient's chart. While saving, you may choose to simply save the photo or save the phot as the patient's headshot. When saving, if you have selected a team member members name, a copy of the phot will be shared with that individual.
Steps
- Search for a patient and open that patient's chart: Search for a patient
- The Summary tab will be displayed once the chart is opened.
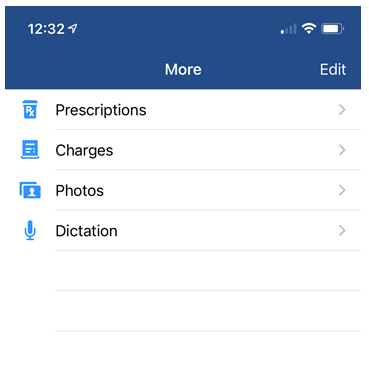
- Tap the More button to reveal additional menu options.

- Tap Photos from the list.
- A list of previously saved images will appear. To take a new photo or upload a photo into the chart, tap the + icon in the upper right corner.
- To upload a photo or take a new photo, click the Tap to Take a Photo icon at the bottom:
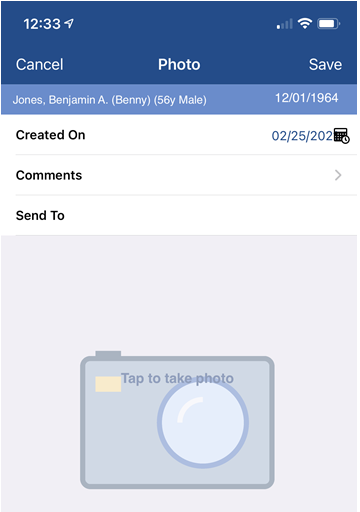
- Enter the details for the photo. To send the photo as a communication, add a user or group in the Send To section.
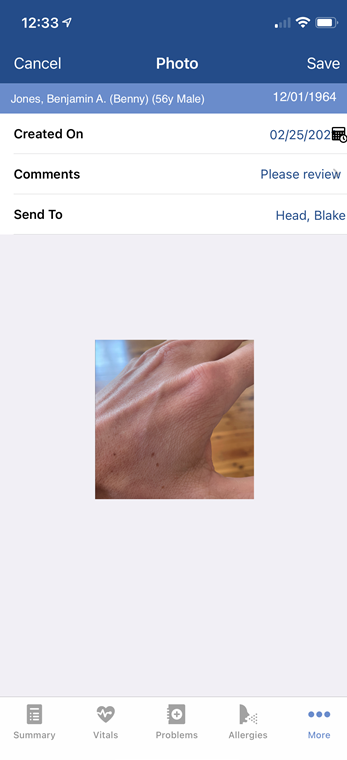
- Click Save.

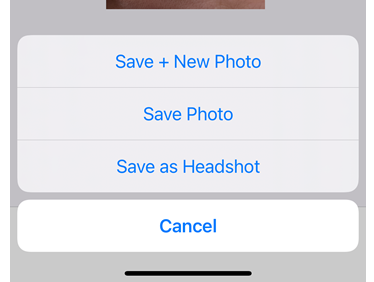
- If you would like to simply save the image to the chart, click Save or Save + New Photo. If you would like to have this photo used as the patient's head shot, click Save as Headshot.