The Summary window in the OfficeEMR Mobile application provides easy access to critical areas of a patient's chart. This is also the starting point to begin a Telehealth session with the patient using the OfficeEMR Mobile device.
LICENSE REQUIRED:
Please note, your user must have been assigned a license to conduct a telehealth session. Contact our support team at support@isalushealthcare.com to learn more.
Steps
- Search for a patient and open that patient's chart: Search for a patient
- The Summary tab will be displayed once the chart is opened.
- Tap the Video icon in the upper right corner to begin the visit.

- Choose the contact method that you would like to send the text/e-mail message to. You can click the custom button to manually enter a number/e-mail.
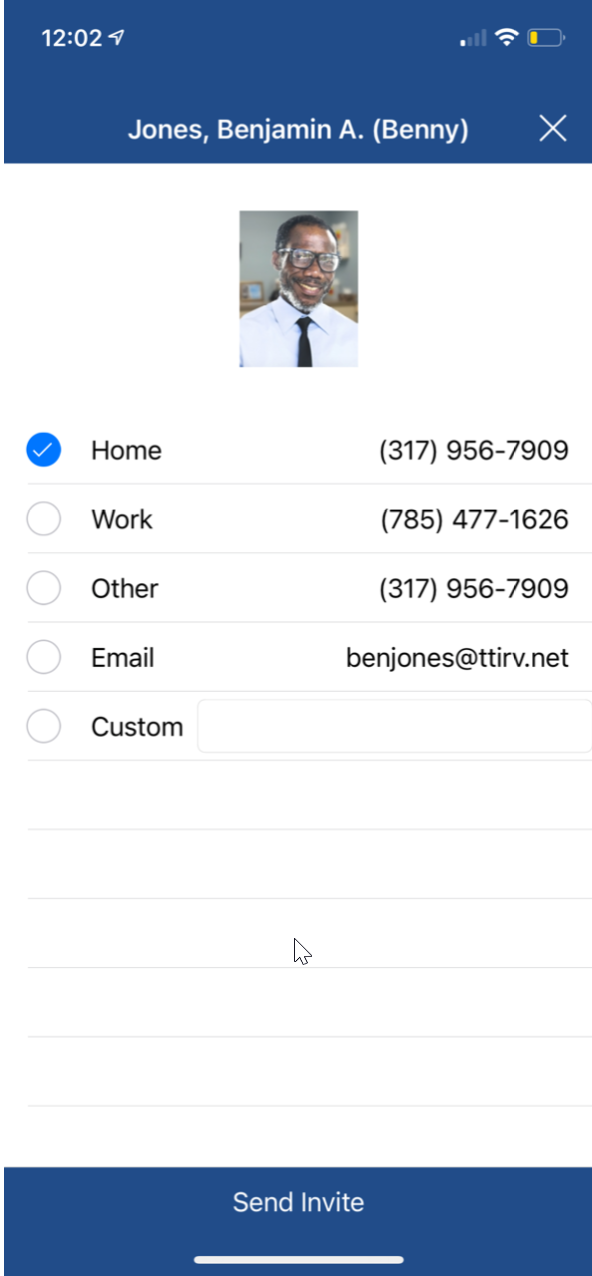
- Click Send Invite to send the message.

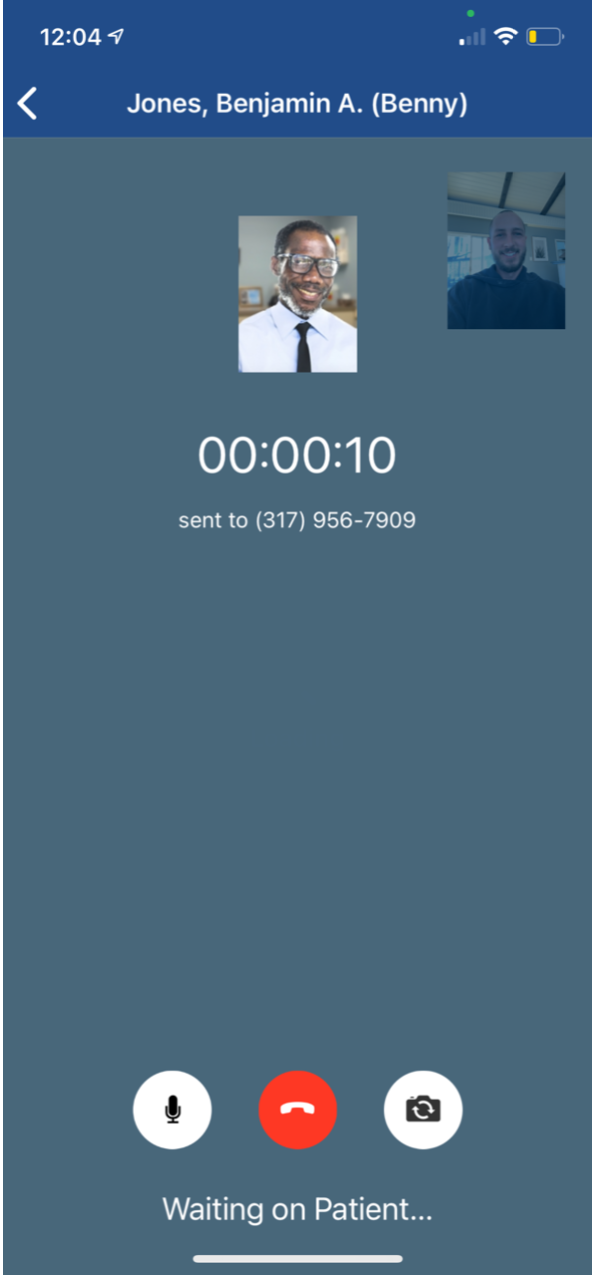
- You will be notified that you are waiting on the patient.
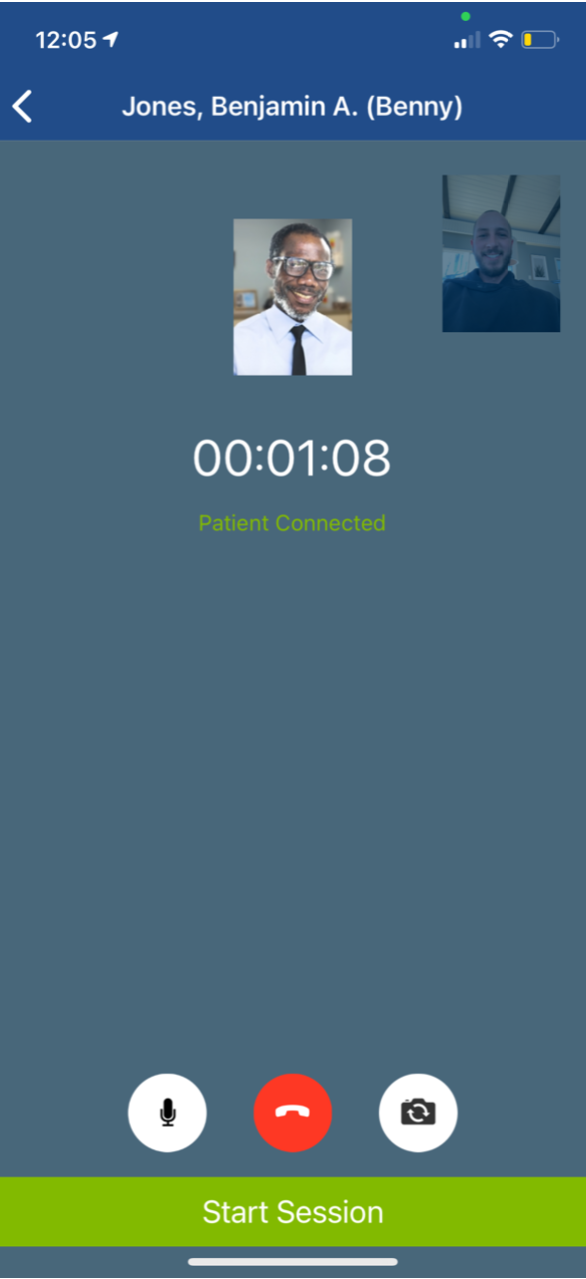
- Once the patient has joined the room, you will be notified that you can start the session . Click Start Session.
- You will now be able to conduct a live video and audio call with your patient. While in the session, you may access other features - more details can be found below.
- Once finished, click the End button.

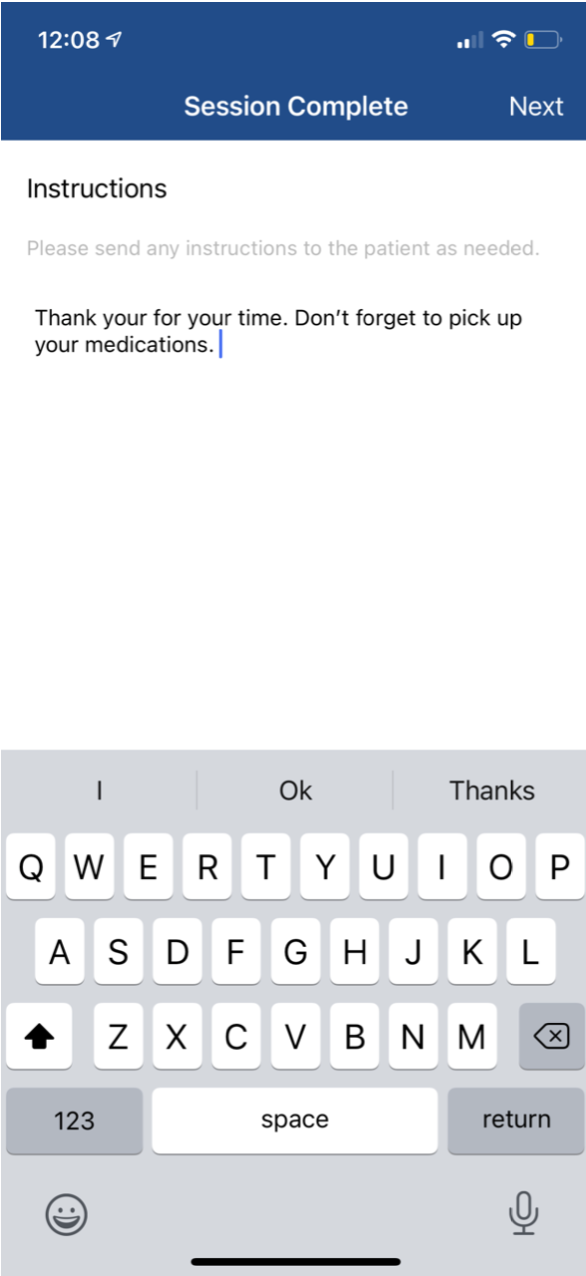
- Enter any follow-up instructions that you would like sent to the patient. Click Next.
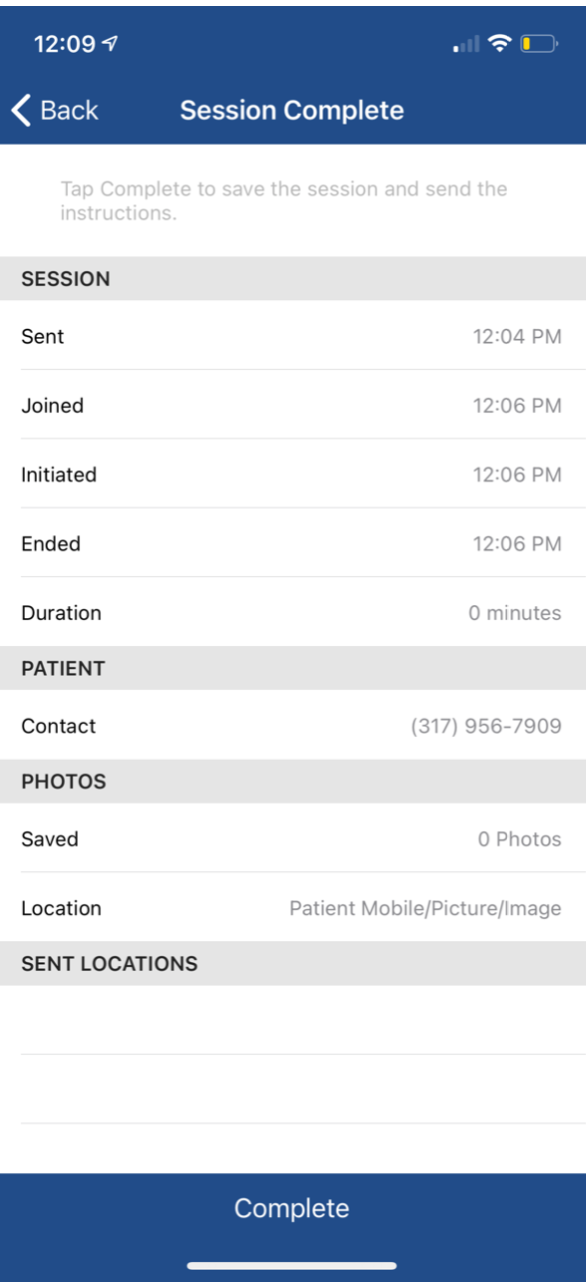
- You will be presented with a summary of the call. Click Complete.


PRO TIP:
You can conduct a Telehealth Session from your desktop computer as well. Learn More: Telehealth
Conduct the Telehealth Visit
After the session has begun, you will be in a two-way audio and video session with the patient. You will have access to see the patient’s location and see information about their device. You will also be able to capture photos of the patient and see critical details about the visit.
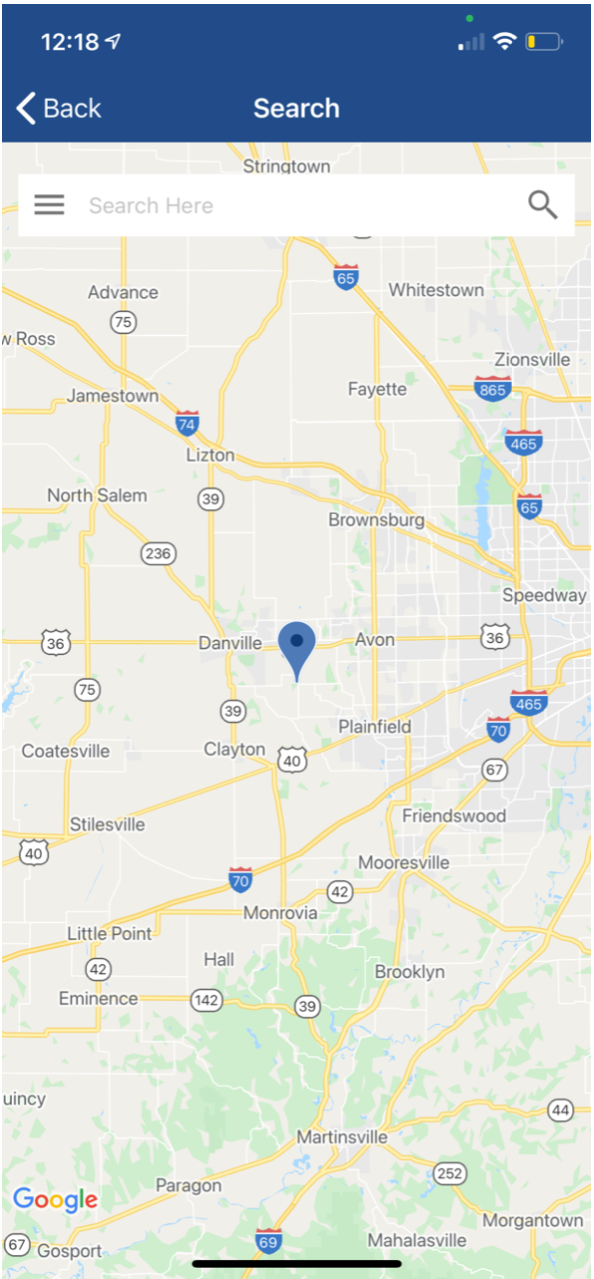
Location Details
- Tap the 'Map' icon to see the patients location (if they have allowed the application to use their location).
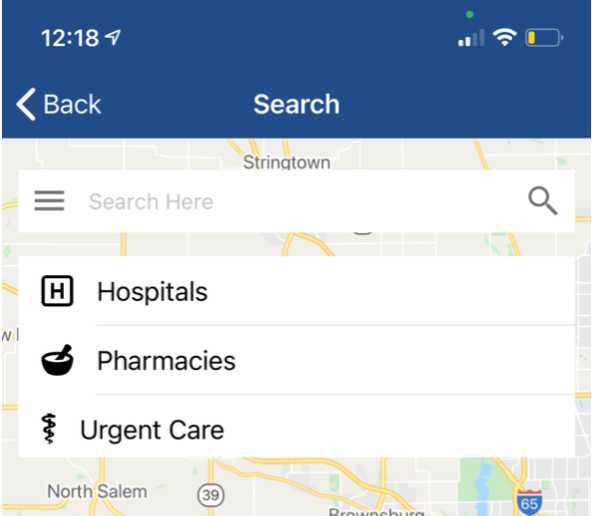
- Tap the 'Menu' icon to see nearby healthcare facilities like hospitals, pharmacies, and urgent care centers.
- Select a location to share driving directions to that destination with the patient.
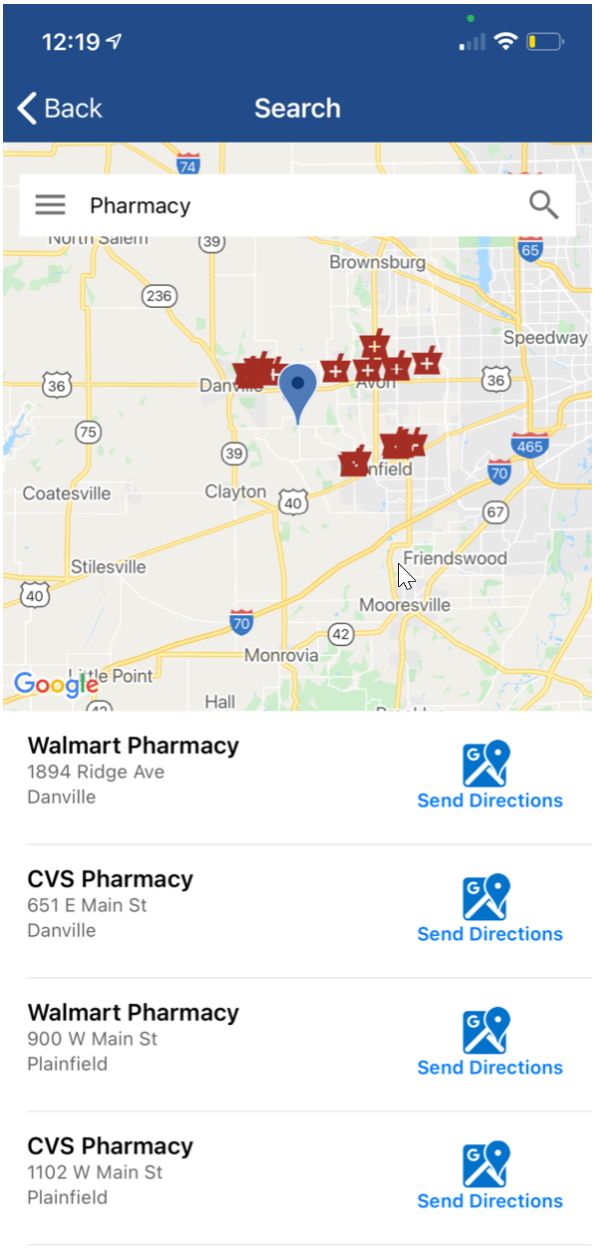
- You can also search locations nearby the patient as well.


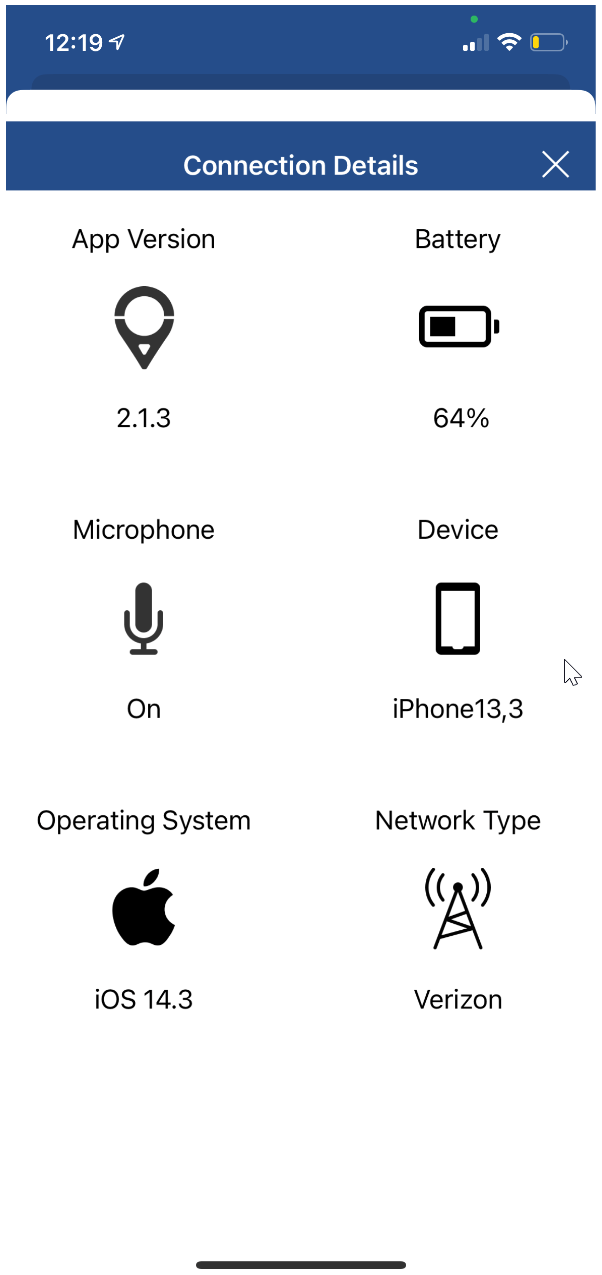
Connection Details
- App Version: The AnywhereCare Version number will be visible to ensure the most up to date application is being used.
- Battery: The patient’s Battery Strength will display.
- Microphone: The application will detect if the patient's microphone is on or off.
- Device: he application will detect the type of device the patient is using.
- Operating System: The patient’s device operating system will be displayed.

Session Details
- Sent: The is the date/time that the invite was initially sent to the patient to join.
- Joined: This is the date/time that the patient joined the room.
- Initiated: This is the date/time that the provider began the visit.
- Ended: This is the date/time that the session was completed.
- Duration: This is the total time elapsed from when the invite was sent to when the session was completed.
- Contact: This is the contact number used for the session.
- Photos - Location: This is the location of where the photos that were taken will be stored in the EMR.
- Photos - Saved: This is the total number of photos taken during the session.
- Sent Locations: The name of the location shared with the patient from the maps screen.
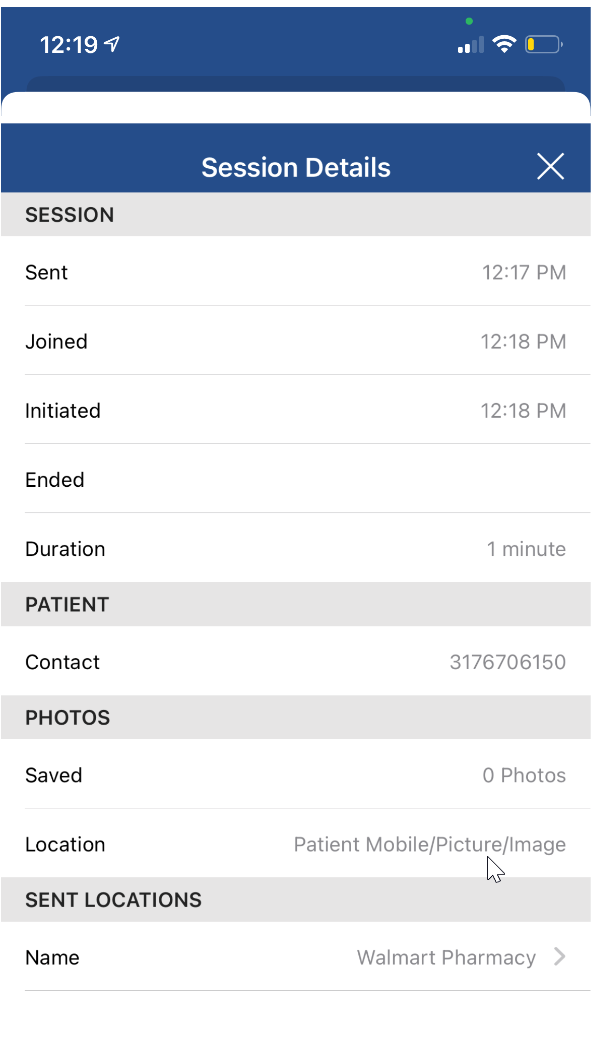

Photo Gallery
This will display a photo gallery of saved images that were captured during the session. Photos can be captured by clicking the Screenshot button.
