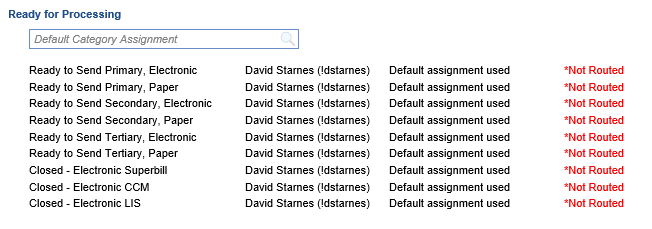
Billing Queue setup is the screen where a practice can assign the sections of the Billing Wheel to a specific user or group. Each section of the billing wheel has each of it's categories listed so that a user can be assigned down to the specific category level. When on the Billing Wheel a user can click the center of the wheel to see just the data points that are specifically assigned to them or their group.
Workflow
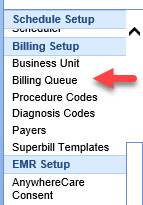
- Open the Setup portal and then select Billing Queue under the Billing Setup group
- Click on the Group Section Tab to assign categories to a user or group of users in that group
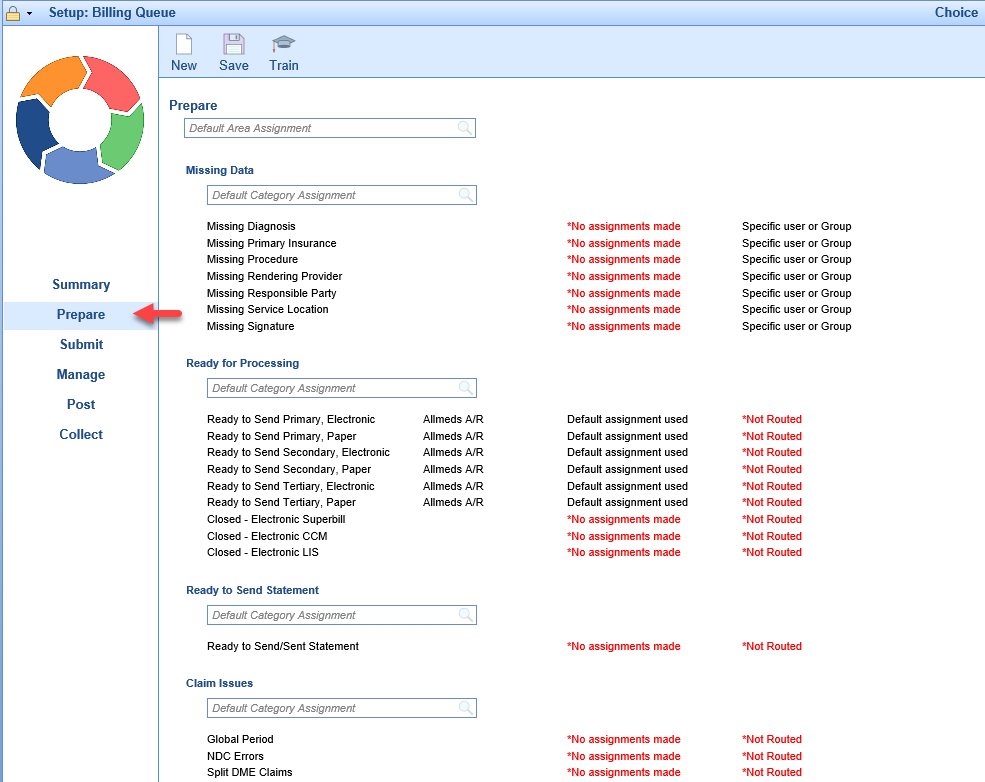
- Click in the Default Category Assignment box and assign a user/group for an entire group of categories
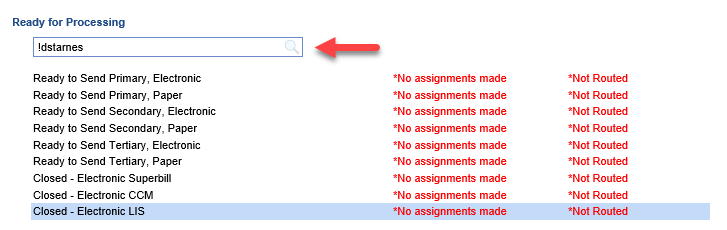
- Click the Save button at the top of the screen to apply the category assignment
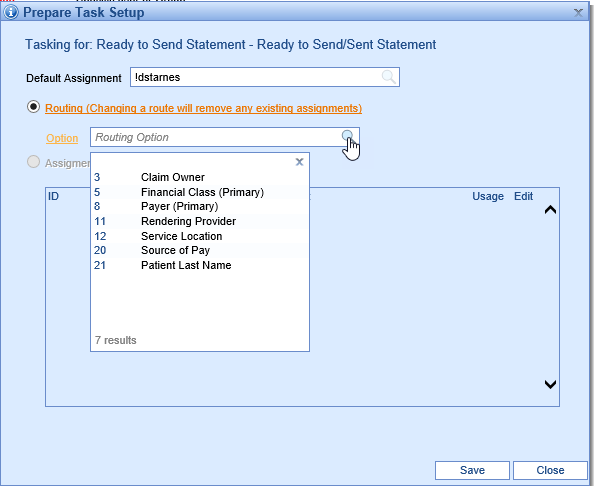
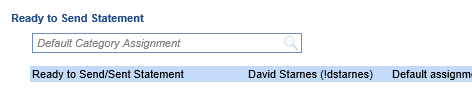
- Double click a specific category to assign or change a user/group assigned to that specific category
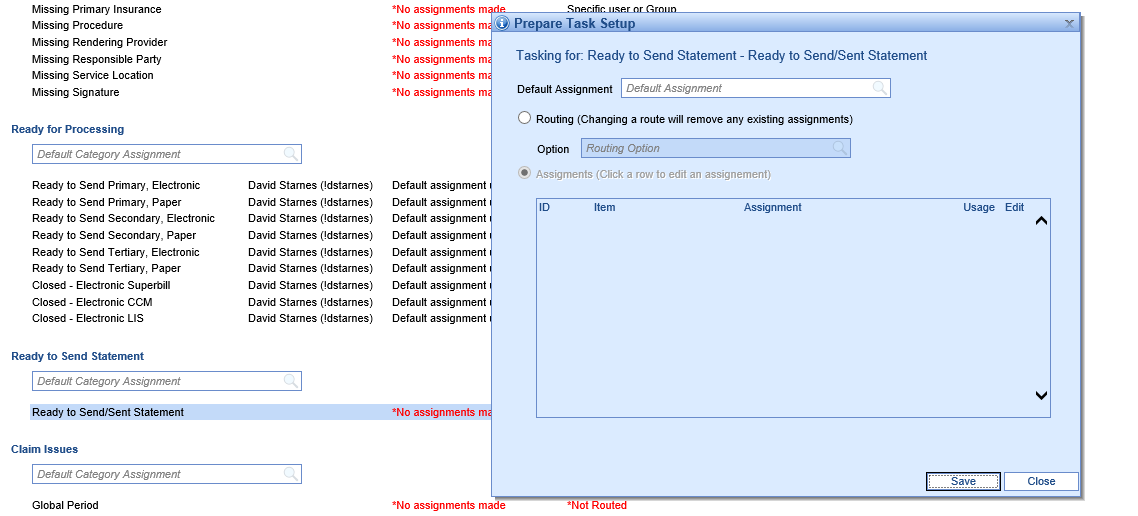
- Click in the Default Assignment box and assign a user/group for the category

- Click the Save button to Apply the Assignment
- Additional Assignment options are available via the Routing button. Click the Radio button to activate and then click the magnifying glass for a list of options