Users have the ability to incorporate Data Trends into this notes so that these critical data points are easily accessed, reviewed, and shared with the necessary individuals. For this to work, a user must choose to include Data Trends into their notes. This article will explain how to view data trends and how to add these values to a note.
View Data Trends
Data Trends are accessed and viewed from the Summary Chart tab within the EMR. To access these trends, launch the Vitals Timeline Clinical Marker. Learn more about the specifics here: Vitals Clinical Marker

If you do not see the lab results that you care about, learn more about which options are available to you here: Wireframe List for Vitals Timeline Wireframe Summary
Add Data Trends to the SOAP Note
Users will have the ability to determine exactly which values are added to their patients note. You can choose to setup defaults for your user or for an individual patient.
Data Trends Options
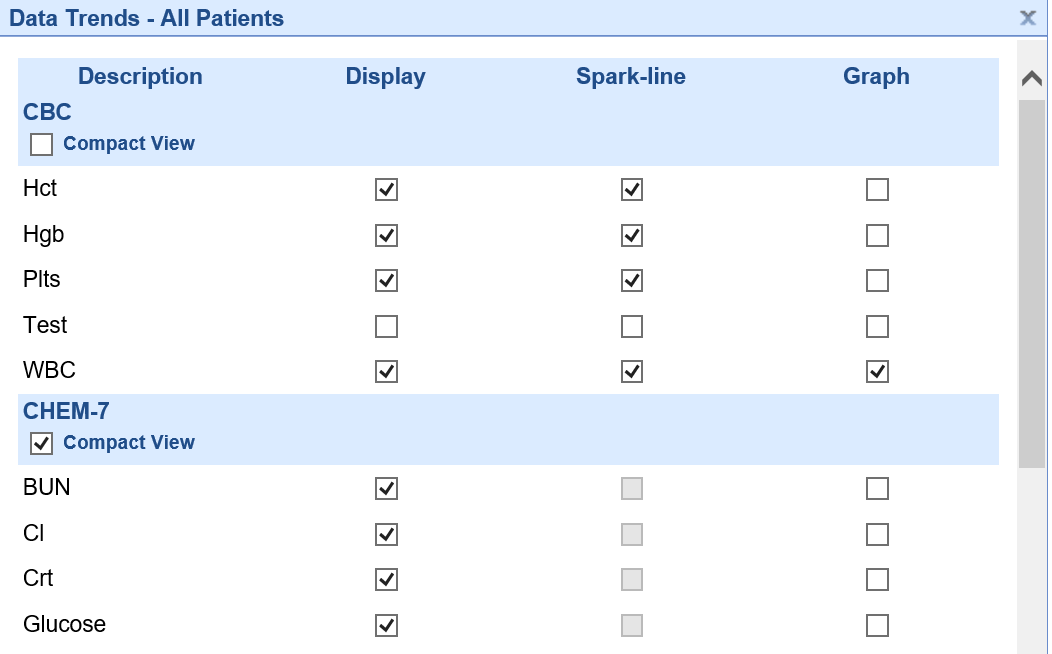
On the Data Trends setup window described below, the following display options exist:
Compact: If on, all values in the group will be displayed in one table.
Display: If on, this item will displayed in the note. Be aware that each item is displayed in it's own table if the 'Compact' option is not set.
Spark Line: If on, a spark line will be added to the end of the table. Spark lines are not supported in Compact mode.

Graph: If on, this means a full size graph will be displayed. This can be used in conjunction with the table or by itself.
Setup Default Data Trends for All Patients
This option will allow you to determine how the Data Trends are added to your SOAP Notes for all of your patients. Please note: below, you will learn how to override these defaults for an individual patient.
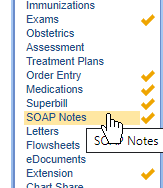
- While in the EMR, navigate to the SOAP Notes chart tab
- Right click over the toolbar
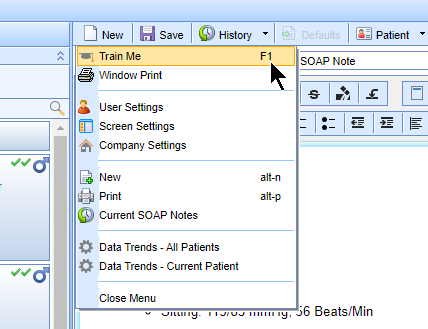
- Select Data Trends - All Patients.
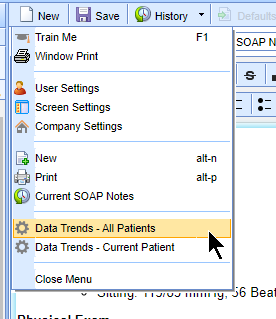
- Use the All Patients (edit) column to decide which items are included and which items are excluded.
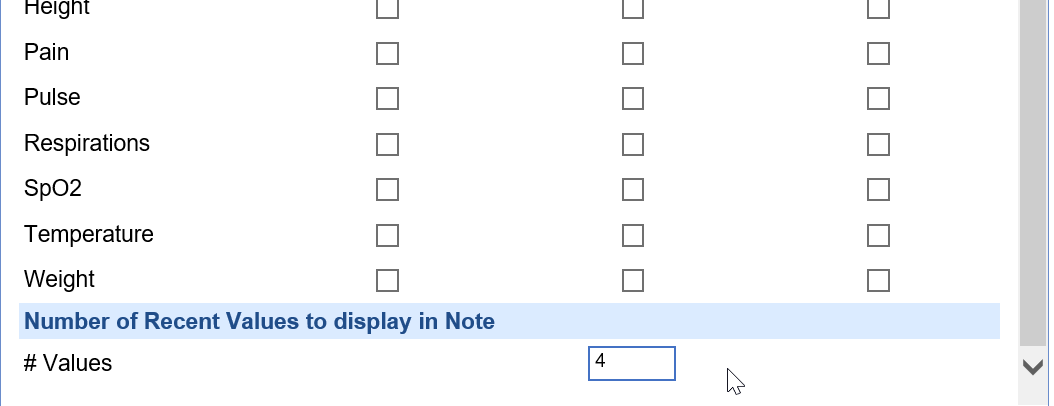
- At the bottom of the screen, choose how many past values will be added to the note
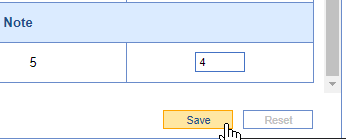
- Click Save
Setup Default Data Trends for a Specific Patient
This option will allow you to determine how the Data Trends are added to your SOAP Notes for the current patient that you are on. This is helpful when you want to highlight specific values for a patient that others might not need. The application will remember these settings for this patient until you decide to change them.
- While in the EMR, navigate to the SOAP Notes chart tab

- Right click over the toolbar

- Select Data Trends - Current Patient
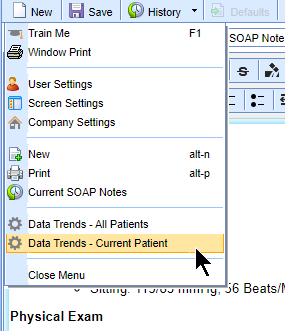
- Use the Patient Name column to decide which items are included and which items are excluded.
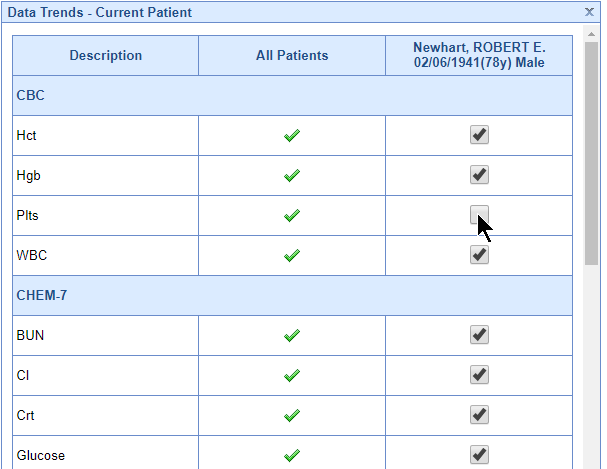
- At the bottom of the screen, choose how many past values will be added to the note
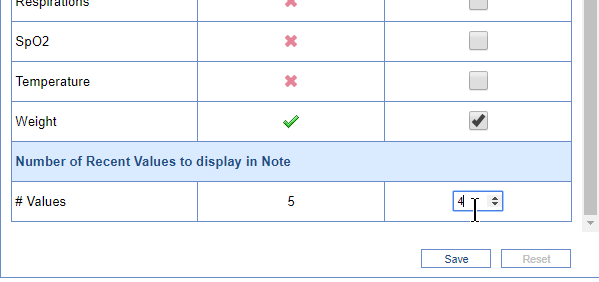
- Click Save

Error Out a Signed Encounter Note
A user who has sign-off permissions may error out a note and remove it from the patient summary timeline.
This can be done for notes signed inadvertently, missing data, and more.
- From the Patient Chart, open the SOAP Notes/Progress Notes Chart Tab
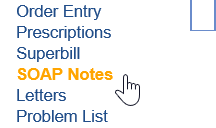
- The signed note will appear if this is on the same date as the encounter. If not, click the History icon at the top.
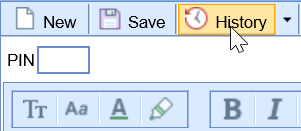
- Double-Click on the encounter note you wish to amend.
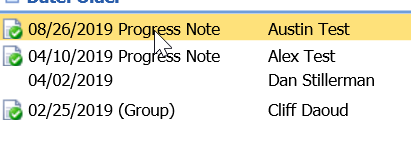
- The previous encounter note is now open. Click the dropdown menu in the upper right corner and set the note to the (error) option.

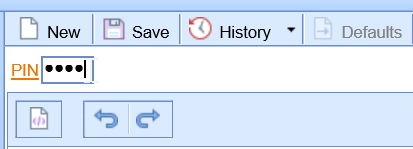
- Enter your four-digit PIN and click the Save button or press Enter on your keyboard.
The note is now errored out.
Append a Signed Encounter Note
A user who has sign-off permissions may error out a note and append it at any time.
This can be done for notes signed inadvertently, missing data, and more.
- From the Patient Chart, open the SOAP Notes/Progress Notes Chart Tab

- The signed note will appear if this is on the same date as the encounter. If not, click the History icon at the top.

- Double-Click on the encounter note you wish to append.

a. Add an Addendum: Click in the area in the note you wish to add an addendum.
b. Strikethrough: Click and drag to highlight the text you wish to strikethrough.
- Click the Add a Chart Correction button in the upper right corner.
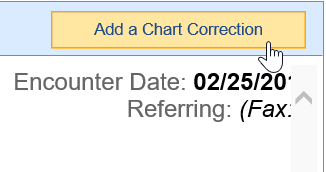
- Type your addendum in the box, then click the Insert Correction button to add it to the chart.
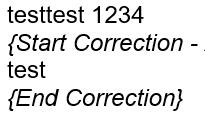
- The Addendum will now be inserted.
- Sign the note to save the addendum.
