To use the iSalus Telehealth platform, there are a few things that you will want to do before your very first visit.
Step 1: Download Google Chrome
AnywhereCare Telehealth requires that you have Google Chrome installed on your computer. If you do not already have this, follow these steps to install Chrome on your computer:
- Visit the following webpage: https://www.google.com/chrome/browser/desktop/index.html
- Click on the Download Chrome button
- Click the Accept and Install button
- Select the Yes button on the next prompt. Chrome will now install on your computer. The Chrome browser should launch upon completion.
Step 2: Connecting a User to Provider
- Provider to log in as himself/herself.
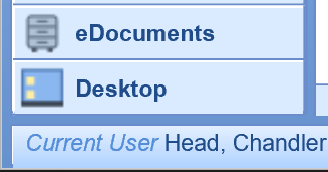
- Navigate to Current User > click {Name}.
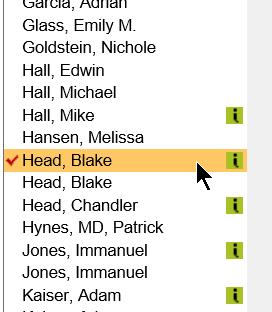
- Select the logged in user's name on the left.
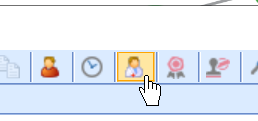
- Select the User/Provider icon from the toolbar.
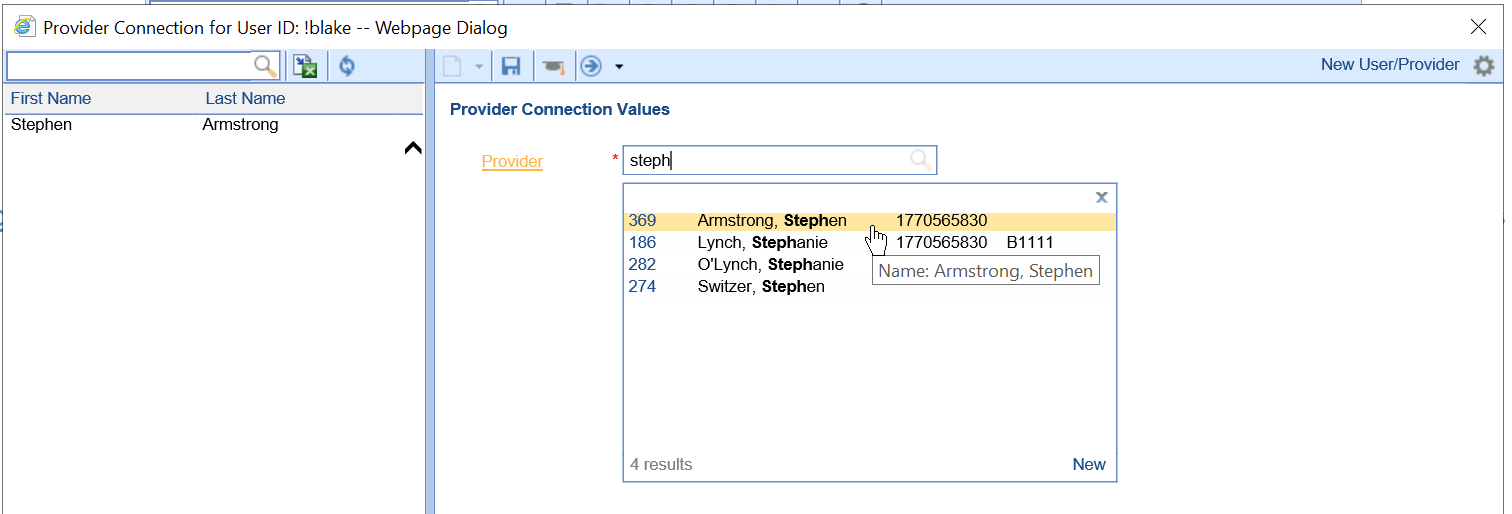
- Type in the provider's name in the search box.
- Click Save.
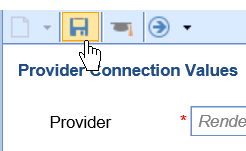
Steps to Complete
- Provider to log in using their own account credentials.
- Navigate to Current User > click {Name}.

- Select the logged-in user's name on the left.

- Select the User/Provider icon from the toolbar.

- Type in the provider's name in the search box.

- Click Save.

When ready, the provider will initiate the Telehealth session by sending a text message or an e-mail to the patient through the Telehealth application. Once the patient receives the message, they will download the AnywhereCare™ application from the iPhone App Store or the Android Google Play Store if they do not already have it installed, then launch the application. The provider is then notified the patient is ready. Follow these steps to initiate a Telehealth session with a patient:
- Search for the patient in the upper right-hand corner to load their chart.
- Expand the Patient Photograph section in the upper right-hand corner if it is not already expanded.
- Click Start Telehealth Visit button
 to launch the Telehealth portal.
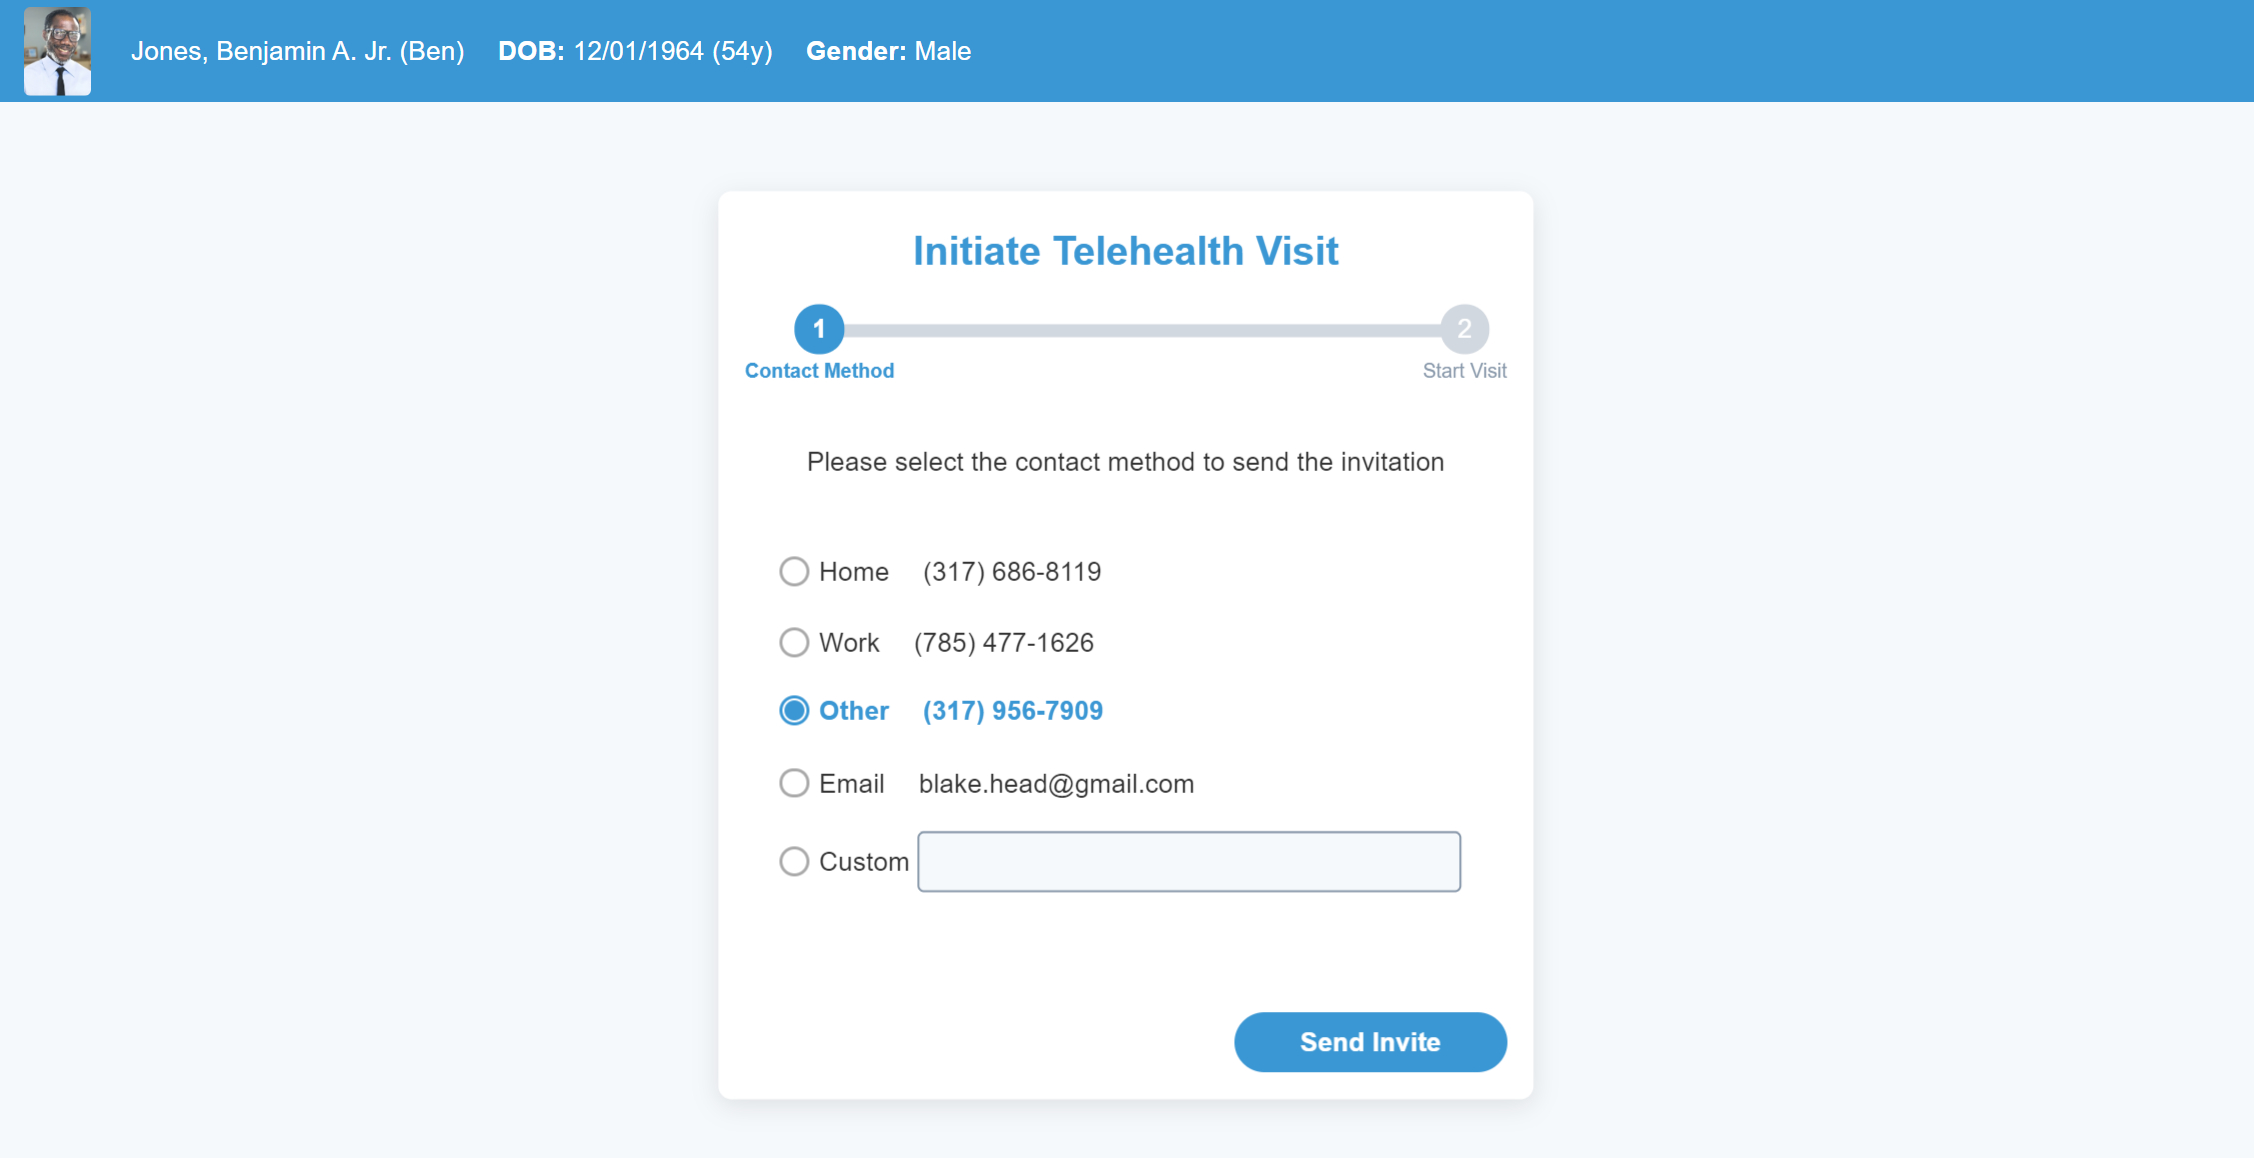
 - Choose the contact method that you would like to send the text/e-mail message to.
- You can click the custom button to manually enter a number/e-mail.
- Click Send Invite to send the message
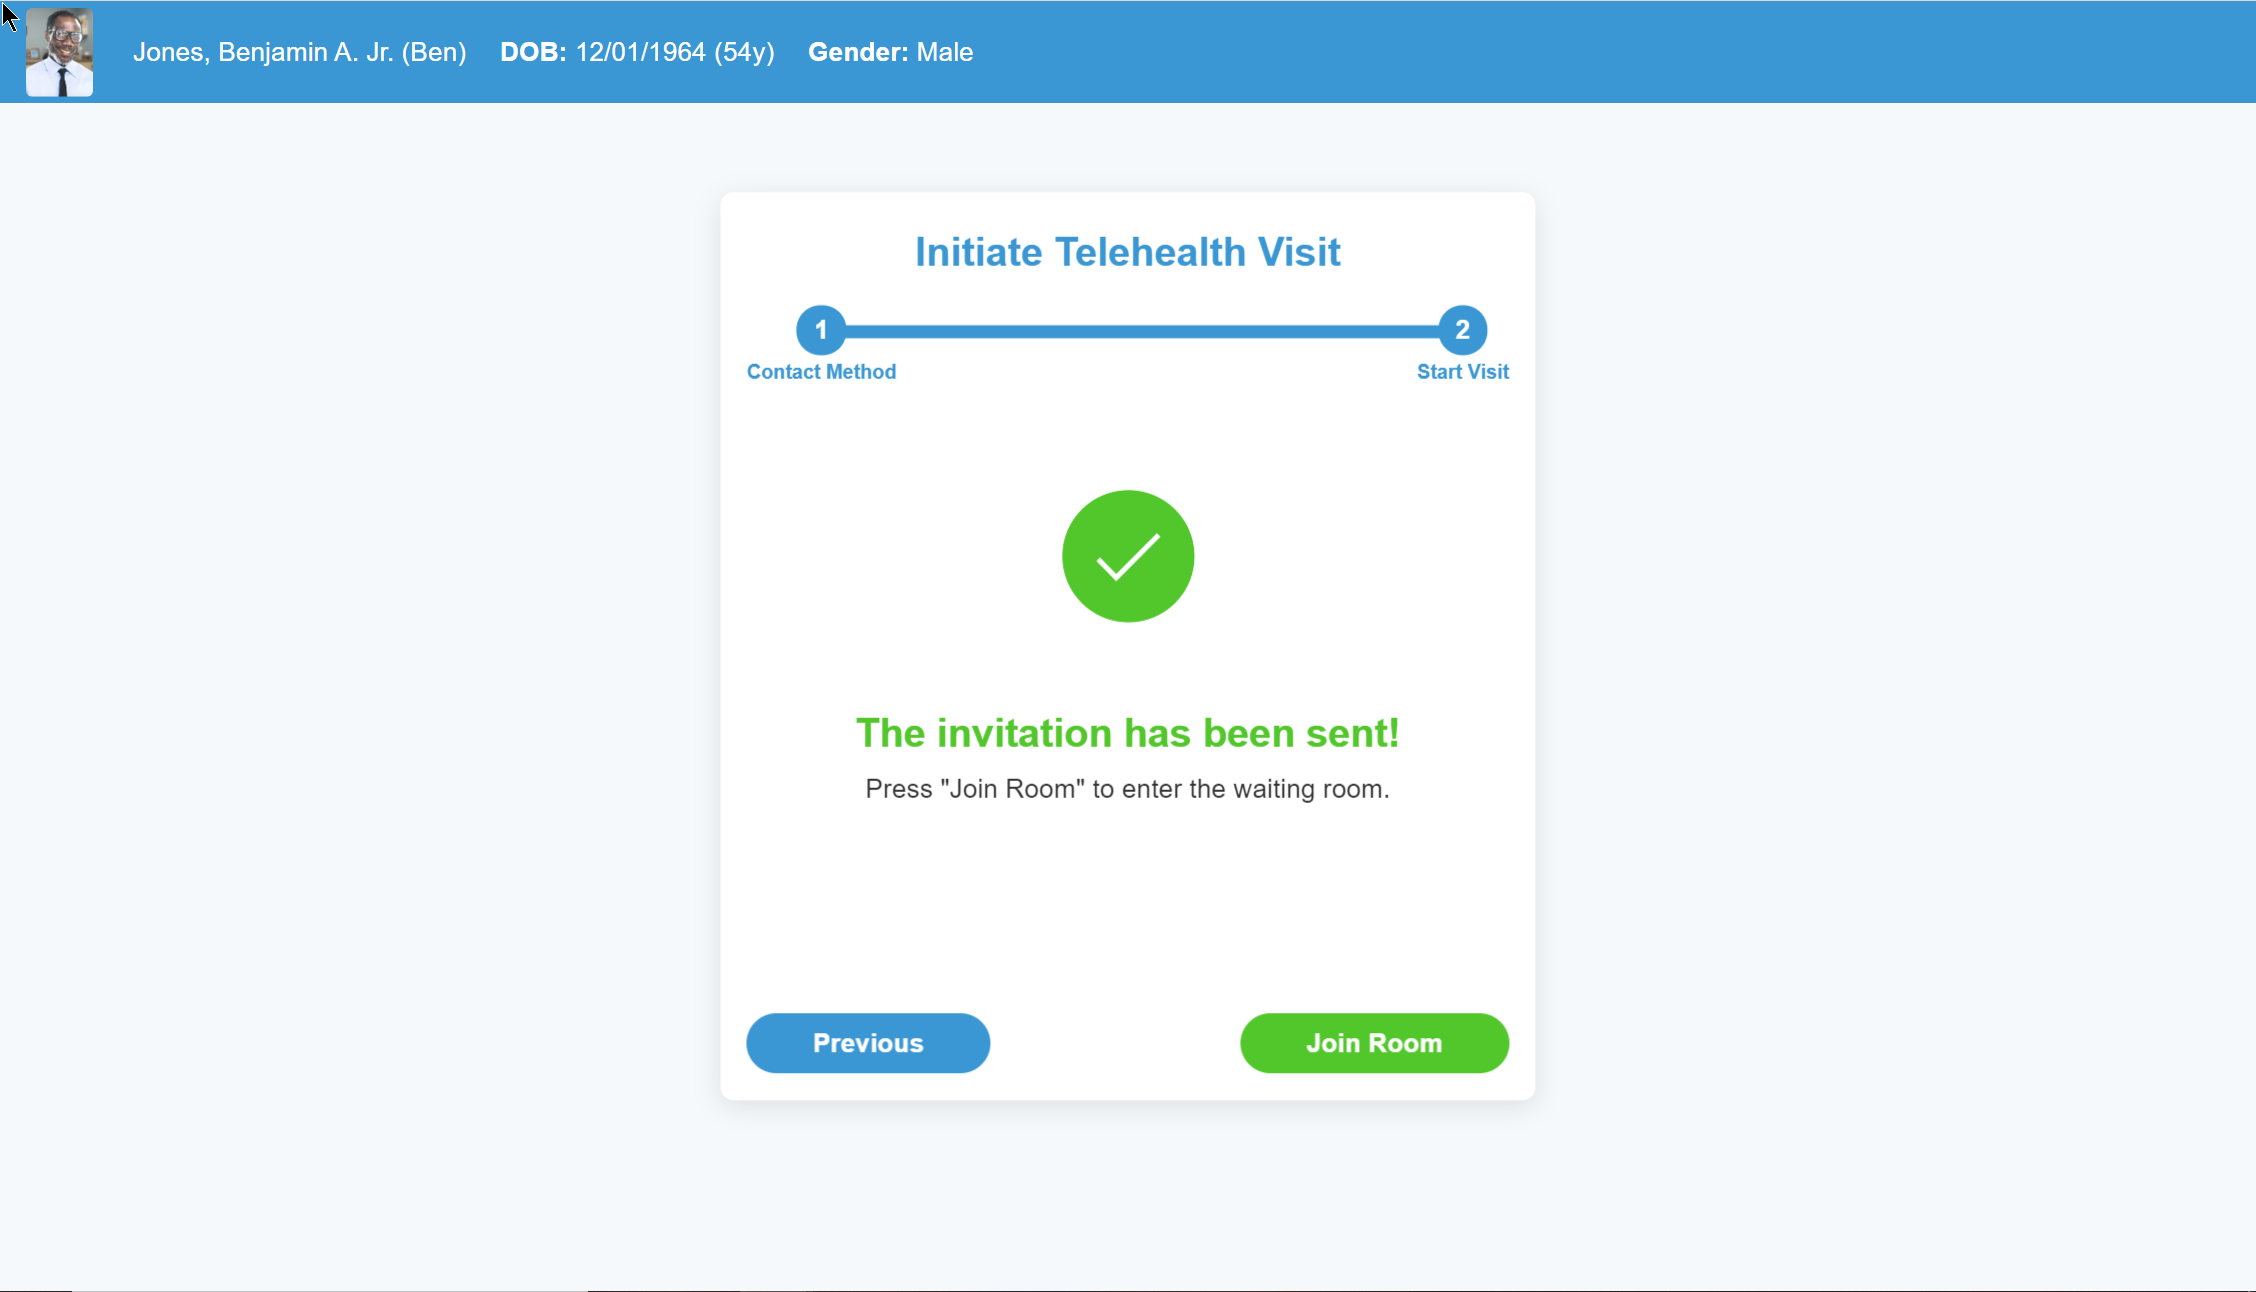
- When ready, click Join Room
- Be sure that you can see yourself correctly in the screen before beginning the visit.
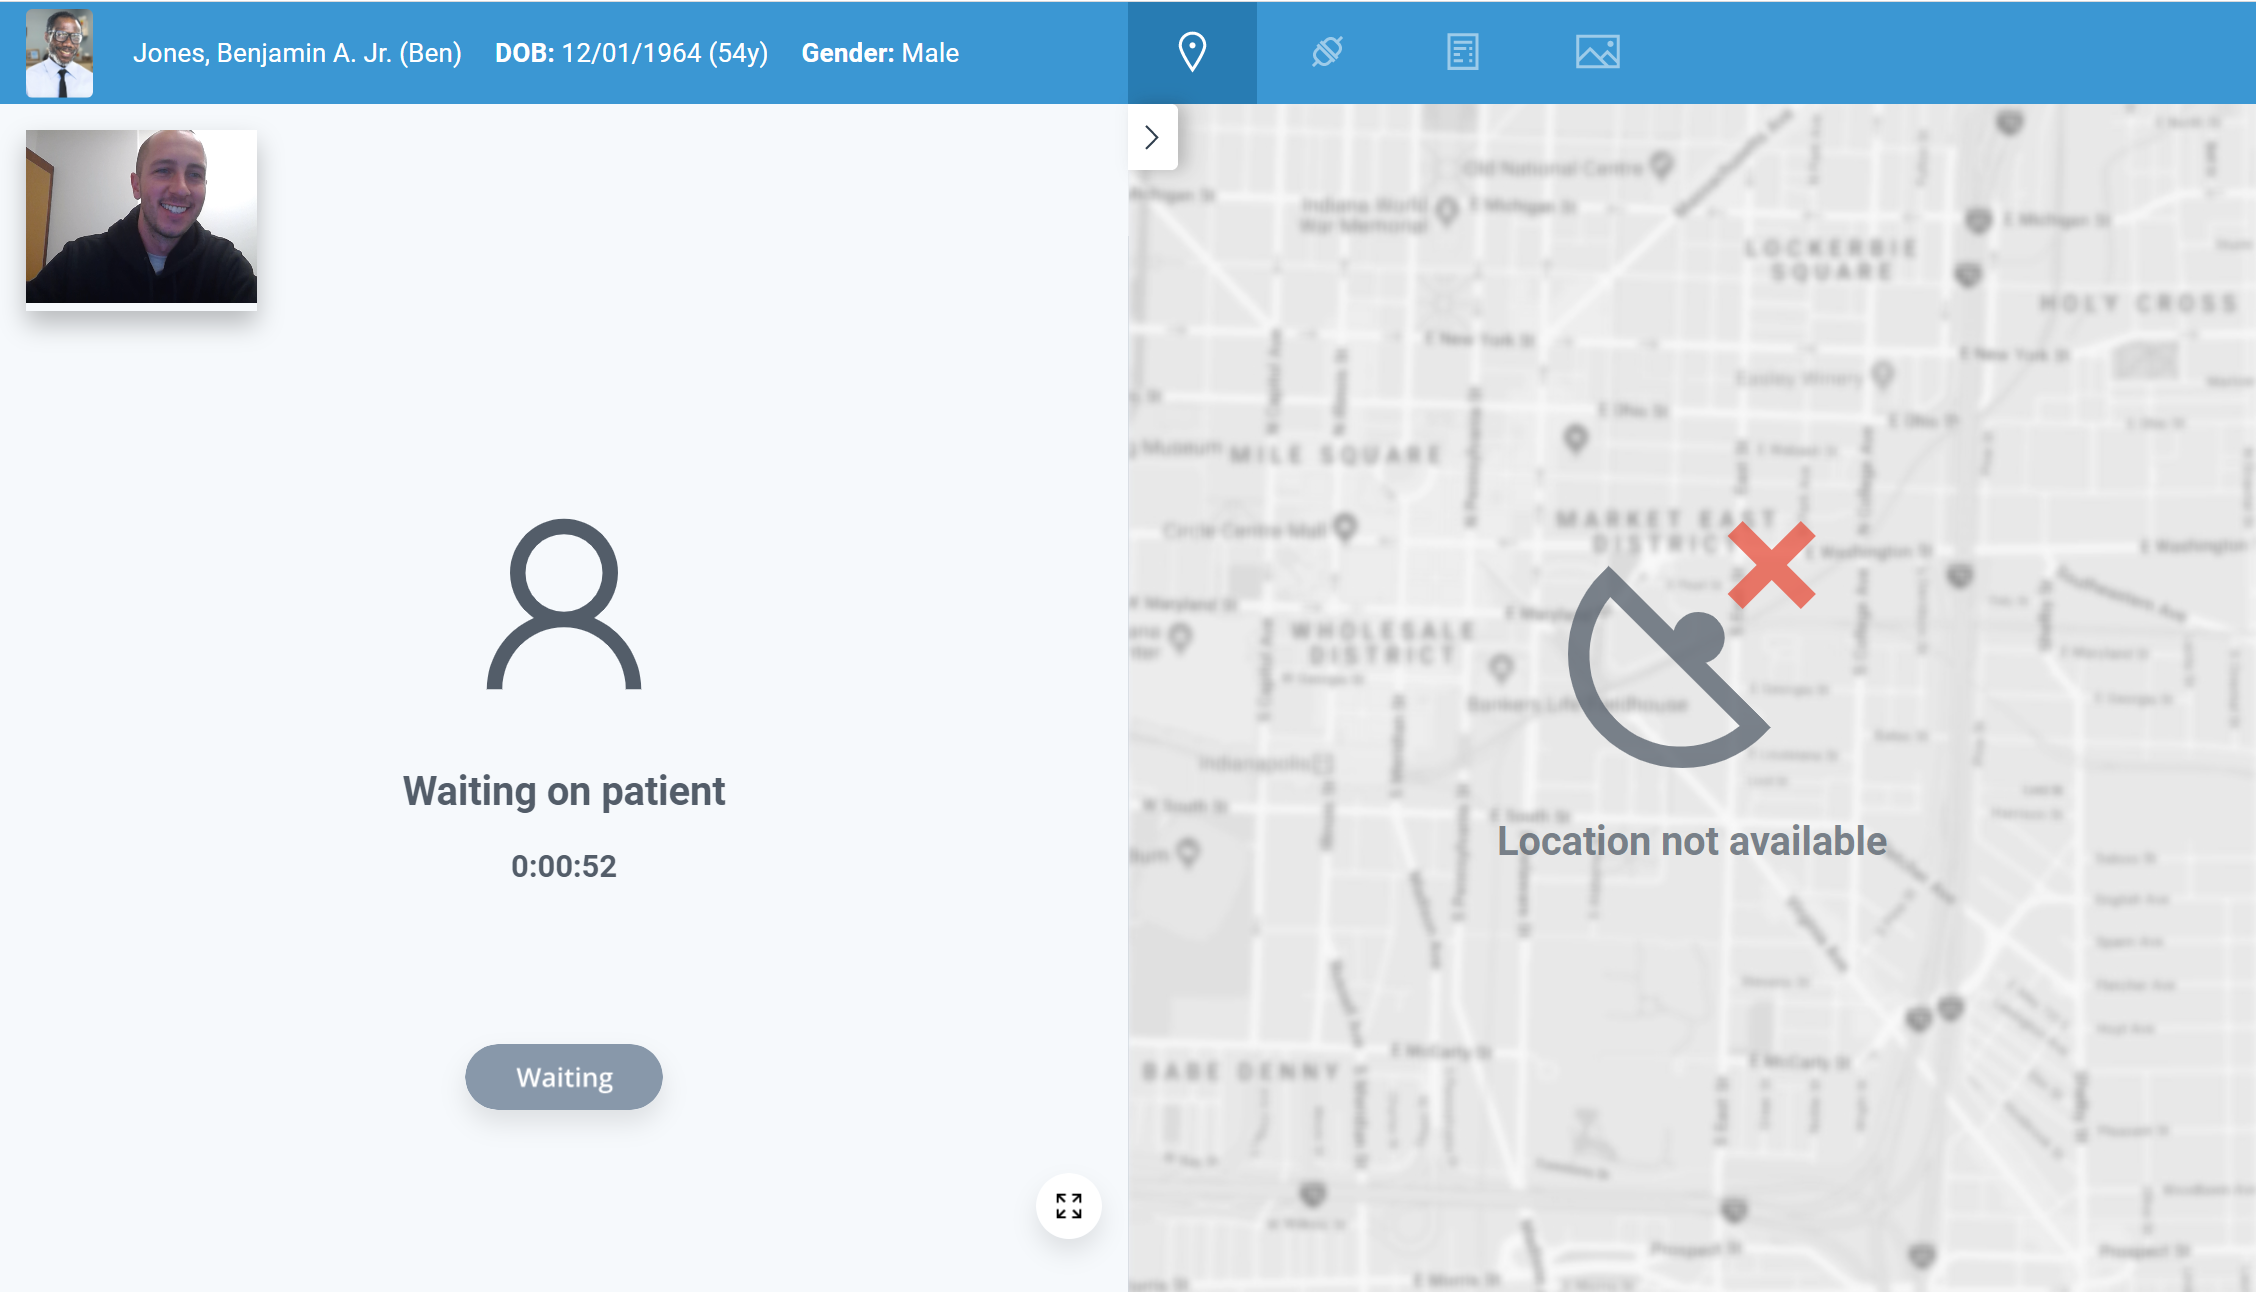
- When the timer box turns green, and you are ready, click the Start Visit button to begin the session.
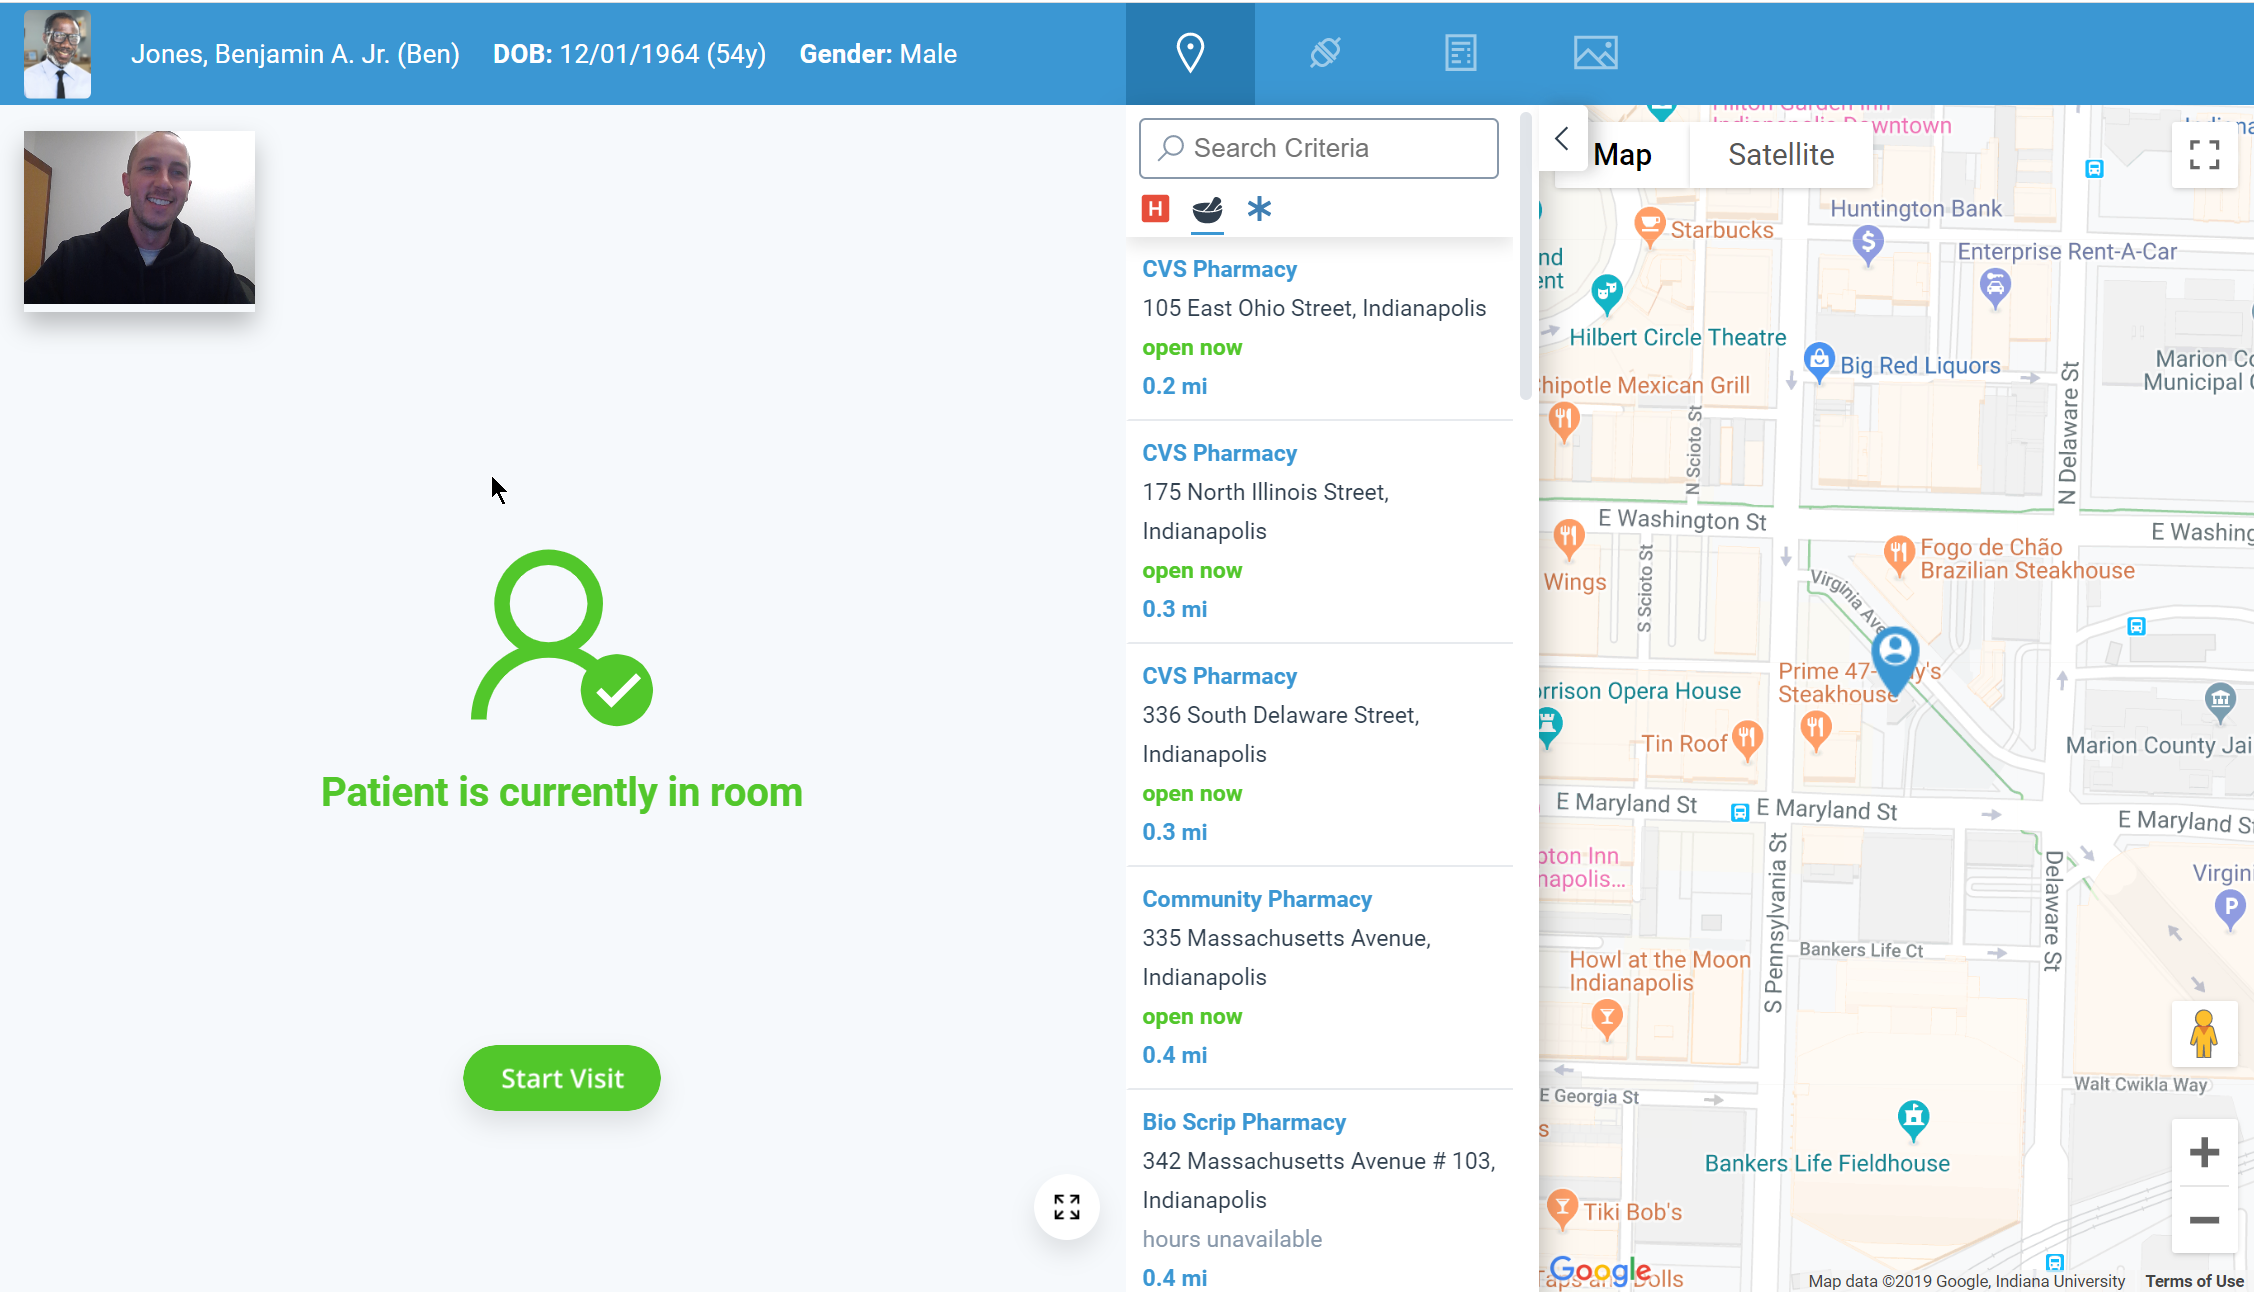
To toggle between your front and back camera, click on your image in the upper left hand corner.
Be sure to allow Google Chrome access to your camera and microphone (you will be prompted the first time).
After the session has begun, you will be in a two-way audio and video session with the patient. You will have access to see the patient’s location and see information about their device. You will also be able to capture photos of the patient and see critical details about the visit. This is all happening on a separate screen so that you can document in the EMR without interruption.
Location Details
- The patient’s location will be shown on the right-hand side of the screen if they have allowed the application to use their location.
- By default, nearby pharmacies for the patient will be displayed. You can click any location to see more details. You will also be able to send Google Driving directions to the patient for that location.
- You can toggle locations to show nearby Immediate Care Centers and Hospitals.
- You can also search locations nearby the patient as well.

Connection Details
- AnywhereCare Version: The AnywhereCare Version number will be visible to ensure the most up to date application is being used.
- Battery: The patient’s Battery Strength will display.
- Microphone: The application will detect if the patient's microphone is on or off.
- Device: he application will detect the type of device the patient is using.
- Operating System: The patient’s device operating system will be displayed.
- Permissions: This will determine if the patient has granted AnywhereCare access to your camera, location, and microphone.

Session Details
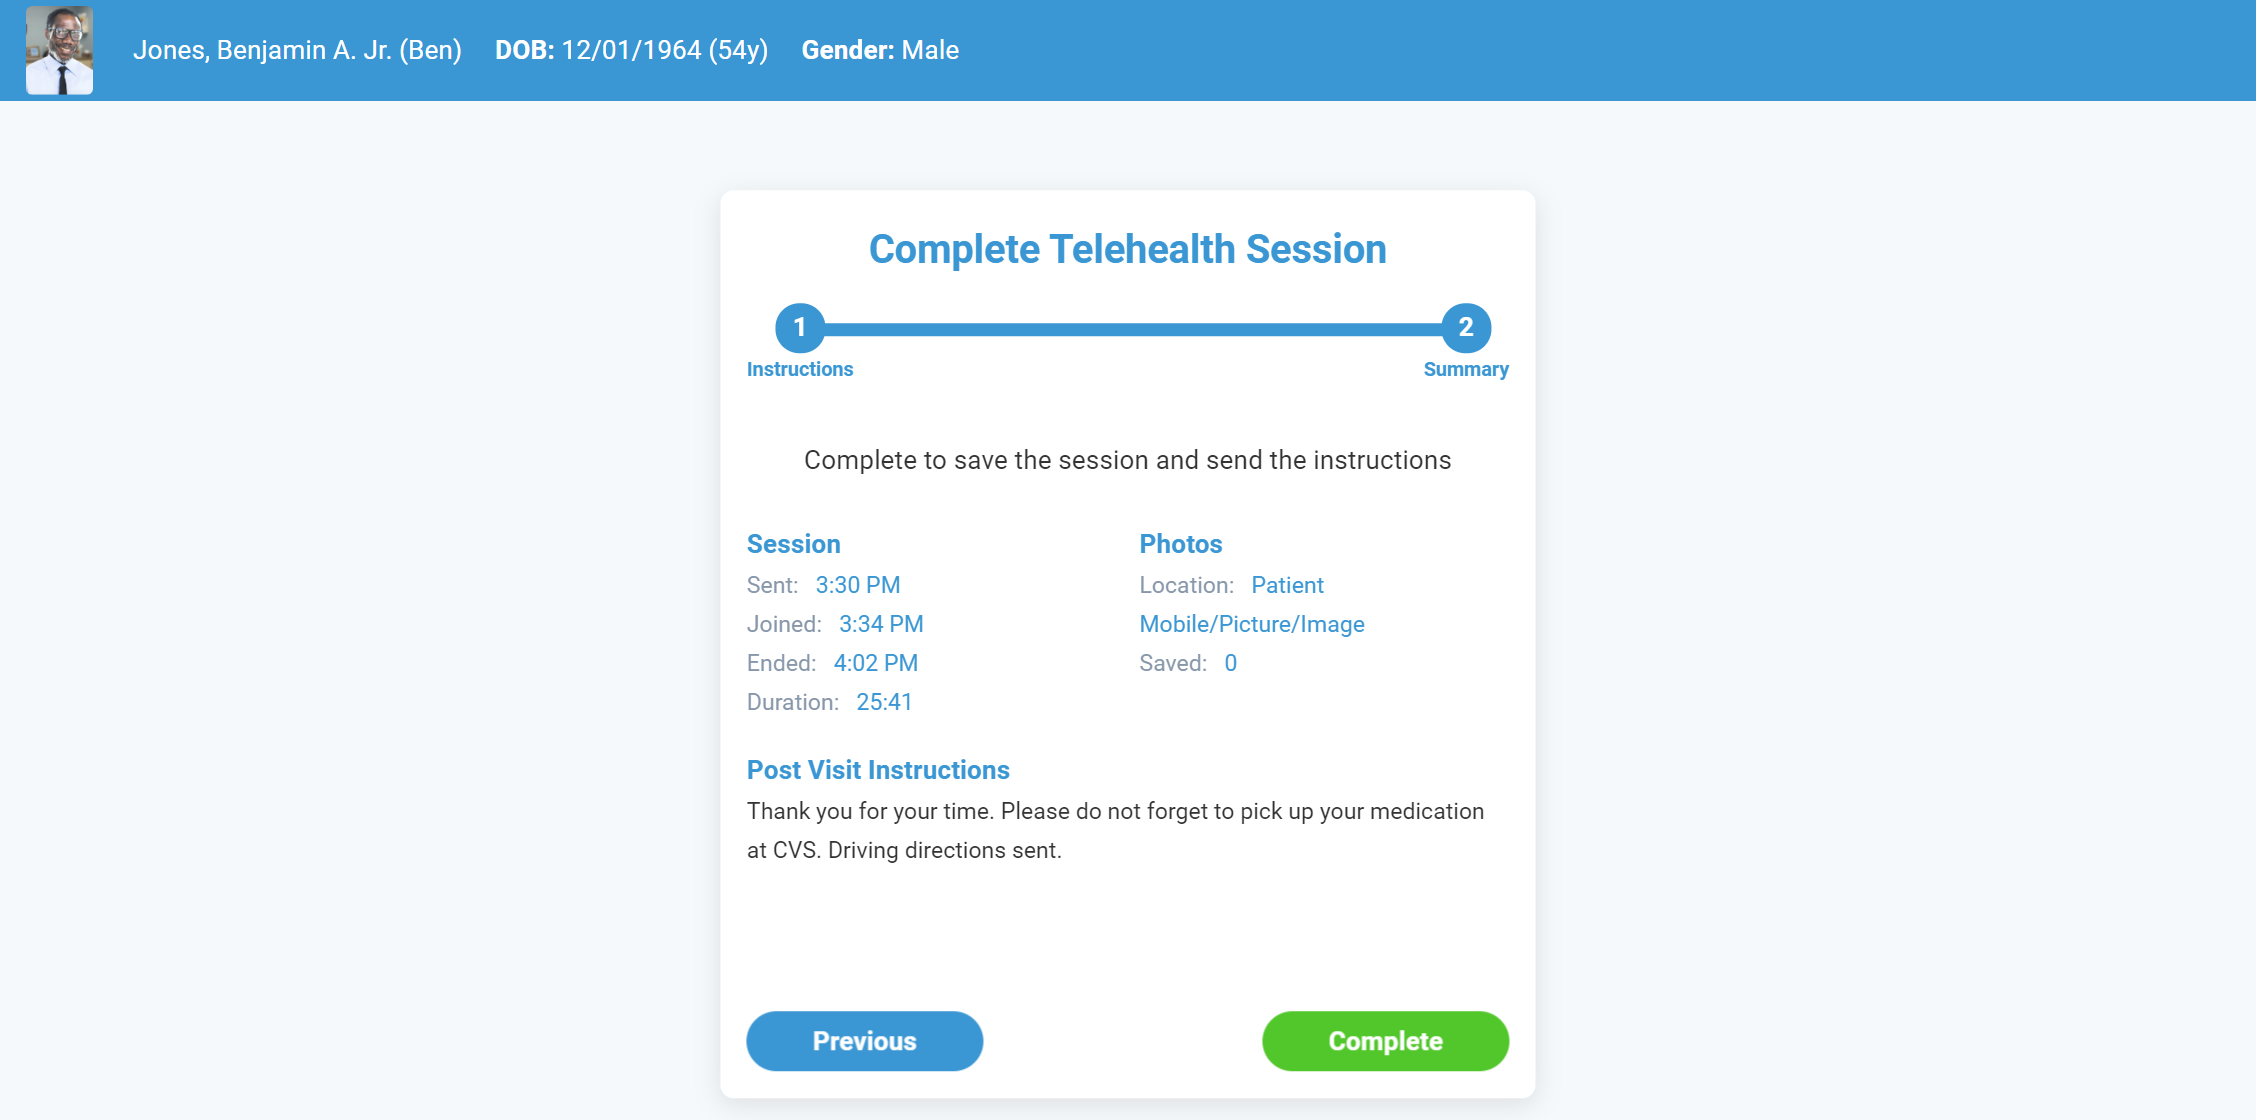
- Sent: The is the date/time that the invite was initially sent to the patient to join.
- Joined: This is the date/time that the patient joined the room.
- Initiated: This is the date/time that the provider began the visit.
- Duration: This is the total time elapsed from when the invite was sent to when the session was completed.
- Photos - Location: This is the location of where the photos that were taken will be stored in the EMR.
- Photos - Saved: This is the total number of photos taken during the session.

Photo Gallery
This will display a photo gallery of saved images that were captured during the session. Photos can be captured by clicking the Screenshot button.
Once you are ready to end the session, you will click the “Complete” button. This will end the session for the patient and will provide you the opportunity to provide post-visit instructions to the patient.
- Click the End button
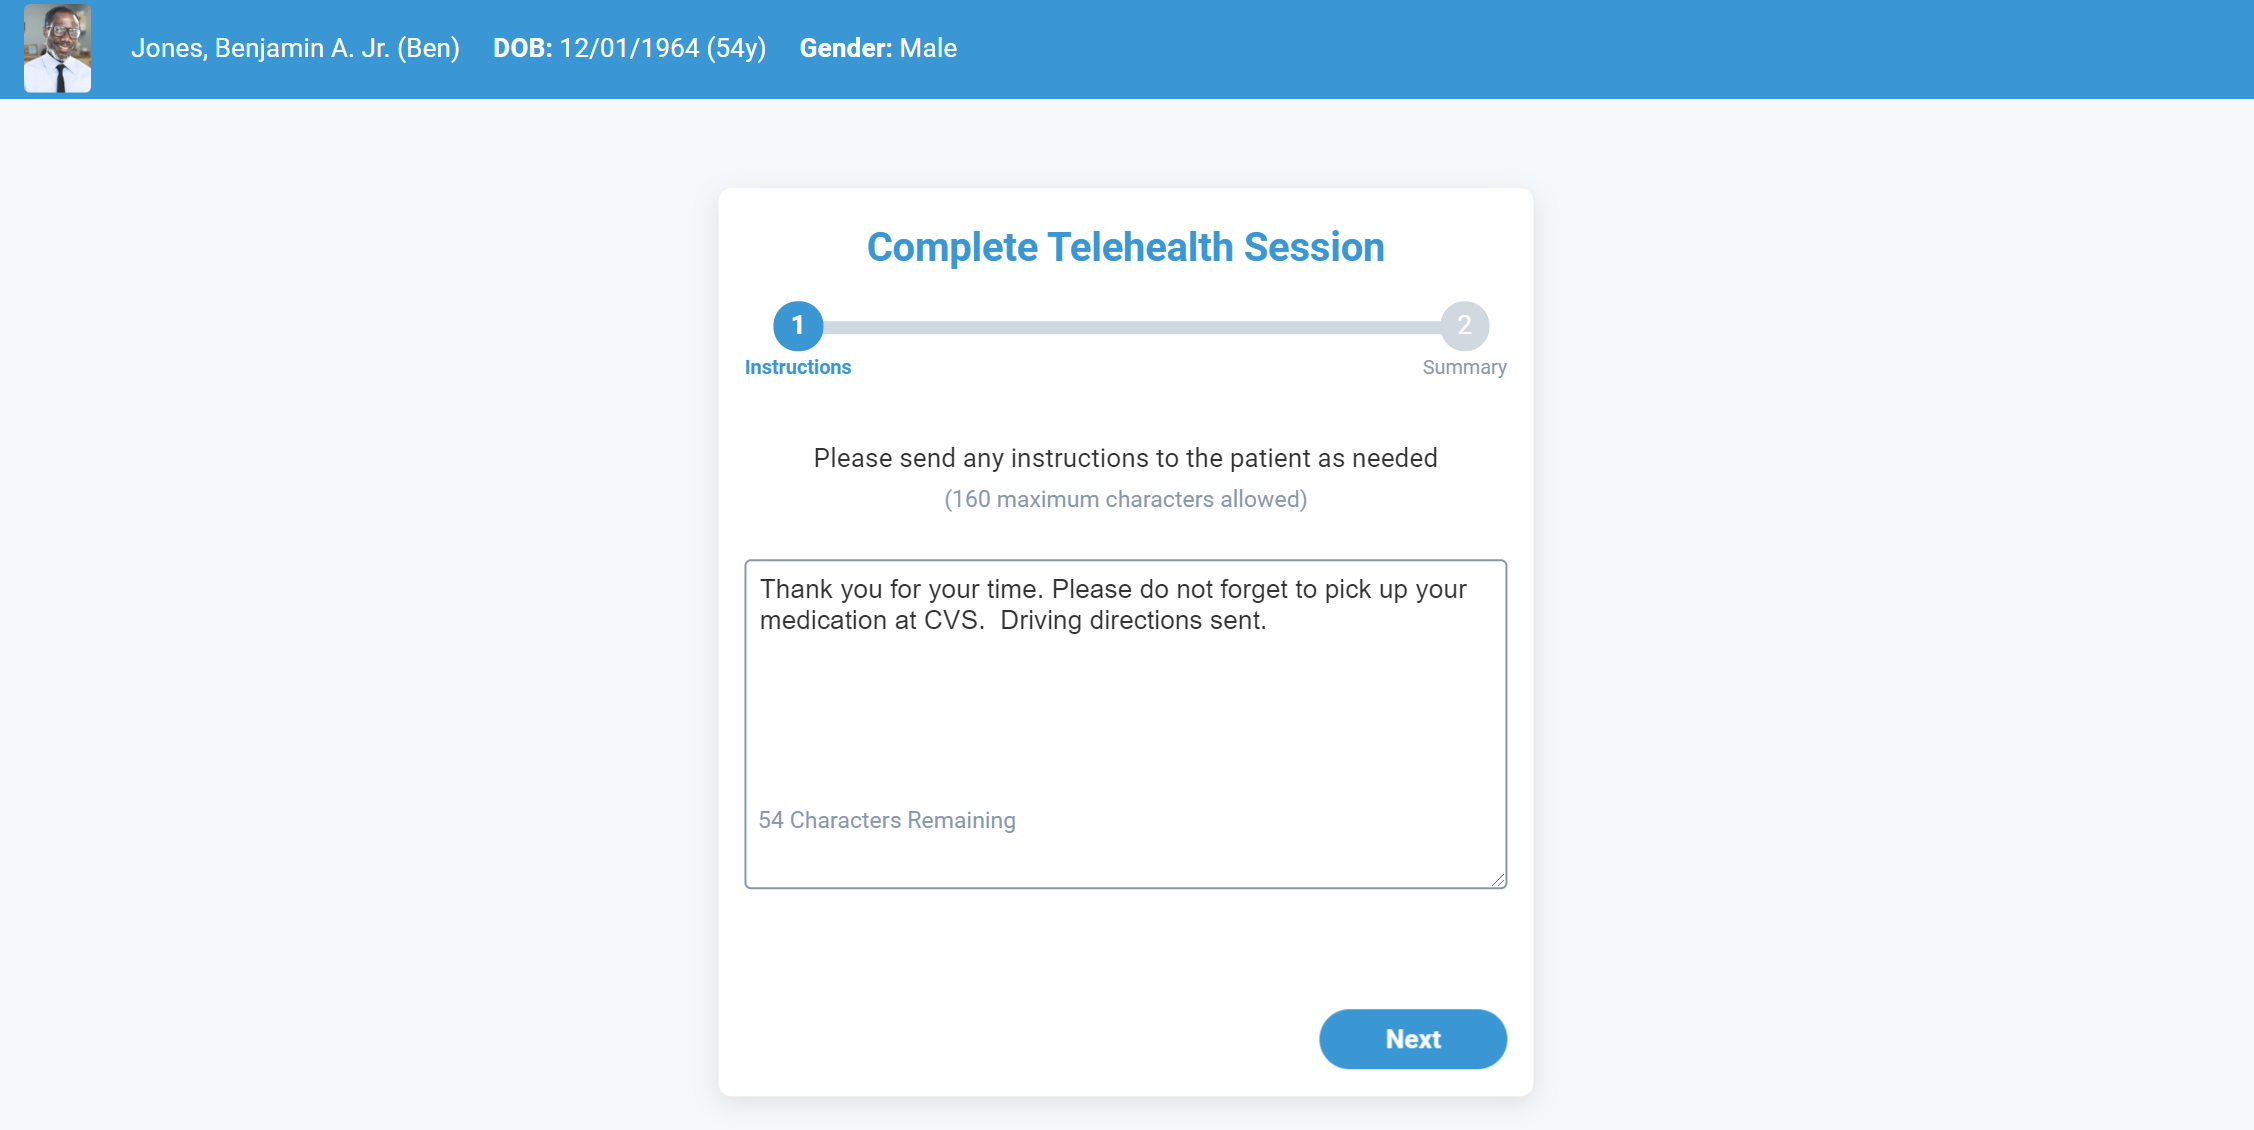
- Add any necessary follow-up instructions. These instructions will be delivered to the patient via text or email.
- Click Next.
- Review the session summary. Click Complete to finalize the visit.
From the patient experience, joining a Telehealth visit is quick and simple:
The patient will join the link from a text or email from the provider starting a telehealth visit.
The patient will tap directly on the link to join the visit from the mobile device.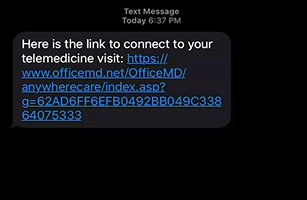
NOTE: If the patient has not downloaded the AnywhereCare App, he/she will be prompted to download it and then be redirected to the visit.
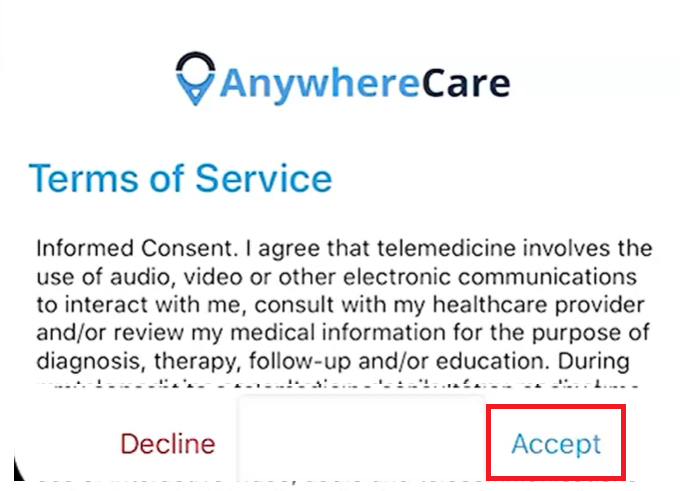
- The patient will be prompted to accept and agree to a telehealth-specific consent.
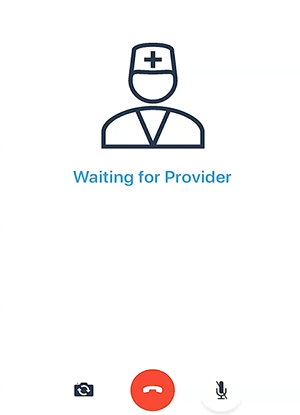
- The patient has now joined the visit and is ready for the provider.
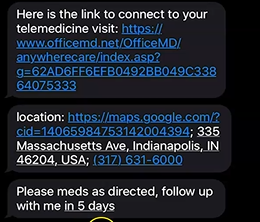
- At the end of the telehealth visit, if the provider has sent a location to the patient or any follow-up instructions; these will come in via text or email.


 to launch the Telehealth portal.


