The Vitals clinical marker will be added to the timeline whenever a new vital record is saved in the Vitals chart tab. While the information is originally triggered by a new vital record, a large amount of information can be viewed in the Vitals Trends screen.
Graph View
When the Vitals Clinical Marker is selected, the Graph View will be displayed. This allows a user to visualize changes to vitals, lab results, procedures, and medications over a period of time.
- Users can click on the Vitals or Lab Result data points within the screen to add the values to the graph.
- Users can filter the data by time range
- Users can customize the screen to meet their unique needs

Customize the Vitals List
If you would like to change the order or decide which options are available to you within the list of Vitals section in the upper left, follow these steps:
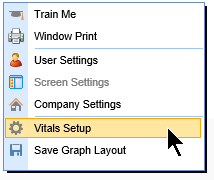
- Right click over the window
- Select Vitals Setup
- Use the arrows to move items up or down in the list. Use the Enabled indicator to turn items on or off.
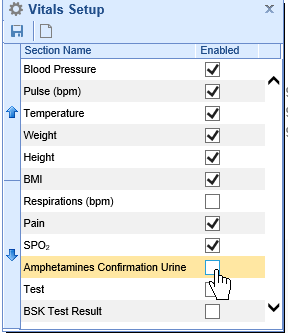
- Use the New button to add custom data points to the list. NOTE: Please contact iSalus Support for this.
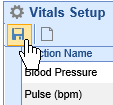
- Click Save
Customize the Procedures List
Users can choose to have procedures that are billed for in the office to be added to the timeline. This is done by pulling in specific CPT codes from the billing system. This is setup as both a Company and a User Setting.
User Setting: Procedure List for Vitals Timeline Wireframe Summary
Company Setting: Procedure List for Vitals Timeline Wireframe Summary
Customize the Lab Results List
Users can choose to have a list of lab results groupings added to the timeline. This is done by pulling in electronic or hand-entered lab result values from across the application. The exact list of options available are setup as both a Company and a User Setting.
User Setting: Wireframe List for Vitals Timeline Wireframe Summary
Company Setting: Wireframe List for Vitals Timeline Wireframe Summary
Save the Graph Layout
Once you have determined which items you would want turned on/off and graphed out together, you can save this graph layout so that it appears each time this window is opened.
- Configure the window to your liking by:
- Adding or removing vital items from the graph
- Adding or removing lab results from the graph
- Setting the time frame that you care about
- Deciding if you want to see All or Current Medications. And, if only Prescribed medications are displayed.
- Right click over the window
- Select Save Graph Layout
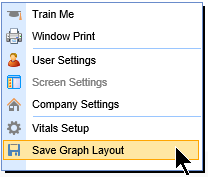
Table View
Users can switch to the Table View by clicking the toggle in the upper left hand corner of the window. The information displayed is the raw data representation of the same information shown in the Graph View. The settings described above will also control the Table View.
Access the Table View
To see the Table View, follow the below steps:
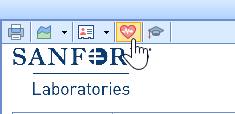
- click on the Vitals Clinical Marker icon
 anywhere you see it on the Timeline or when viewing a Lab Result to launch the data trends.
- Select the Table radio option in the upper left hand corner.
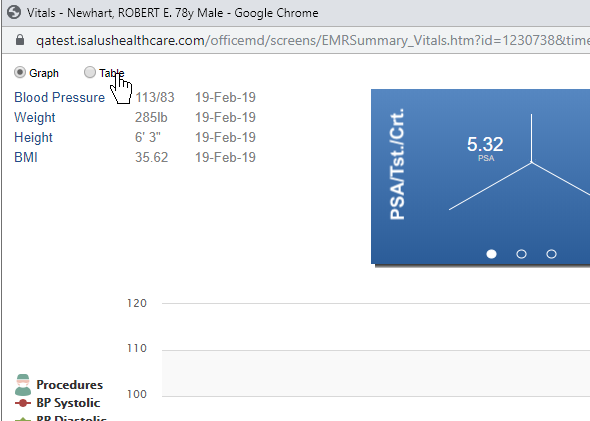
- The Table View is displayed.

The Notes clinical marker will be added to the timeline whenever a new SOAP Note is saved in the SOAP Notes chart tab. In addition to simply seeing the note saved on a given day, this screen also allows a user to copy forward an encounter quickly.

Viewing Past SOAP Notes
When the Notes Clinical Marker is selected, the Notes from that day will be displayed.

If more than one note is saved on a given day, you can use the drop down at the top of the screen to select different notes.

Viewing the Nurses Note
The "Nurses Note" is a special type of note that is always available on the "Today" section. This is available so that providers or staff can click in a single place to review everything that has happened today for this patient. This section is 100% customizable for the individual user. These customization can be made in the Letter Setup window.

Copy an Encounter
When viewing a past SOAP Note, it may be helpful to be able to "Copy Forward" all or some of the templates that were used to generate that note. The 'Copy' button allows this to happen in a single screen.
Notes about the Copy Encounter Feature
- If a record has already been created that day (i.e. vitals have already been saved), by default the system will recognize this and not auto-select vitals to be copied.
- Only information stored in a template can be copied forward. If you typed information directly into the note and not in a template, this can not be copied forward.
- You can not edit data after it is copied on this screen, you must open the corresponding chart tab to make any additional changes. Because of this, we highly recommend activating the 'Display today's History' settings for the chart tabs that are needed. You can learn more about that by looking for the "Display Today's History" user setting for each cart tab.
To copy an encounter, follow the below steps:
- Click the Copy icon on the toolbar.

- Use the window to select or deselect which encounter-based templates will be copied forward automatically.
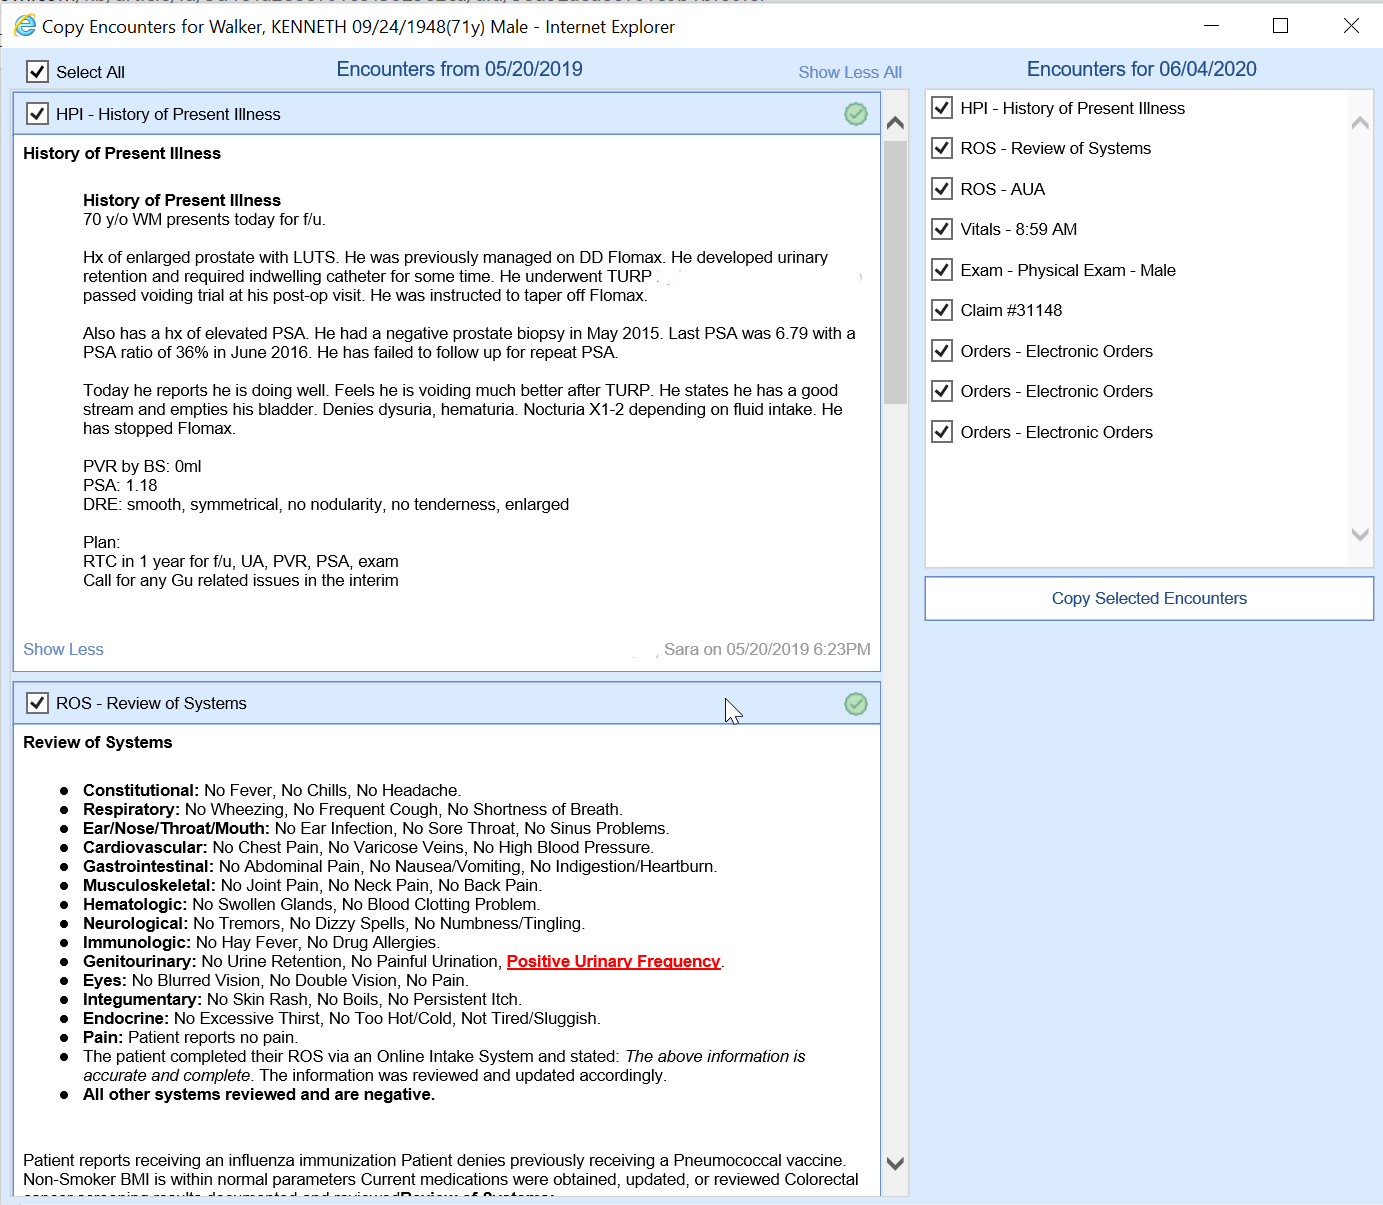
- Click the Copy Forward button once you have made your selections. These templates will be auto-created and auto-saved. You can navigate to the chart tabs to make changes to the copied templates if necessary.


 anywhere you see it on the Timeline or when viewing a Lab Result to launch the data trends.


