The order entry chart tab is used to place a myriad of orders specific to your practice for patient encounters. Orders have the ability to be sent to processors These can be configured during implementation or via support requests following your transition.
Once an order is placed, depending on the type may be sent to an external system such as a laboratory if you have an interface. Results for placed orders may be received as a hard copy, fax, or electronically in My Task - Results via an inbound interface.
The order entry chart tab accounts for many types of orders but primarily can be categorized into the following: Scheduling/Follow-Up Orders, Surgeries, In-Office Procedures, Labs, Radiology, Referrals, and DME. However, custom orders can be created to account for unique workflows. A Template Change Request Form can be submitted to support in order to make changes to existing orders or to add additional options.
Each order type or individual order can have an Order Fulfillment tied to it. Order fulfillment is a custom template that holds the details for a specific order. For example, a surgery order may have an order fulfillment template tied to it to gather pre-op labs, pertinent negatives, location details, etc. All these details can then be populated onto a requisition.
Similar to the other chart tabs within the EMR, Order Entry can be documented using a template. This allows for multiple providers or departments to have their own set of applicable orders. To that end, it is common for a user to only use one order entry template. In these cases, it would be beneficial to default this template for them.
Steps to Complete
- With a patient loaded in the EMR, navigate to the Order Entry chart tab.
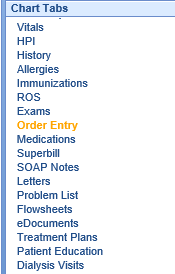
- In the top-left of the screen, there will be a drop-down for Order Template
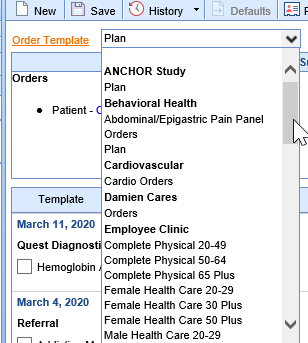
- Select an option from this list.
The Ordered By field is used to describe who the order is being placed by. This may not always be the staff member who physically enters the order, such as a nurse putting in a surgery order on behalf of a provider. There is a user setting available to assist in defaulting this for individuals.

Once the order has been placed, the Ordered By cannot be changed. This ensures that orders expecting a result have an appropriate user to route the result for review.
The Ordered By field may also be used within the My Task - Orders to sort this list by this value, this is done in the Arrange By selection.

Each tab listed under the summary section within the Order Entry will categorize the available orders. The first, and default is the Template tab. This section is directly correlated with the selected Order Template in the dropdown at the top of the screen. It will display the custom order template that is able to be customized by your practice during the implementation phase or by submitting a TCRF to support.

Steps to Complete
- Select a patient in the EMR from the Office Schedule
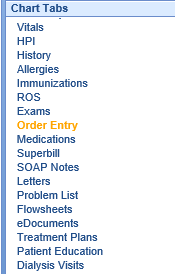
- Navigate to the Order Entry chart tab.
- Select an Order Template
- The Template tab will display orders in the familiar template format see in the other chart tabs
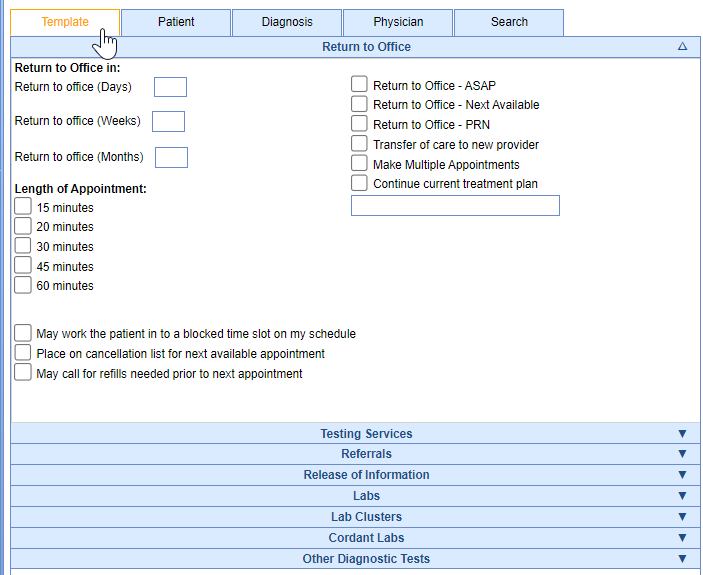
- Place an Order
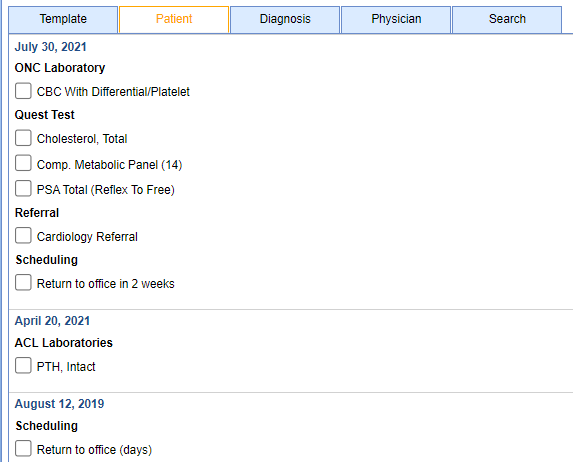
Each tab listed under the summary section within the Order Entry will categorize the available orders. The second is the Patient tab. This option is used helpful when seeing patients with chronic illnesses or established patient's in general. This tab will categorize the historical orders that have been placed for the selected patient in the past. These will be categorized by order date and route.

Steps to Complete
- Select a patient in the EMR from the Office Schedule
- Navigate to the Order Entry chart tab.

- Select the Patient tab. Notice the historical orders are shown with the most recent orders at the top and by the route.
- Place an Order
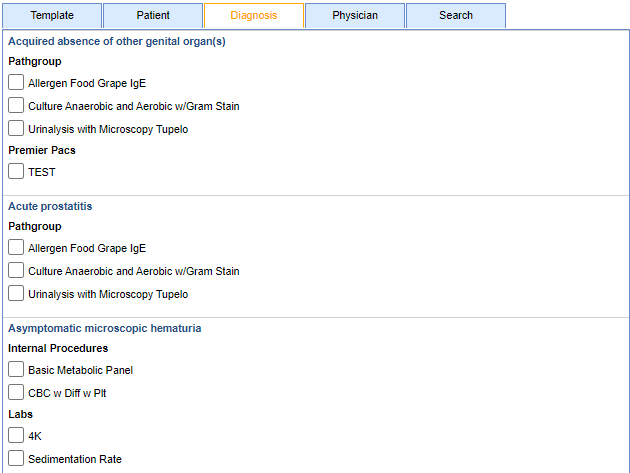
Each tab listed under the summary section within the Order Entry will categorize the available orders. The third is the Diagnosis tab. This option is used helpful when seeing patients with chronic illnesses or established patient's in general. This tab will categorize the historical orders that have been placed for the selected patient in the past based on the associated diagnosis. These will be sorted by condition and then route.

Steps to Complete
- Select a patient in the EMR from the Office Schedule
- Navigate to the Order Entry chart tab.

- Select the Diagnosis tab. Notice the orders are sorted by the problems listed on the patient's problem list.
- Place an Order
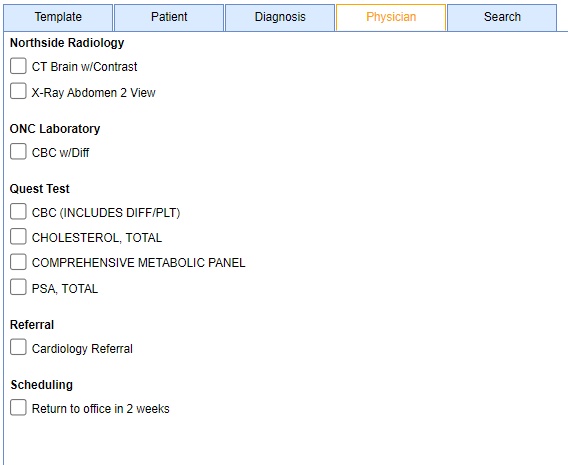
Each tab listed under the summary section within the Order Entry will categorize the available orders. The fourth is the Physician tab. This option is used helpful for clinicians who order the same items frequently. It will allow you to view the orders that are typically placed by the physician. The physician being referenced is based upon the User Is This Provider setup.

Steps to Complete
- Select a patient in the EMR from the Office Schedule
- Navigate to the Order Entry chart tab.

- Select the Physician tab. You will notice the orders frequently placed by the provider. This is based on the user's setup.
- Place an Order
Each tab listed under the summary section within the Order Entry will categorize the available orders. The fifth is the Search tab. This option is used for rare or infrequent items. It will allow you to search the entire compendium of available orders.

Steps to Complete
- Select a patient in the EMR from the Office Schedule
- Navigate to the Order Entry chart tab.

- Select the Search tab. You will be able to search by order type (labs, scheduling, radiology, etc.), location (Labcorp, Quest), Order (any available test/study)

- Place an Order
When you initially navigate to the order entry chart tab, you will need to place an order using one of the following tabs: Template, Patient, Diagnosis, Physician, or Search. This is where ancillary medical staff or providers will enter their patient encounter orders. This article will explain the steps to successfully place an order.
Steps To Complete
- Select a patient in the EMR from the Office Schedule
- Navigate to the Order Entry chart tab.

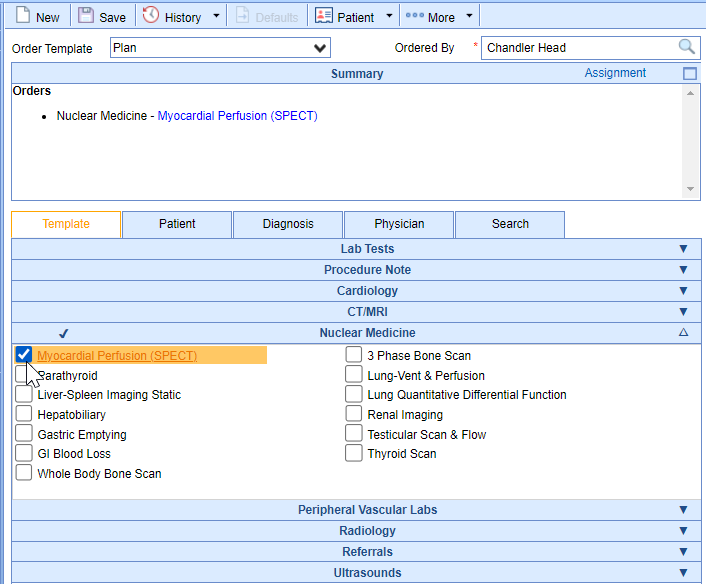
- Using one of the available tabs (explained above), Select an order item.
- Complete the Order Fulfillment Details (if applicable) / Modify the order details with the Summary Item Edit
- Select Save from the toolbar
- Select the order & assign diagnoses from the available ICD10 codes from the existing problem list or search for them in the available field. See the Assignment Window article for further details on this screen.
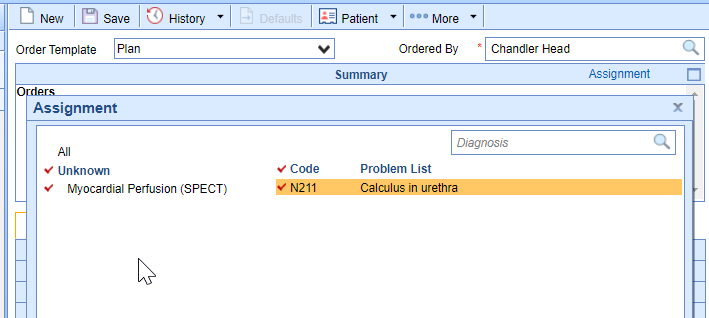
- Select Save from the bottom of the Assignment screen
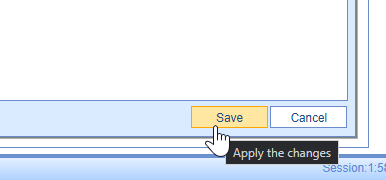
- Order will be sent to the designated processors in their My Tasks - Orders queues.
The Summery Item Edit window will allow a user to select an order from the summary section to allow line-level edits to the details regarding the specified order. This allows the practice to deviate from the defaulted values i.e, processor, status, route, etc. The primary use for this section is to adjust Order Route, Lab/Patient Instructions. The rest are typically changed via Assignment Window.

Steps to Complete
- Select a patient in the EMR from the Office Schedule
- Navigate to the Order Entry chart tab.

- Once you have selected an order using any of the provided tabs you will notice the item displayed in the Summary.
- Select the Item, and notice the Summary Item Edit window displayed.
- Depending on the order you will be able to Edit the Fields available;
- Soap Text - Modify the text to display in the order processing window. This is not a common thing to do. If the order description needs to read differently than what is shown, it may be worth submitting a request to have a new order added to your template with the desired description. This would be done via support request, you will be asked to complete a Template Change Request Form.

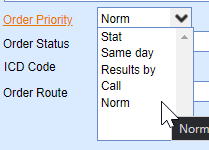
- Order Priority - Allows the user to determine the appropriate priority for the order
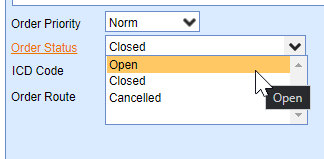
- Order Status - In this instance could be used to close an order while placing it. This could be helpful when catching up on documentation and the order has already been completed. Otherwise, this should remain as "Open"
- ICD Code - Diagnoses can be assigned to orders at any time during the entry process. This is typically done in the Assignment Window since it can be completed in mass. This also displays the patient's active problems so they can be assigned without searching.
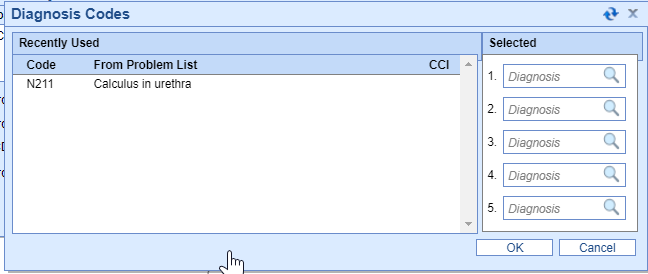
- Lab Instructions - This area allows for text entry, its purpose is to add details for the testing facility the order is to be sent to. In the cases of interfaced labs, this may be disabled but prefilled with vial information, handling instructions, etc. The same can be entered manually. This information can be transmitted electronically or populated onto the Requisition.

- Patient Instructions - Similar to Lab Instructions, this is a text area. It will allow a user to enter special instructions for the patient. IN cases where a paper requisition is handed to the patient, a field will be populated with the entered value.

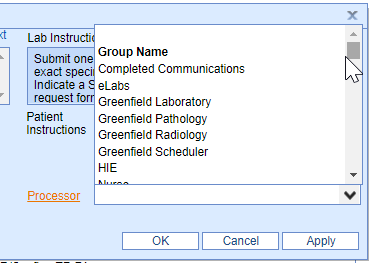
- Processor - The processor can be changed manually from here by selecting the desired user/user group as opposed to using the default. This value will determine who's My Task - Orders queue the order will be assigned to.
- Order Fulfillment - See Order Fulfillment for more details.
- Soap Text - Modify the text to display in the order processing window. This is not a common thing to do. If the order description needs to read differently than what is shown, it may be worth submitting a request to have a new order added to your template with the desired description. This would be done via support request, you will be asked to complete a Template Change Request Form.
- Once the desired values have been changed, select OK to save the changes and close the window.
The Assignment Window is used for the final review and editing of all orders when placing orders for a patient. This screen allows a user to mass assign diagnoses, priority, and processors. This can also be done individually for each order in this section. The Summery Item Edit window will also allow individual order edits but allow for a wider variety of fields available.

Steps to Complete
- Follow steps 1-5 of the Placing an Order article.
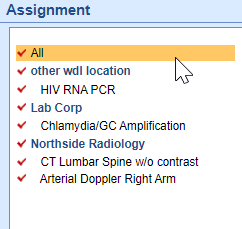
- Notice in the assignment window that the selected orders are grouped by their route (blue headings). Each can be selected individually or all at once by selecting "All". From here, any order marked with a red check will be modified. The available fields for editing are:
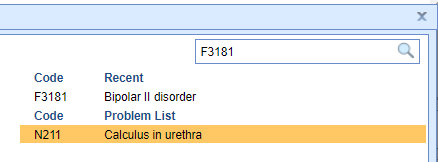
- Diagnosis/ ICD Code - This will allow you to select active diagnoses based on the patient's problem list, or search for the desired ICD10 code from the available search control.
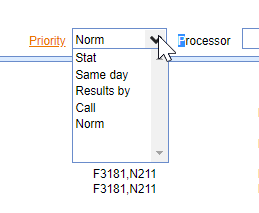
- Priority - Can be changed to determine, higher or lower priority of the selected studies/orders.
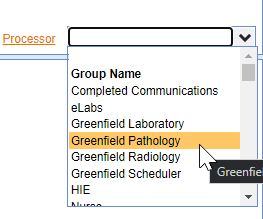
- Processor - In some cases, you may need to change the defaulted processor, you can select a different user or user group from the available drop-down.
- Diagnosis/ ICD Code - This will allow you to select active diagnoses based on the patient's problem list, or search for the desired ICD10 code from the available search control.
- Once all the desired fields have been modified, select Save. This will send the order to the selected processors.


