To collect and run a credit card payment with the PaySimple Credit Card Processing, follow the step-by-step guide or watch the short video below.
Watch the Video
Step-By-Step Instructions
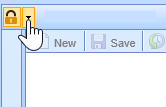
- Open the Credit Card Payment screen from the dropdown arrrow in the upper left corner.
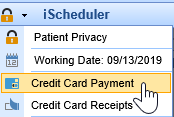
- Choose the Credit Card Payment option.
- For a patient payment, select the patient, payment amount, and then click the "Copay" button for a patient copay. For a general payment, leave this box unchecked.
- For a payment plan, select the plan from the "Payment Plan" search option or create one by searching for a payment plan, and then selecting "New". If this is a Payer payment, select the Payer option.
Proceed to capture the payment.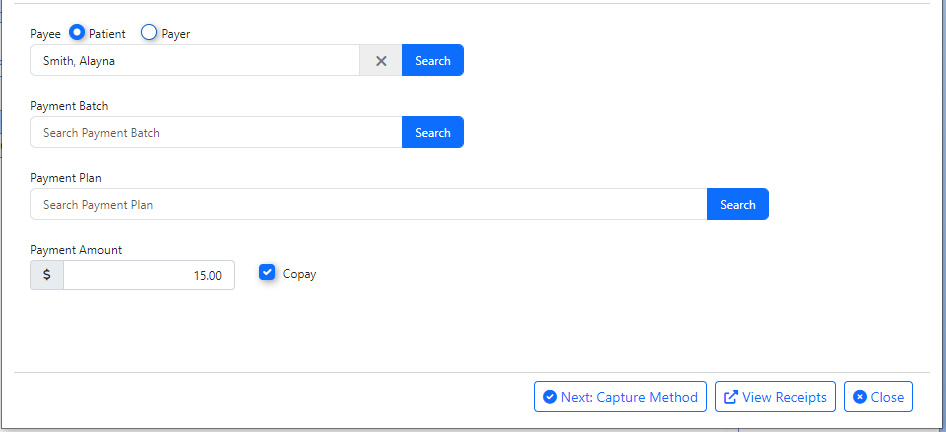
- If you have an integrated Swiper, choose the "Swipe" option. Otherwise, a card may be manually entered.

- Click "Submit Payment" to process the payment and print the receipt for the patient.

To collect and run a credit card payment with the PaySimple Credit Card Processing, follow the step-by-step guide or watch the short video below.
Watch the Video
Step-By-Step Instructions
- Open the Credit Card Payment screen from the dropdown arrrow in the upper left corner.

- Choose the Credit Card Payment option.

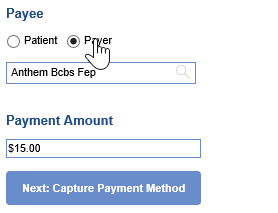
- Select the Payer option, choose the payer, enter the payment amount, and continue to capture the payment.
- If you have an integrated Swiper, choose the "Swipe" option. Otherwise, a card may be manually entered.

- Click "Submit Payment" to process the payment. Once processed, a Deposit will be created in the billing portal to be reconciled and processed by a billing team member.

To open, view, or print a credit card receipt with integrated credit card processing, watch the video or follow the step-by-step guide below.
Watch the Video
Step-By-Step Instructions
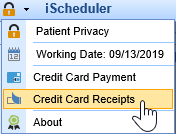
- Open the Credit Card Payment screen from the dropdown arrrow in the upper left corner.

- Choose the Credit Card Receipts option.
- Search by Date or Patient by entering your search parameters and click "Search"
Today's date will always pre-populate in the Date Range by default.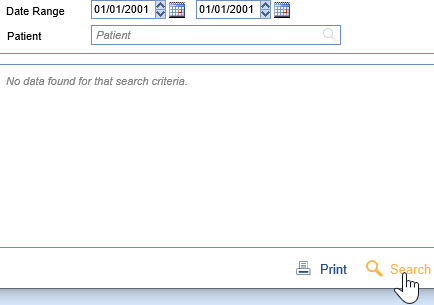
- Click on the receipt you would like to print. It will highlight blue to indicate it is selected.
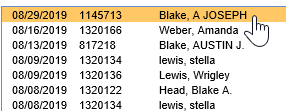
- Click the "Print" button to print the selected receipt.
To reverse a credit card payment that was taken through the integrated credit card processing portal via the Receipt Details screen, follow the step-by-step guide below. Please note this can also be done from the Quick Pay screen.
Step-By-Step Instructions
- Open the Billing Portal from the lower left hand corner.
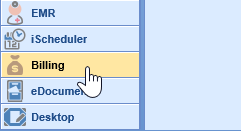
- Open the Receipts window from the left-hand navigation pane.

- Search for the patient name or chart number, or navigate to the Advanced Search window.
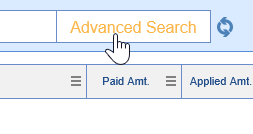
- Set the date of the receipt and choose the "OfficeEMR" Receipt Type

- Click Search at the bottom of the Advanced Search to run the search.

- Double-Click on the Receipt desired to open it and view details.
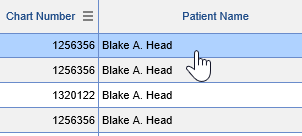
- To confirm this receipt was run through the PaySimple integration, you will see this in the Source field:

- To reverse the payment, click the "Reverse Receipt" button to void or reverse payment.

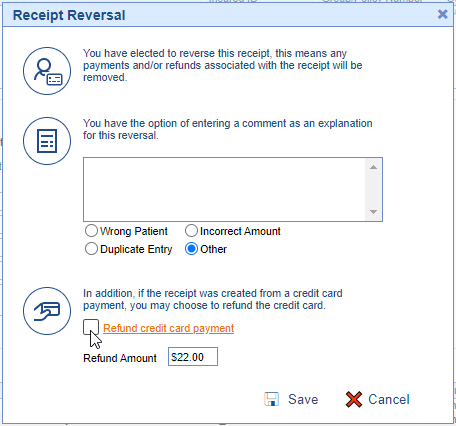
- The Receipt Reversal window will open. On it you will have a textbox to enter a comment for the reversal or use one of the default comment options. The Refund credit card payment checkbox will be checked by default, and the Refund Amount will be listed as the full amount of the receipt. If you wish to proceed with the credit card reversal for the full amount of the receipt click Save to finalize the reversal.
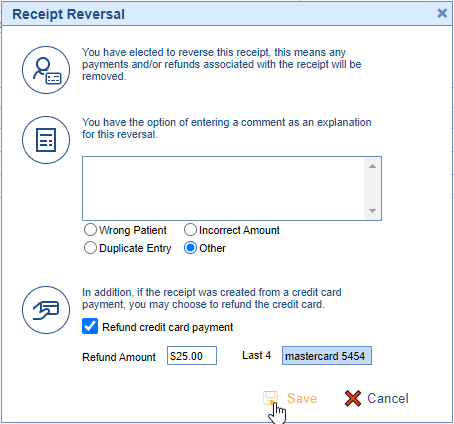
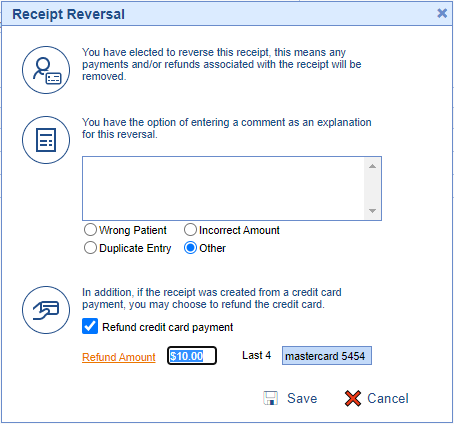
- If you do NOT want to reverse the full amount of the receipt to the credit card you will be able to modify the Refund Amount to the amount you wish to reverse. Once you click Save the original receipt will be reversed for the full amount and a new receipt will be created for the difference . The messages section on the original, reversed, and new receipt will provide details on the partial reversal.

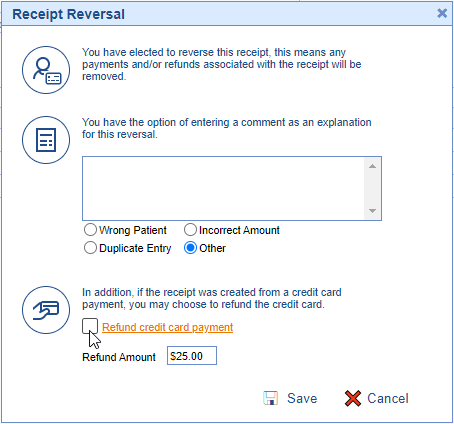
- If you do NOT want to reverse the credit card payment, uncheck the Refund Credit Card Payment checkbox before clicking Save.
To reverse a credit card payment that was taken through the integrated credit card processing portal via the Quick Pay screen, follow the step-by-step guide below. Please note this can also be done from the Receipt Details screen.
Step-By-Step Instructions
- Right click on the patient appointment and select Quick Pay to Open the Quick Pay screen from a scheduled appointment.
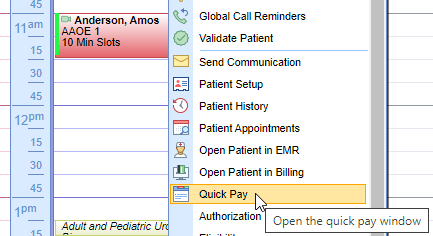
- Select the payment that was made by left-clicking on the transaction.

- Select the Reversal Receipt button at the bottom left corner of the window.

- The Receipt Reversal window will open. On it you will have a textbox to enter a comment for the reversal or use one of the default comment options. The Refund credit card payment checkbox will be checked by default, and the Refund Amount will be listed as the full amount of the receipt. If you wish to proceed with the credit card reversal for the full amount of the receipt click Save to finalize the reversal.
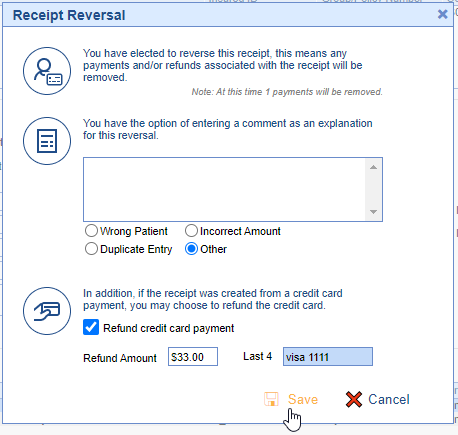
- If you do NOT want to reverse the full amount of the receipt to the credit card you will be able to modify the Refund Amount to the amount you wish to reverse. Once you click Save the original receipt will be reversed for the full amount and a new receipt will be created for the difference . The Receipt Transactions will now show 2 additional transactions now, one for the reversal of the full receipt amount and one for the difference of the reversal amount and the receipt.
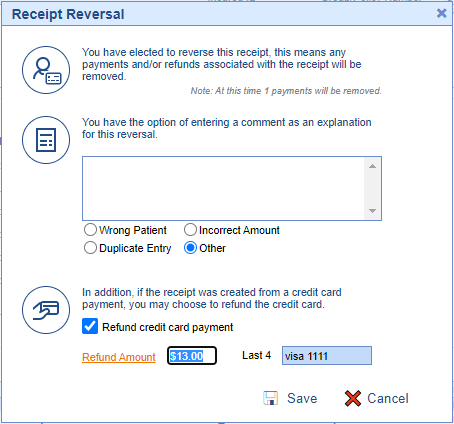

- If you do NOT want to reverse the credit card payment, uncheck the Refund Credit Card Payment checkbox before clicking Save.
