Entering a New Patient from Billing Portal
The below will guide will walk you through how to create a patient from the Billing Query window in the instance you are manually entering a claim and the patient is not yet in the database.
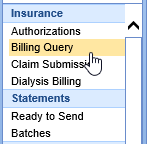
- In the Billing portal select the Billing Query

- On the Billing Query toolbar select the New Options drop down and click Claim.<\li>

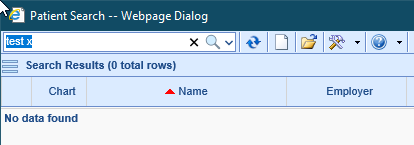
- Enter patient’s last name, first name, or date of birth in the textbox to search for the patient. You should always search for the patient first before adding a new patient even if you are almost positive the patient is not in your database.

- Once confirmed the patient does not exist in the database click the New (white sheet of paper) icon.

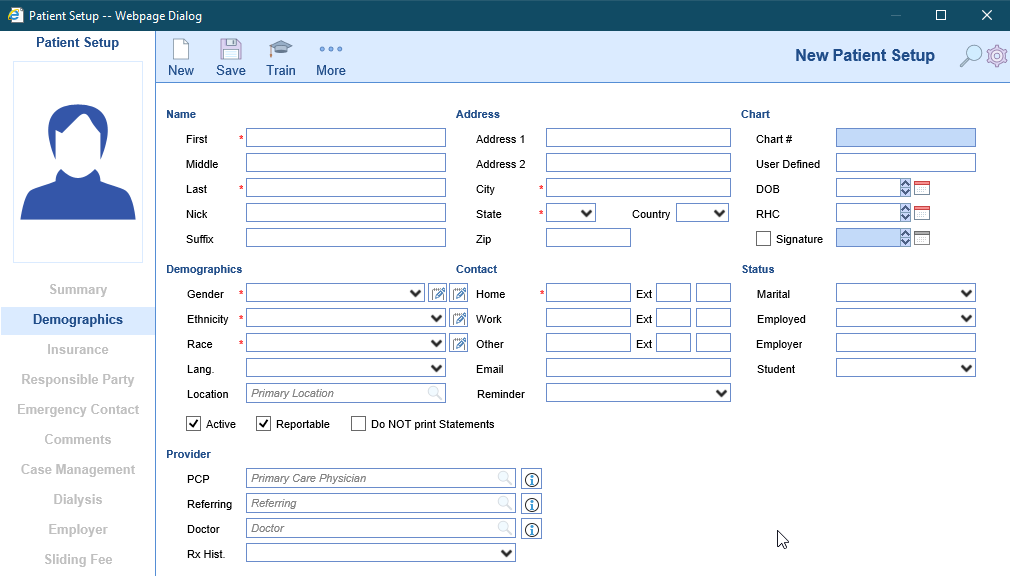
- In the Patient Setup window complete the patient’s info (fields with a red asterisk are required. The fields that are required for billing are; First Name, Last Name, Address 1, City, State, Zip, DOB, Signature checkbox, Signature Date, Gender, Home phone number, and Responsible Party checkbox "if same as patient"). Click Save and proceed to the insurance tab.

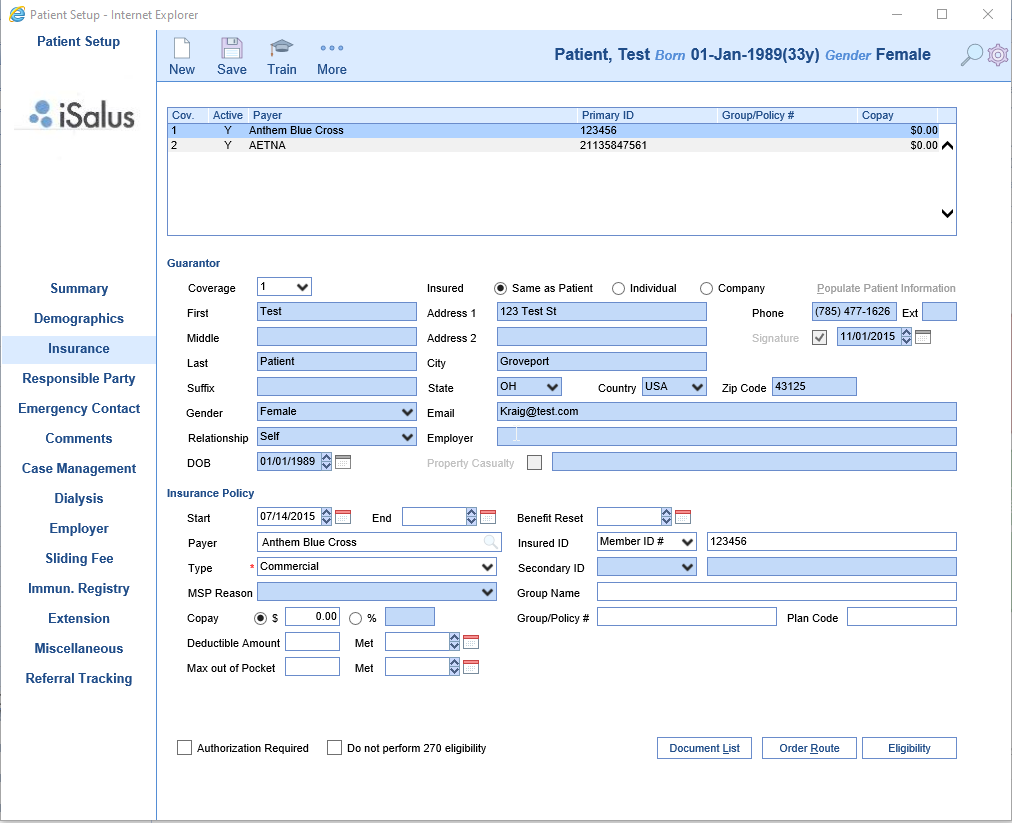
- In the Insurance tab complete the Guarantor section (if patient is the policy holder select Same as Patient to populate the patient demographics. If the policy holder is a spouse or parent select Individual, click Populate Patient information to bring over the address and complete the remainder of the section). Complete the Insurance Policy section by entering a Start Date, Payer, Insured ID, Copay (if applicable), and Group Name and Policy # (if applicable). Click Save. If patient has a secondary insurance click New at the top and repeat these steps to document the secondary insurance. If secondary insurance is not applicable proceed to any additional tabs as applicable (Responsible Party tab if the Responsible Party Same as Patient was not checked in the Demographics tab).


