Overview of the Login Audit Report
The Login Audit report is used for pulling data based on user logins. Every time a user attempts to log in, successfully logs in, or logs out, a new record is created.
Using the Login Audit Report
Using the Advanced Search
- Navigate to the Reports portal in the lower left hand corner.
- In the left hand navigation pane, select Logins underneath the Audit header.

- To set the report criteria, open the Advanced Search

- Set the appropriate criteria, then click the Search button at the bottom of the Advanced Search criteria. The report will run.
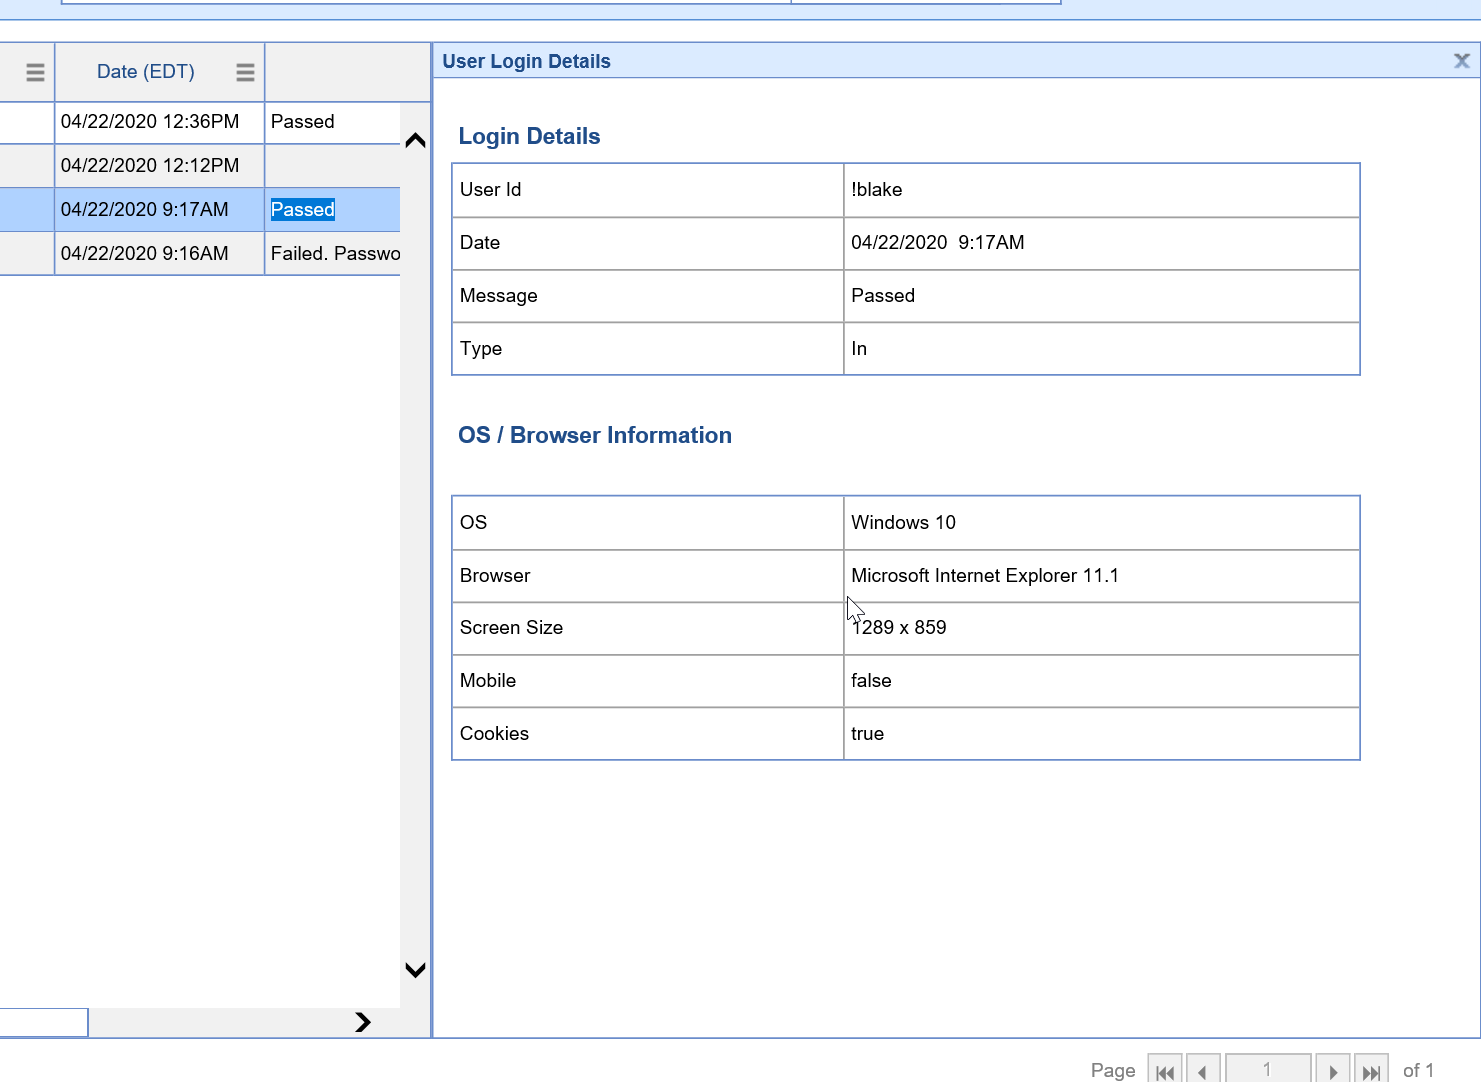
- Double click on a row that has Details = Yes to see more information.
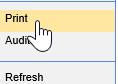
- To print or export the report, click the Gear Icon in the upper right corner.
- Choose the Print option from the dropdown menu and you will be prompted to print or export to excel.


Customizing the Display
- Navigate to the Reports portal in the lower left hand corner.
- In the left hand navigation pane, select the Logins option underneath the Audit header.

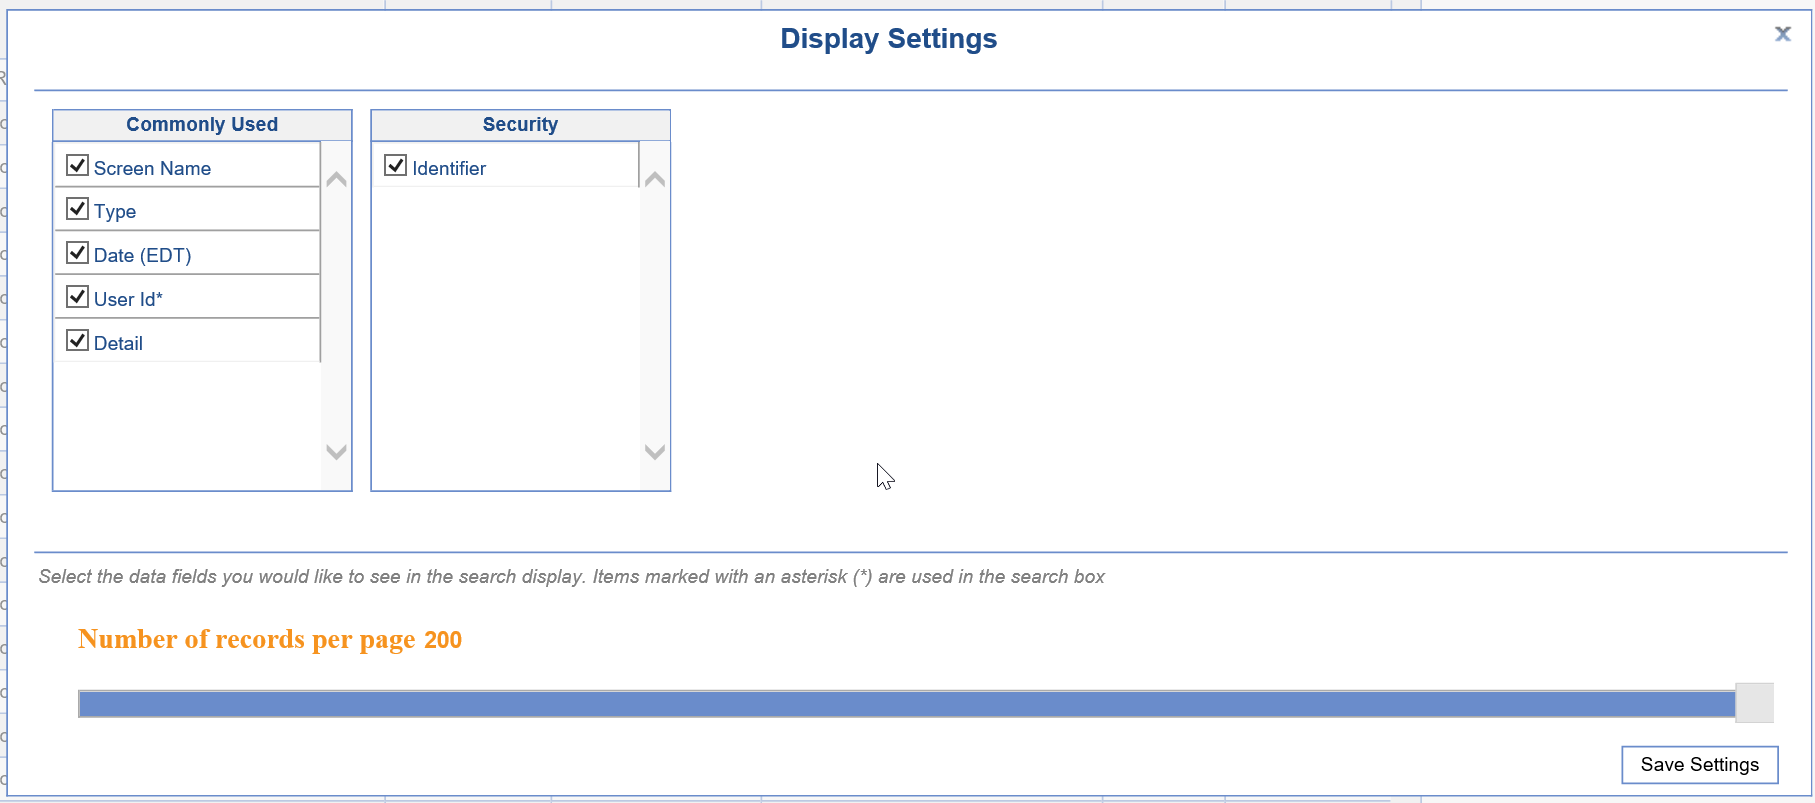
- Once the report is opened, a user may select which columns to display in the report by clicking the More button at the top of the screen, then selecting the Change Display Settings button.

- Check the appropriate fields you would like to display in the report.
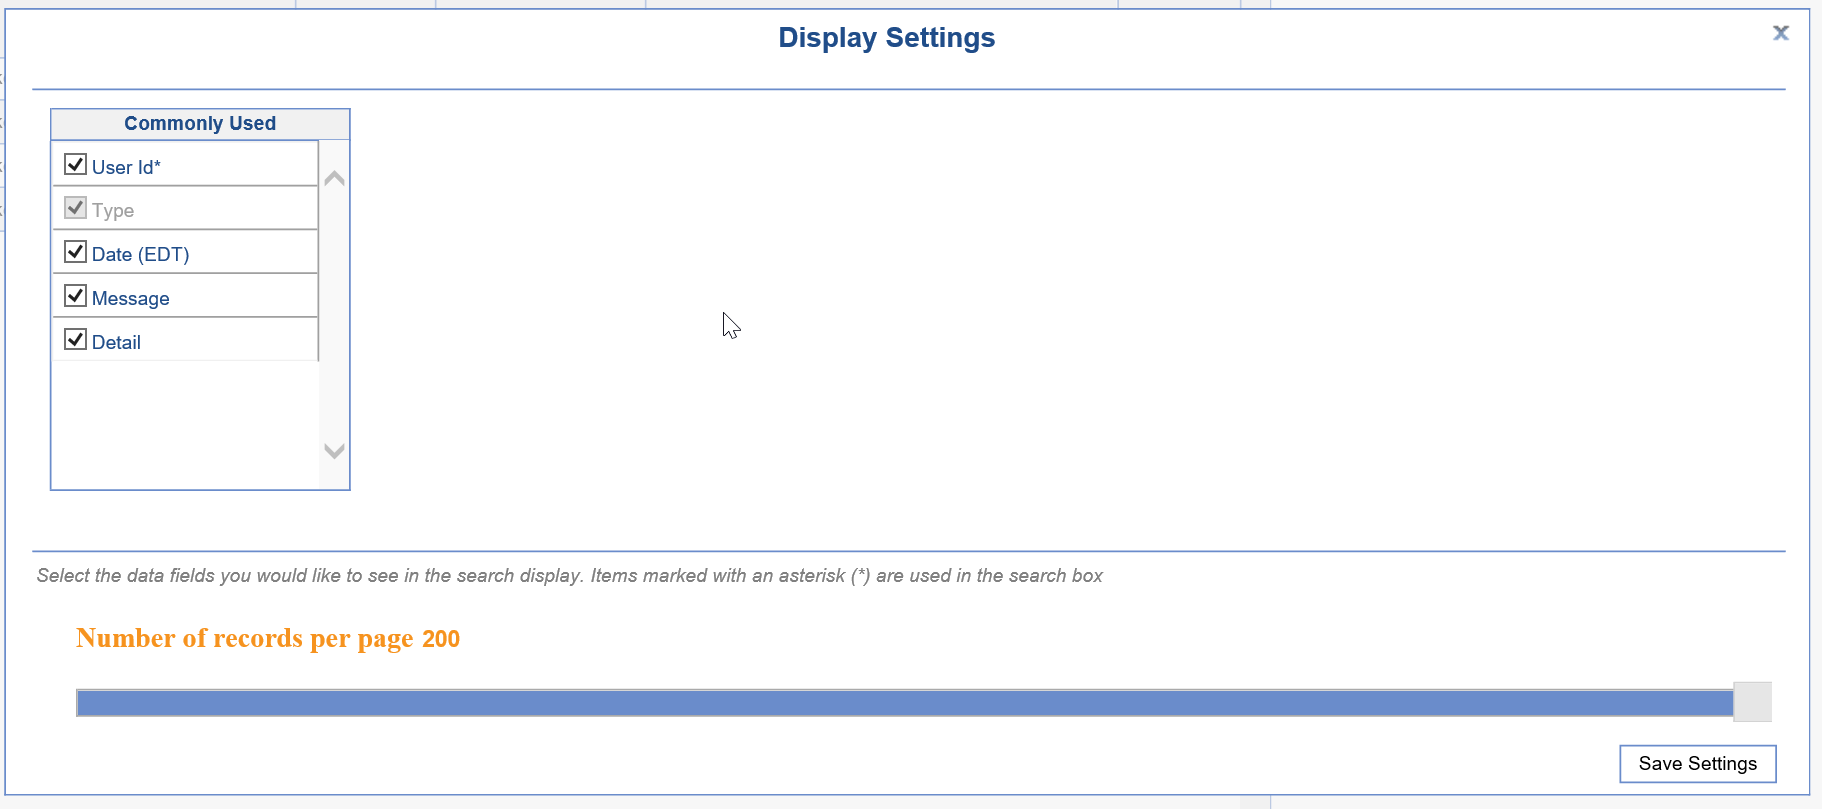
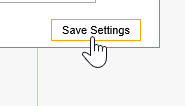
- Choose the Save Settings option in the lower right corner.


Security Audit Report Field Definitions
| Field Name | Description |
|---|---|
| User ID | User ID that logged in. |
| Type | The type of login that occurred.
|
| Date | The date and time the event occurred. |
| Message | Message received related to log in (i.e. Passed, Invalid Password, etc...) |
| Detail | Options will be Yes or No. If yes, you can see details related to the login. |
User Login Detail Field Definitions
| Field Name | Description |
|---|---|
| User ID | Same as above. |
| Type | Same as above. |
| Date | Same as above. |
| Message | Same as above. |
| Detail | Same as above. |
| OS | Operating system that the user was on when they logged in. |
| Browser | Internet browser used to log in. |
| Screen Size | Users screen resolution. |
| Mobile | True (if mobile), False (if not mobile) |
| Cookies | True (if enabled), False (if not enabled) |
Overview of Security Audit Report
The Security Audit report is used for pulling data based on audit activity within the entire application. Almost everything a user can do on a patient chart in our application creates an audit record.
Using the Security Audit Report
Using the Advanced Search
- Navigate to the Reports portal in the lower left hand corner.
2. In the left hand navigation pane, select the Security option underneath the General header.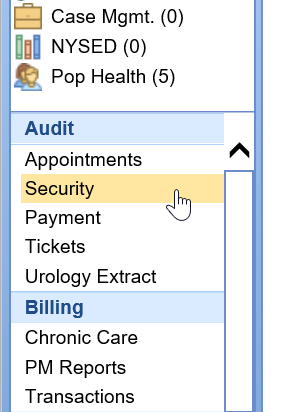
- To set the report criteria, open the Advanced Search
- Set the appropriate criteria, then click the Search button at the bottom of the Advanced Search criteria.
- The report will run. To print or export the report, click the Gear Icon in the upper right corner.
- Choose the Print option from the dropdown menu and you will be prompted to print or export to excel.

Customizing the Display
- Navigate to the Reports portal in the lower left hand corner.
- In the left hand navigation pane, select the Security option underneath the General header.
- Once the report is opened, a user may select which columns to display in the report by clicking the More button at the top of the screen, then selecting the Change Display Settings button.
- Check the appropriate fields you would like to display in the report.
- Choose the Save Settings option in the lower right corner.

Security Audit Report Field Definitions
| Field Name | Description |
|---|---|
| Screen Name | Name of the screen/window/function that the event was initiated from. |
| Type | The type of audit event that took place (i.e. Insert, Update, Delete, Print, View, etc...) |
| Date | The date and time the event occurred. |
| User ID | User ID that initiated the change. If you see 'Admin', this means the system performed this action. |
| Detail | Options will be Yes or No. If yes, you can click this record to see what values may have changed. |
| Identifier | ID used to track the change. This may be a patient ID, a claim ID, etc... |
The system also contains a Connect report related to auditing biller information:
- Biller Productivity: The Biller Productivity Report assists practices in reviewing the work that their billers are doing. Provided a date range, this report will return all notes that were created on claims OR have a Biller Action attached. This can be exported to Excel and pivoted on to get counts per user per Biller Action, or these notes can be audited as part of regular billing processes. For more information about using the Dialysis Census Report, click here.
The purpose of this article is to describe the capabilities of the Enhanced Access report and the data it represents. Enhanced Access is the process by which iSalus Employees can access your database with full privileges. This level of access is often necessary for recreating issues, completing professional services, confirming code changes, and a variety of other tasks.

Data Represented
When running the Enhanced Access report, each row represents an instance of an iSalus Employee accessing your database with elevated privileges. Using the provided filters, results can be narrowed to specific timeframes, support cases being addressed, individual users, and reason categories/descriptions.
Column Definitions
- User ID | Represents the iSalus Employee's user name accessing the database with Enhanced Access
- Reason Category | Selected reason the user provides for entering Enhanced Access
- Support Case - There is a need to recreate an issue or modify data to resolve a support case created by a practice user.
- DevOps Ticket - The effect of a code change needs to be validated, or a bug report can only be investigated in the live environment.
- Professional Services - Template Changes, Custom Development, Interface Setup/Maintenance, and Data Imports.
- Other - Catchall for instances where Enhanced Access is warranted but does not fall into the defined categories. The Reason Explanation field should provide a more detailed description of the purpose.
- Ticket ID | Mainly an internal identifier that iSalus can use to track back to Salesforce Cases, Development (DevOps) Tickets, Opportunities (Salesforce), or other referencable information to ensure the functionality is not abused.
- Reason Explanation | Written description for the reasoning behind the need for Enhanced Access. This is a required field when using the 'Other' Reason Category, but optional other times.
- Database Name | The database being accessed. As a practice user, this is a static value. As an iSalus Employee, this can be used to target individual databases being accessed.
- Posted Date | Date of the Enhanced Access session (Mon DD, YYYY)
