Add a New Patient to the Database
New patients can be added to your database with either the Quick Create, Create MML or Full Patient Setup. Video Guide
BEST PRACTICE: As a rule, always search for the patient prior to adding. This eliminates the possibility of creating duplicate patient charts.
- To search for a patient, click the magnifying glass icon in the upper right corner of either the iScheduler or EMR and begin typing. The following search criteria can be used to search for a patient: a combination of patient First Name, and/or Last Name, DOB, or Chart Number.

If no results are found, use the drop down arrow and select Create Patient Account
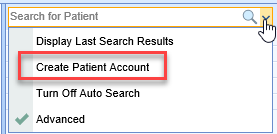
Users may also choose to select the New button, located at the bottom of the search results pop-up

Quick Create
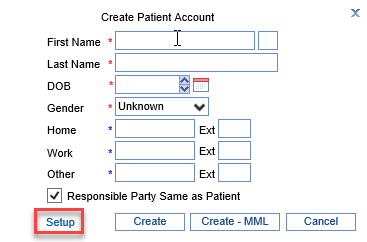
- Quick Create allows you to create a patient account from this screen with minimal required fields. Enter criteria and select Create
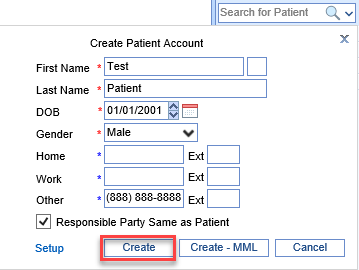
BEST PRACTICE: Practices utilizing the patient portal, MyMedicalLocker, should consider using the "Create - MML" button from the Quick Create window. Read steps listed below for instructions on how to access the MML Admin screen from the Quick Create.
Create MML
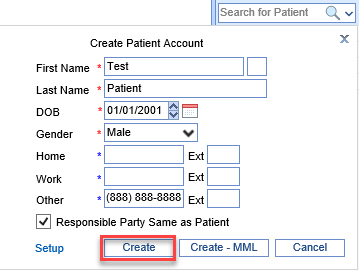
- Select Create-MML to quick create a patient account and connect to MML
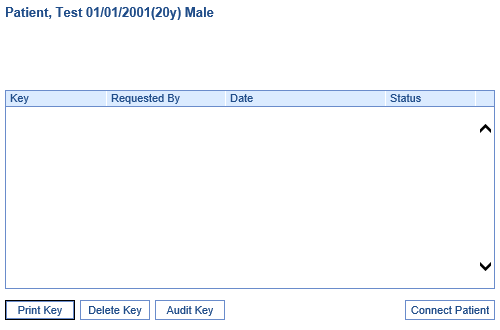
- Connect Patient
Full Patient Setup
- To create a new account from the full patient Setup, select Setup
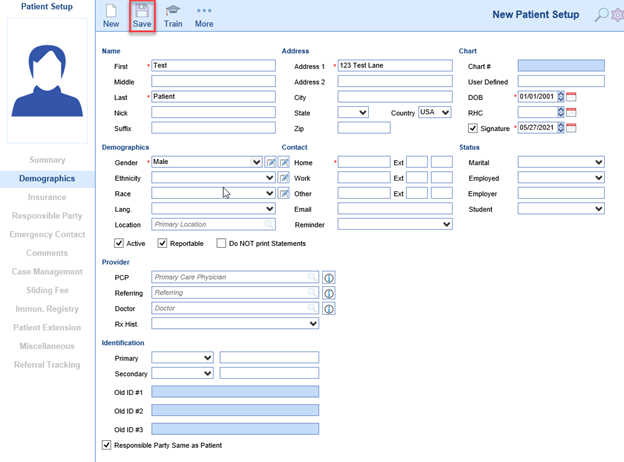
- You are automatically directed to the New Patient Setup window. Fill out required fields (indicated by *) as well as additional fields, and click Save
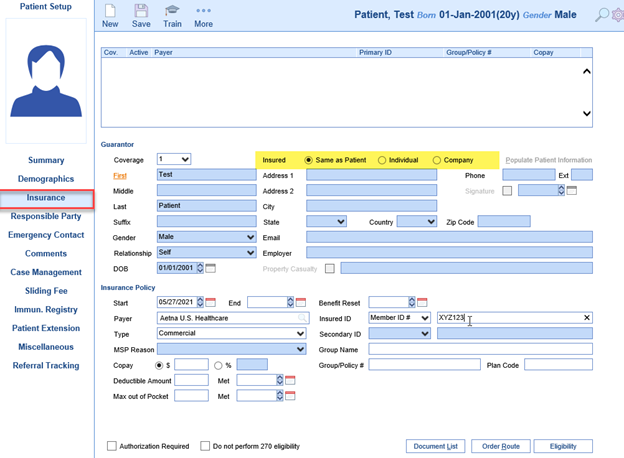
- Insurance: Enter required and additional fields. Select “Same as Patient” if the patient is the guarantor which will populate demographic fields
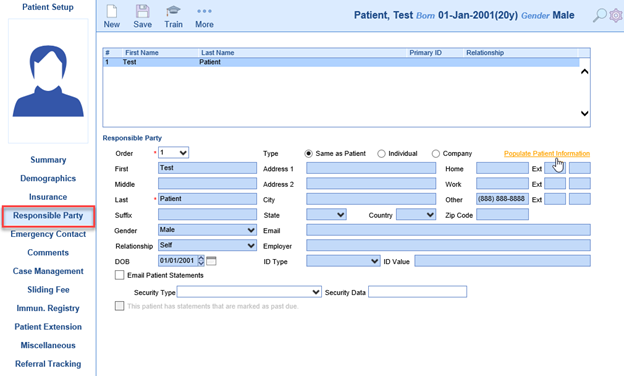
- Responsible Party: Select Populate Patient Information if patient is the responsible party. If the responsible party is a different party, enter the required and additional fields as needed
- Emergency Contact: Add up to two emergency contacts, then click Save

Scheduling an Appointment
Appointments can be scheduled via an open schedule, placeholders, or from searching for an open appointment in the iScheduler.
Schedule via an Open Schedule:
1. Navigate to the iScheduler

2. Select Date and Resource for the appointment to be scheduled

3. Search for Patient (top right corner of iScheduler)

4. Select Patient (Name of patient will display in upper, right-hand corner)

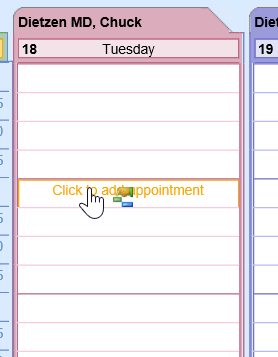
5. On the schedule, select the date and time to add appointment. Select Click to add appointment

6. Enter details for the appointment (Appointment Type and Location are required), then select OK

Schedule via Placeholder
- Select appropriate Resource and date for desired appointment
- Select the Placeholder, right click, Assign

3. Appointment Type and Location will be assigned, enter Chief Complaint as needed, select OK

Schedule via Search Open
- Select the Search Open to display appointments based on any combination of Resource, Location, Length, or Appointment Type within a designated time period.
BEST PRACTICE: To filter by Appointment Type, the Resource needs to be associated with that Appointment Type in Resource setup. Select Search to display results.

2. Select the Placeholder icon to assign patient to desired placeholder

3. Enter Chief Complaint as needed, then select OK

Confirm an Appointment
Appointments can be manually confirmed for practices not utilizing automated appointment reminders.
- Navigate to the iScheduler with appropriate Resource/Group selected.
- Hover over the appointment you wish to Confirm, right click then select the Confirmed status.
- Practices utilizing automated appointment reminders can use this same workflow to view the history of Global Call Reminders.
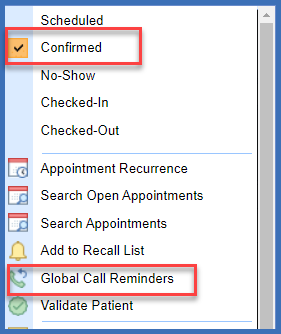

- Additionally users may utilize the Appointment Report to view statuses.
How to Check-In Appointments
- Right click over the patient appointment, select Checked-In

2. The Patient Validation runs looking for missing critical information that would impact billing, Click OK

3. Missing items can be added by clicking on the patient name in the upper left hand corner, taking you to the Patient Setup

4. After making corrections and saving the information, you’ll be back at the Quick Pay screen, where the Patient Validation can be ran again, ensuring all necessary information has been entered

5. If your practice takes Co-pays at check-in, this may be entered from the Quick Pay window

6. Simply enter the Payment Amount, Payment Type (Co-pay), and Payment Method in the Receipt Detail area of the Quick Pay window.

7. Select Create Receipt for cash, check, and non-PaySimple credit card payments. (Read more about our PaySimple credit card integration.)

8. For PaySimple credit card payments, select Take Payment
Most practices will wait to print the receipt until Check-Out in order to include future appointments, proof of visit, and proof of payment on the same printout. However, receipts will generate in the Receipt Transactions area and can be printed during Check-In, if necessary. Simply select the receipt and then select the Print Receipt button located at the bottom of the screen.
Scan Patient Documents and Cards
Select Patient from iScheduler to populate name in upper right corner
Use dropdown next to Patient to select folder you want to Scan/Upload into

Select whether to Scan or Import the document

To Scan
Custom Scan
*More information on these settings Custom Scan |  |
Save Documents
*More information on these settings Save Documents |  |
Toolbar

 Deletes a single page selected
 Clears all pages on the screen
 Moves through pages to display in the viewing pane
 Filter useful in eDocuments
 Allows rotation of the document previewer

Changes viewing pane between actual size and fit-to-screen ratios
 Zoom in or out on the selected page
To Import
Click Select File(s) then go to folder and select document to be imported

Taking a Photo for a Patient Headshot
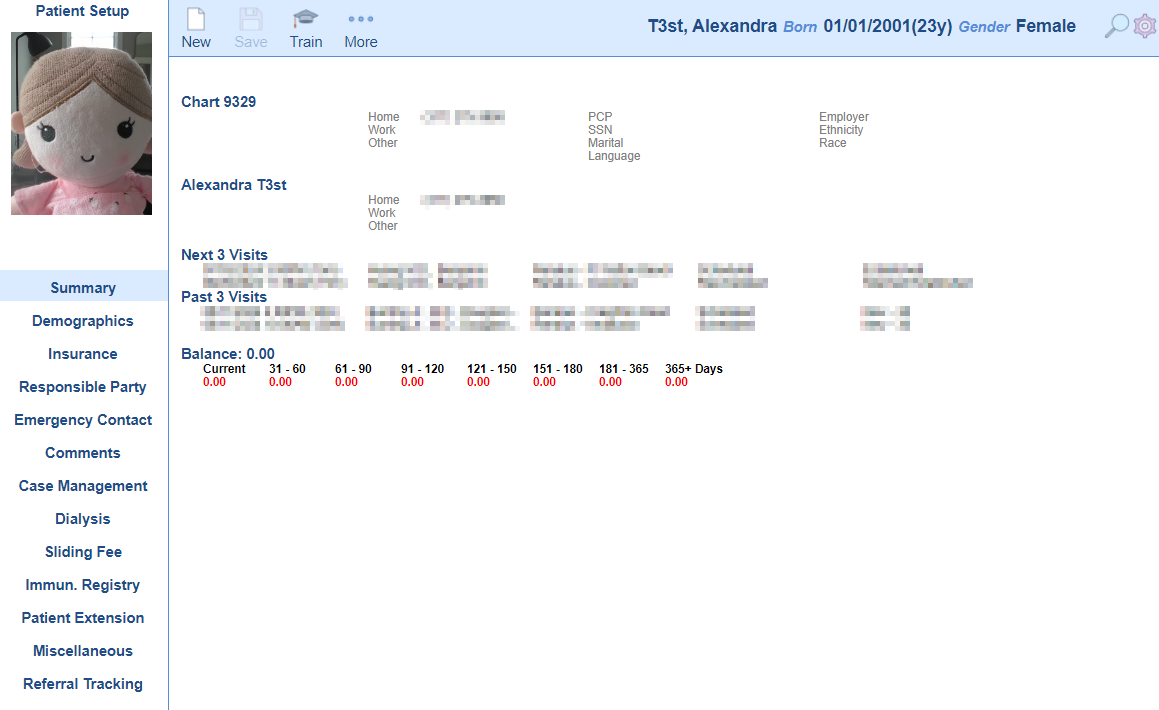
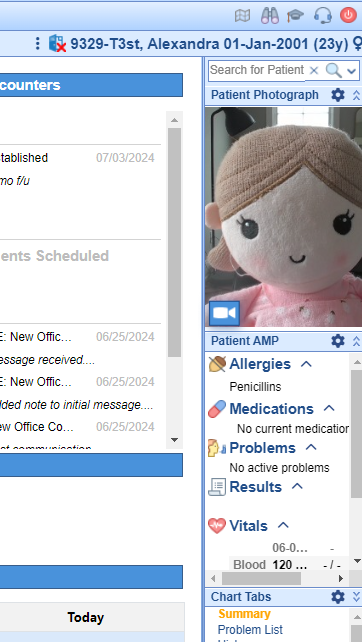
A practice may decide to include a photo of the patient, as part of the patient's medical record. Practices with either an external camera, or a webcam may choose to take a photo directly through the software. The patient headshot will display in both the Patient Setup window, as well as the Patient's chart in the EMR.
- Navigate to iScheduler
- Open the patient's chart
- Navigate to the Patient dropdown menu in the toolbar

- Select Take Photo
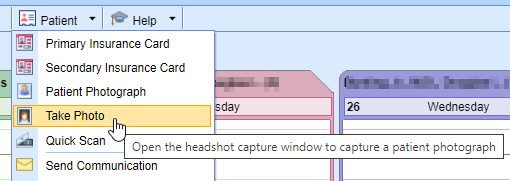
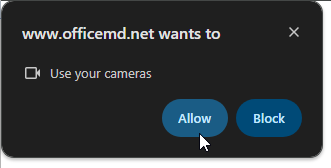
- Your browser will request permission to access your connected camera. Choose Allow
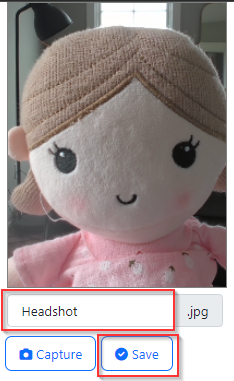
- Place the subject in the frame and choose Capture to record the image
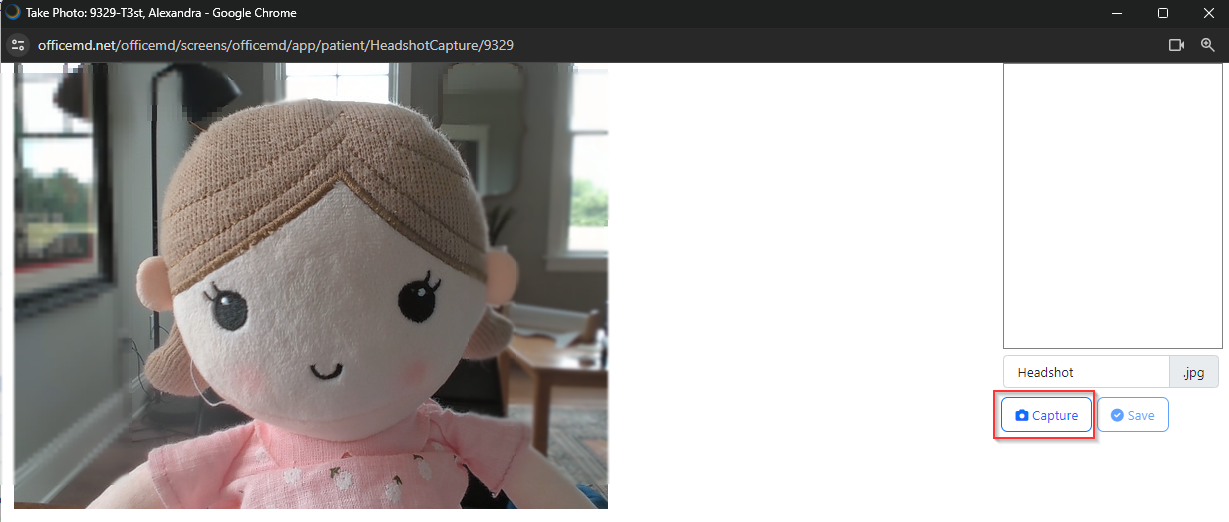
- The system will automatically label the image as "Headshot." Users may choose to modify the name of the file. Click Save
- The patient headshot can be viewed in the Patient Setup and the EMR
How to Check-Out Appointments Video Guide
- Right click over the appointment, select Checked-Out

2. The Quick Pay screen will load, where the Patient Validation verification can be ran again, ensuring all necessary information has been entered

3. If your practice does not take copays at check-in, the patient payment can be taken at this time from the Quick Pay window.
4. Simply enter the Payment Amount, Payment Type (Co-pay), and Payment Method in the Receipt Detail area of the Quick Pay window.

5. The yellow yield icon within the tabs indicate an item is ready to be printed or processed. For example, a pushpin above Orders could indicate that a follow up appointment requires scheduling.

6. Selecting this tab displays Open Orders. Select the order below the patient's name. This will display the order details in the right side of the window. After reviewing the order details, you can schedule the appointment by selecting the double boxes in the upper right hand corner of the QuickPay window. This will minimize the QuickPay window to take you to the iScheduler to schedule the follow-up visit.

7. Once the appointment is scheduled, select the calendar box in the upper, left-hand corner to re-open the QuickPay window

8. Single click on the Processing status to Close the Order

9. Once any follow-up appointments are made and orders are closed, navigate to the Print Queue tab to view all items waiting to be printed. If no additional items need to be printed, navigate back to the Receipt Tab and use the Print Receipt button to print the receipt with the future appointment info.

If a Blackout Overlay has been applied to a schedule, and the Blackout Appointment Status ID - To/Blackout Appointment Status ID - From settings have been configured, any existing appointments will be updated and placeholders will be removed as defined by both of the Blackout Appointment Status ID settings.

Existing appointments will be updated to the Appointment Status configured in the Blackout Appointment Status ID - To.
As defined by the Blackout Appointment Status ID - From.
Front Office users or Administrators may be trained to review these appointments in the event that they need to be rescheduled.
Steps:
- Right click over the schedule in the iScheduler
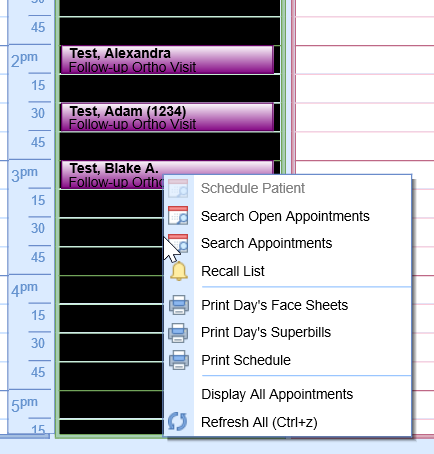
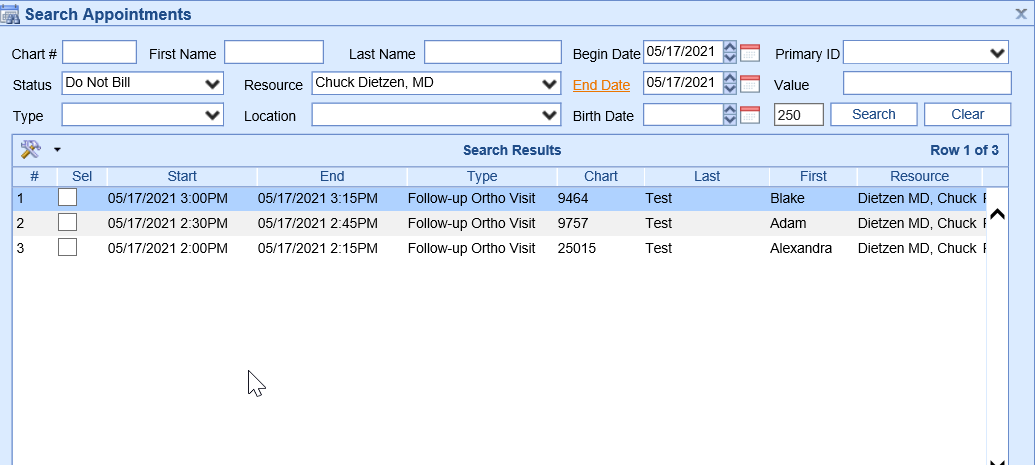
- Select Search Appointments
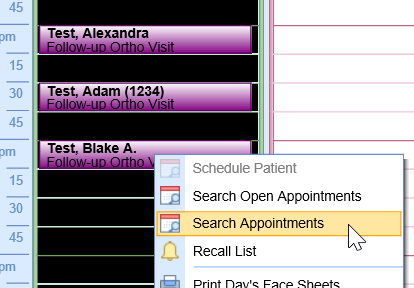
- Using the fields provided, set the search criteria to the corresponding data for the Blackout Overlay
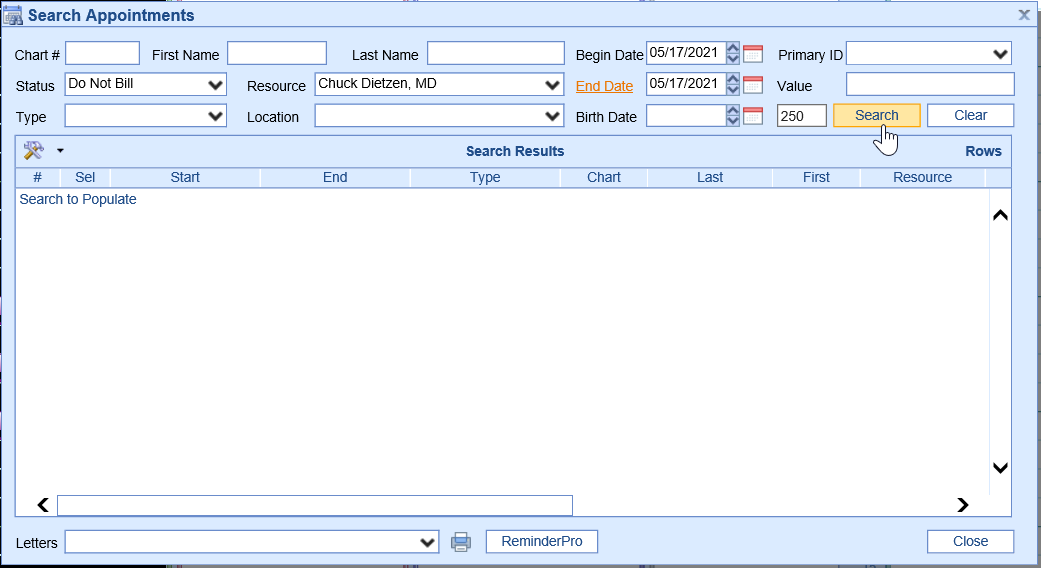
PRO TIP: Practices may choose to use the Search Appointments to populate a list of patient appointments that need to be rescheduled, due a Blackout being applied to the schedule. Therefore, the criteria should be set to limit the number of results to only those that apply to the Blackout Overlay occurrence.
Status = the appointment status used in the Blackout Appointment Status ID - To
Resource = the resource in which the Blackout Overlay was applied to
Begin Date = the date the Blackout Overlay was applied to
End Date = typically the same date as the begin date
- Click Search
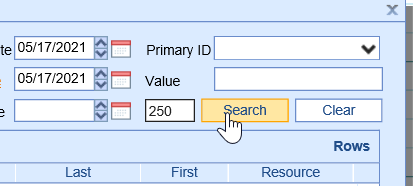
- A list of results will populate in descending order

- To open the appointment, double click on the search result

- Right click over the selected appointment and select Move
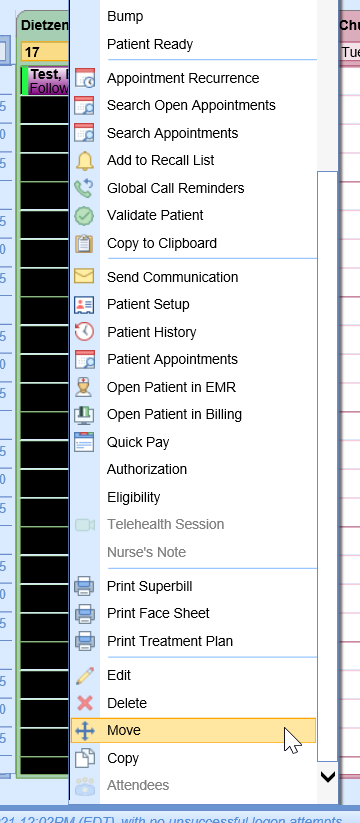
- Move the appointment to a new appropriate place
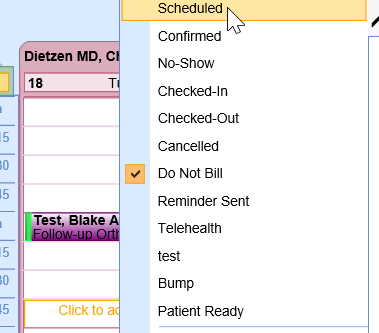
- Right click over the appointment and change the Status to Scheduled (or any appropriate status for scheduling)
- Right click over the schedule to re-open the Search Appointments report
- Re-run the report by selecting Search

- Repeat steps until all appointments haven been rescheduled and statuses have been updated
Patient Eligibility can be accessed from multiple screens within the system. This document will reference the specific workflow for checking insurance eligibility from iScheduler but in addition the same workflow applies when accessed from:
- Patient Setup: Select Eligibility from the More button
- Patient Insurance Setup Window: Use the Eligibility button
- Billing Query: Select Eligibility from the Patient card toolbar icon
- Quick Claim Window: Select the Eligibility toolbar icon
Workflow
- Within the iScheduler, from either the right-click Appointment menu or from the Patient Index Card menu, select Eligibility.
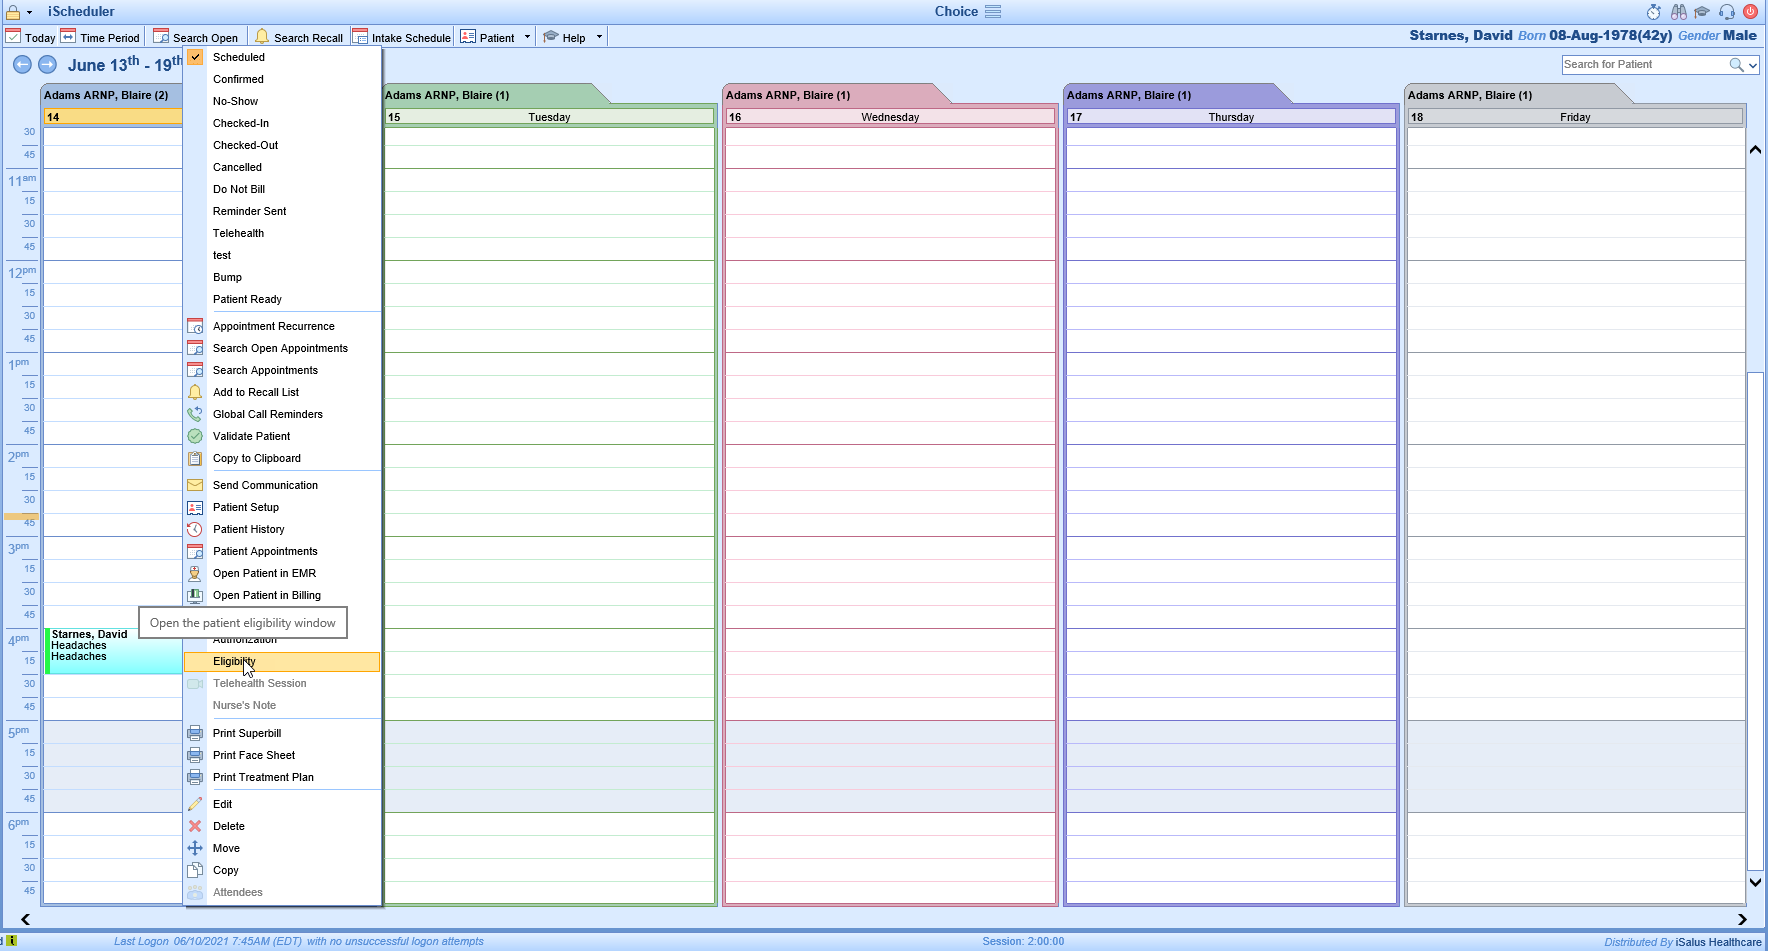
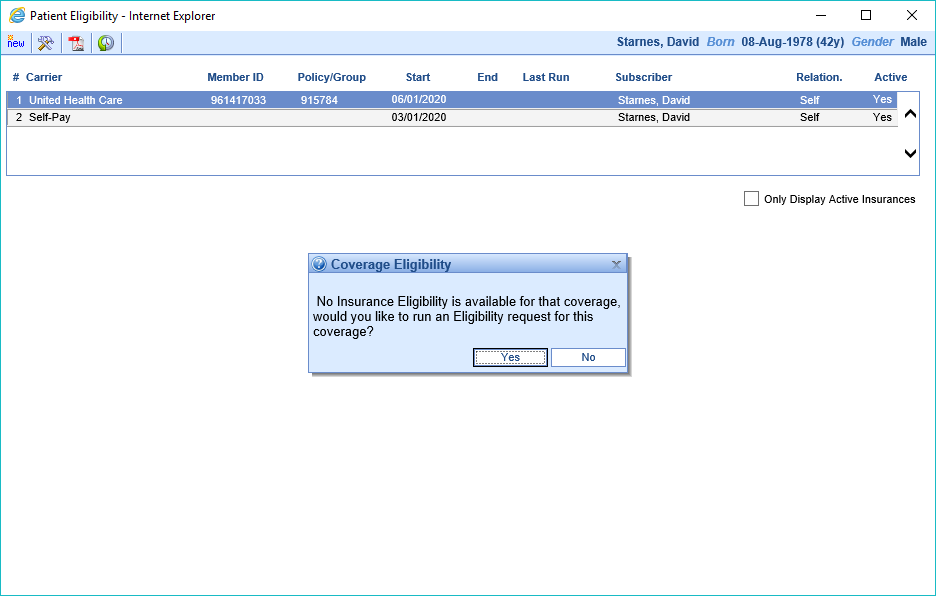
- Select the insurance coverage to be checked. If the eligibility has been checked in the past, you will be able to view the previously obtained information. If eligibility has never been run for this patient, you will be prompted to run a check. In this case, Click Yes to run the eligibility check.
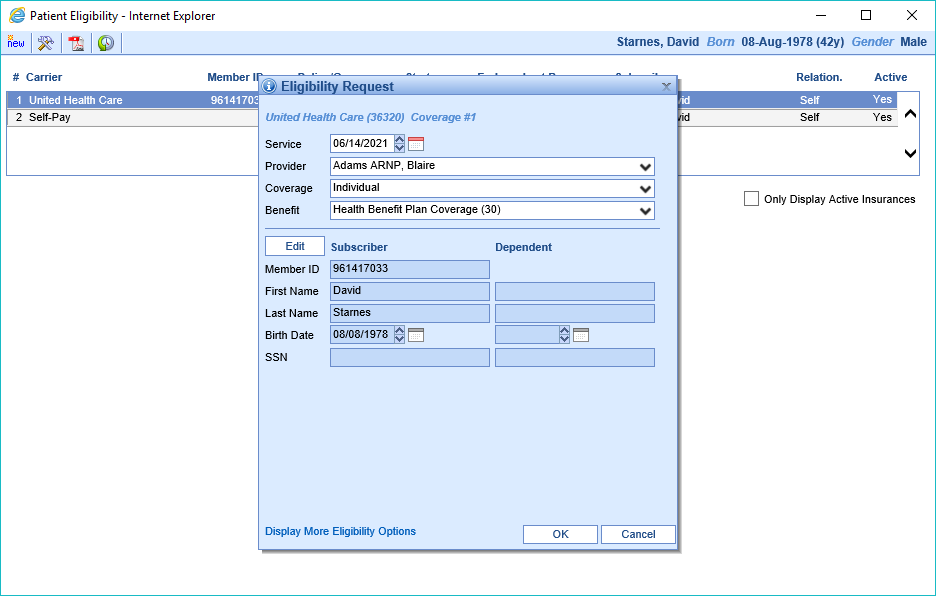
- Verify that all the coverage information is correct and press OK.
- The coverage information will be returned after the response is received from the payer. Review the returned eligibility information either by Active Coverages or Services.
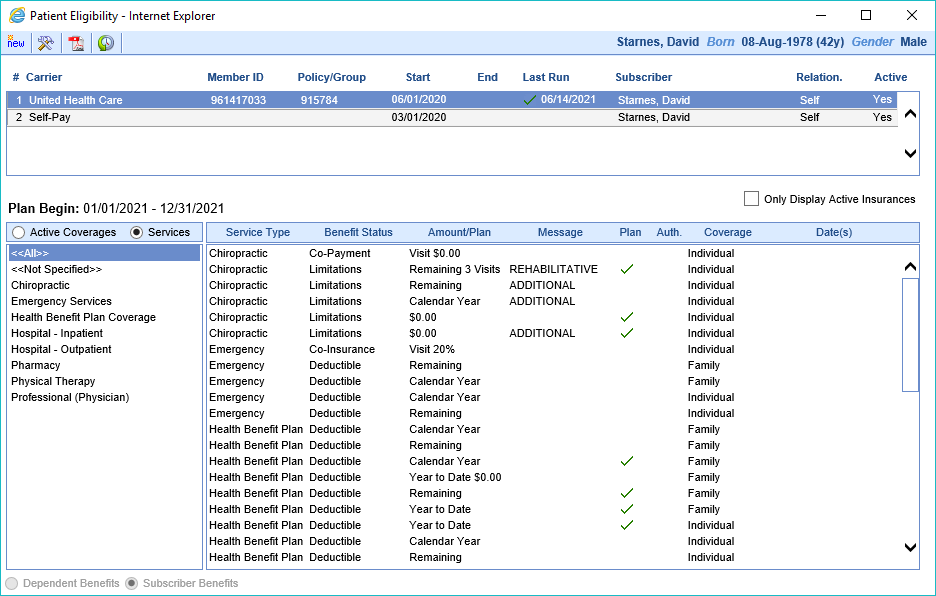
Additional information can be gained using the Eligibility toolbar

 | Allows you to add/update insurance coverage to be checked. |
 | Opens the PDF report created upon checking eligibility. This report contains detailed information about the patient's coverage. |
 | Gives access to the patient's eligibility history by date. |


