There are various user level settings within OfficeEMR that help customize the user's experience within the prescriptions module of the application. Follow these steps to access and change the user settings for a user:
- Login to OfficeEMR as an Administrative User.
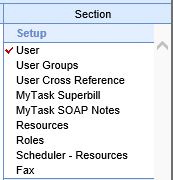
- Navigate to Setup > Users.

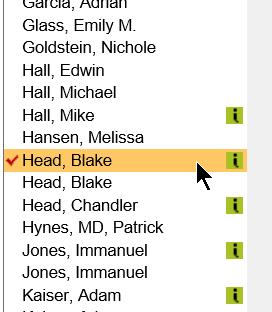
- Select a user's name on the left.
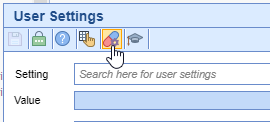
- Select the User Settings icon from the toolbar.

- Click on the User Rx Settings button to change the user's Prescription settings.
There are various user level settings within OfficeEMR that help customize the user's experience within OfficeEMR. Follow these steps to access and change the user settings for a user:
- Login to OfficeEMR as an Administrative User.
- Navigate to Setup > Users.

- Select a user's name on the left. You can check the "Active" checkbox to limit the User Search field to active users only.

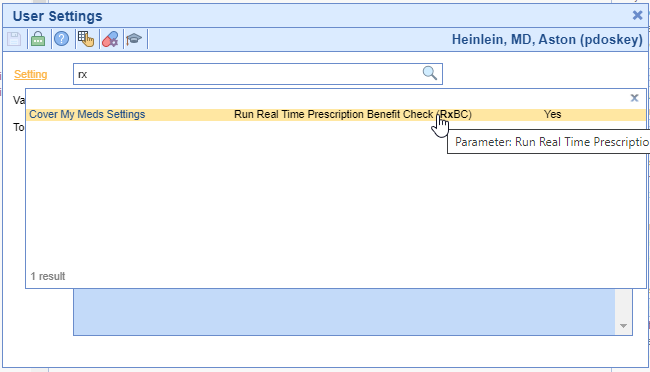
- Select the User Settings icon from the toolbar.

- Search for and select the User Setting you wish to view/change.
The following steps will walk you through how to deactivate or reactivate a user.
Steps
- Login to the application as a user that has administrative privilege's
- Navigate to the Setup portal
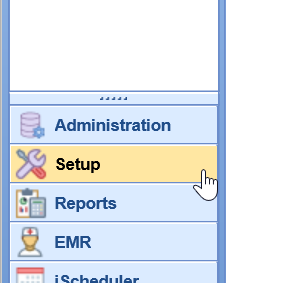
- Click Users
- Compare the list of Active vs Inactive users
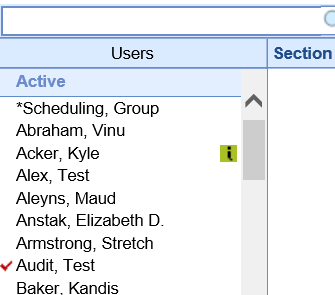
- Deactivate users that should not access your system.
- Select the user from the list on the left
- Select Users tab on the right
- Deselect the Active checkbox
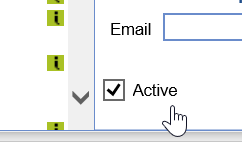
- Click Save
When you are creating a new user for a staff member, iSalus recommends that you use our Copy User functionality, rather than creating the user from scratch. This will assure that a majority of settings will be assigned to the new user, and reduce the chance that a user will not be able to perform a necessary task. Any settings needing to be changed can be changed after the user is created.
- Click on Current User - [Your User Name] at the bottom left of the iSalus database window. The User Setup screen will open.
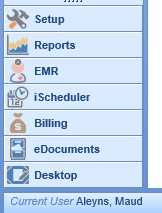
- Select the name of the user to be copied from the list of Users in the left column. Select a user who performs tasks most similar to the new user.
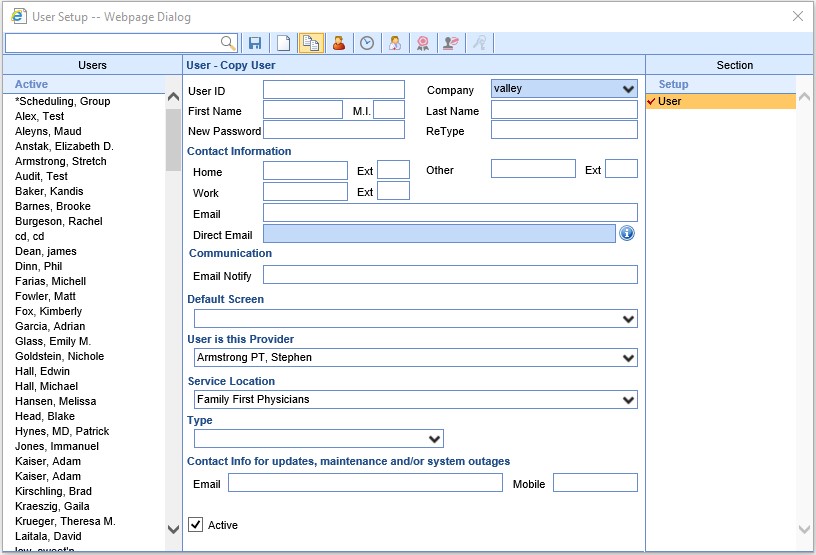
- Click the Copy User icon on the toolbar. The middle section will be available for you to enter the required fields. The minimum required fields are: User ID, First Name, Last Name, and New Password / ReType.

- Save. The other User Sections will fill in. Select different sections to adjust any settings as necessary.
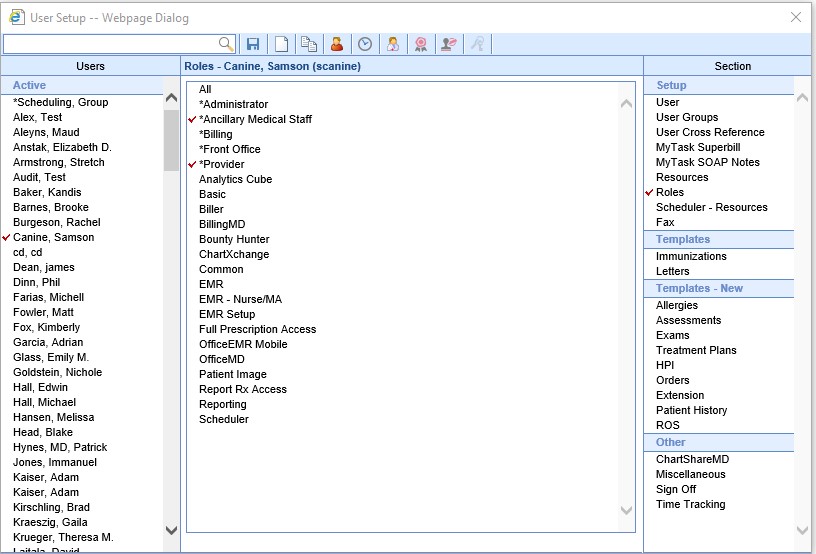
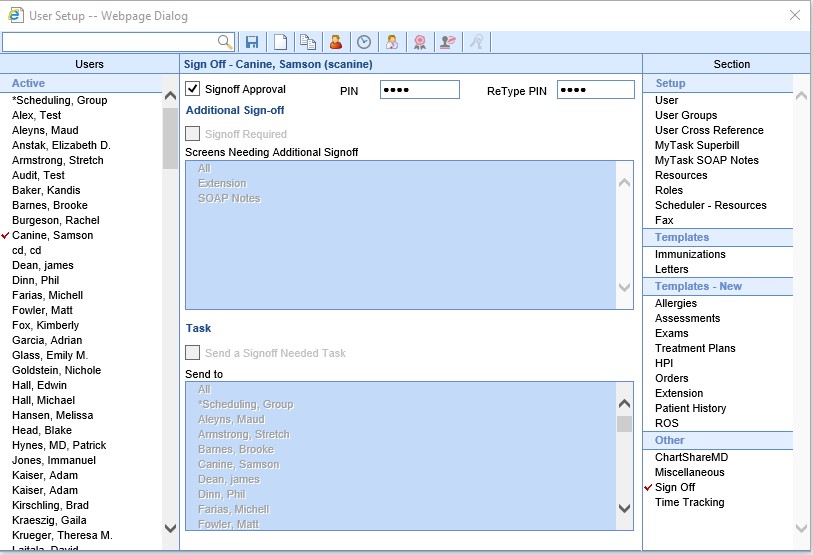
- If the new user requires a PIN or Sign Off information, click Sign Off in the right column. Enter a PIN twice, and Save. If the user has Sign Off Approval, check the appropriate box. For additional control, read more about User Sign-Off settings.

The Billing Dashboard display can be configured by user through the User Settings screen. This screen is accessible by clicking the gear icon in the upper right corner of the Billing Dashboard screen and then clicking on User Setup.

The user settings screen gives you many options on how you view your dashboard.

Default View - Allows you to change the view that shown in the middle portion of the screen each time the dashboard is opened. You can choose between the Revenue Cycle Wheel, Advanced, or Metrics Views.
Activity Settings - Allow you set the location of the tiles that appear at the top of the screen by default. These can be moved to the bottom, left, right, or hidden. You may also choose which specific tiles to display or hide by checking or unchecking the boxes next to the tiles. In addition you can change the default 7 days for the Eligibility tile.

Key Performance Indicator Settings - Allow you to display or hide the section displayed by default at the bottom of the screen. You may also set the number of days that is being viewed on the dashboard version as well as the number of days for the expanded version of the KPI screen. A/R DOS Options and A/R Age Options allow you to set the date options to use when viewing the information for KPI Aging by date of service or by aging date.

Revenue Cycle Settings - Allow you to display or hide sections of the revenue cycle wheel. You may also use this section to set the day range and default data view for each section.

Advanced Settings - Allow you to display or hide sections of the Advanced display for the center section of the billing dashboard. You may also set the day range for each section as desired.

Metric Settings - Allow you to display or hide section of the Metric display for the center section of the billing dashboard.
The following steps will walk you through how to setup pre-determined login times for a user.
Steps
- Login to the application as a user that has administrative privilege's
- Navigate to the Setup portal

- Click Users
- Select the user that you want to modify form the list on the left

- Open the Login Times window (clock icon)
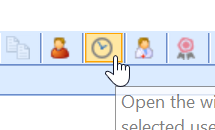
- Update the login times to fit the needs of the user.
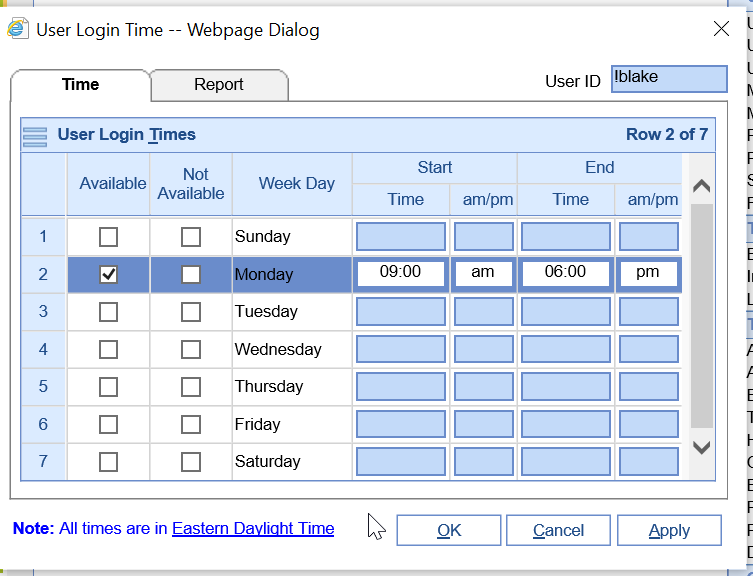
- Click OK to save changes
Please pay special attention to set the times based on Easter Daylight Time.
DIRECT E-mail is a secure way to communicate patient information from one provider to another. Eligible Clinicians in the Medicare and Eligible Providers in the Medicaid incentive programs will need a DIRECT email address in order to meet the MIPS Referral Loops - Send Health Info, MIPS Referral Loops - Receive & Incorporate Health Info, MU3 Send Referral Summary of Care and MU3 Receive & Incorporate Electronic Summary of Care documents objectives. To obtain a DIRECT E-mail, follow these steps:
- Have an administrator email Secure Exchange Solutions or call them at 1-888-470-9913 x 1.
- Secure Exchange Solutions will assess your practice's needs and perform the identity proofing process for the administrator you have chosen.
- Secure Exchange Solutions will work with your administrator to setup the appropriate DIRECT Email addresses.
- Setup and Authenticate a User's DIRECT Email Address
Organizational DIRECT Accounts are $470/Year. Provider Level Professional Accounts are $225/year.
Any user at a practice with the Admin security role can change a user password. Generally, this is only done when a user is locked out of the database.
For security reasons, iSalus Customer Success staff will NOT reset passwords for users over the phone. Either an Admin user at the practice must reset it, or the Admin must authorize iSalus staff via email to reset the password.
- Click on Current User - [Your User Name] at the bottom left of the iSalus database window. The User Setup screen will open.

- Select the name of the User who needs their password reset from the list of Users in the left column. Select the User section from the list of Sections in the right column. This will fill in the center part of the screen.
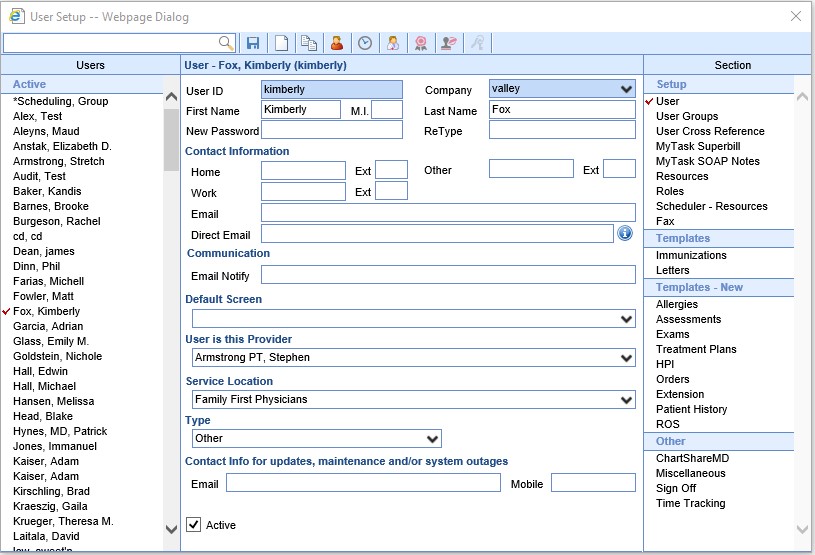
- Enter a new, temporary password in both password fields. This password must be alphanumeric. Press the Save button.

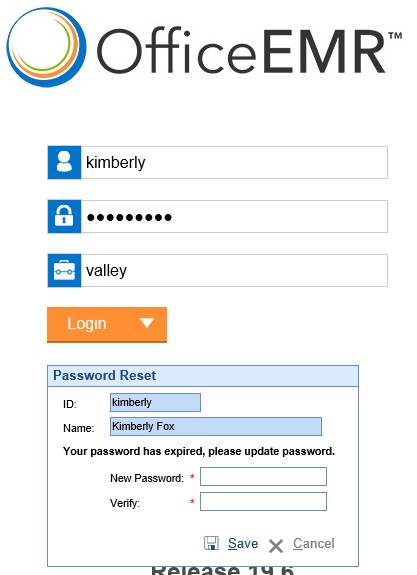
- When the user logs in with their new password, they will be prompted to reset the temporary password to a new password that only they will know.

Once a practice has obtained either an organizational level or provider/professional level DIRECT email address, follow these steps to setup and authenticate the email address with each user that will send/receive DIRECT emails:
- Click on the Setup Portal.

- Select the Users menu option.
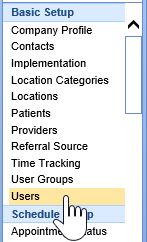
- Click on the User to add the DIRECT Email address to.
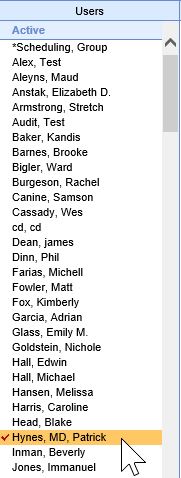
- Select the User section.

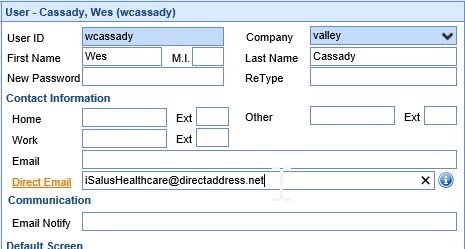
- Enter the DIRECT Email Address into the field.
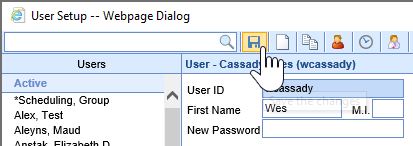
- Press the Save button.
- Click the Alert icon next to the DIRECT Email address.
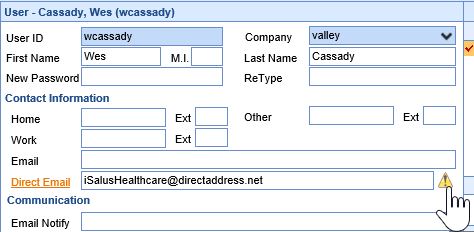
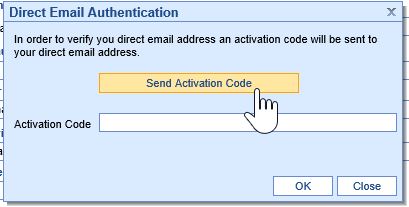
- Press the Send Activation Code button to send an activation code to the DIRECT email setup for the user.
- Login to the e-mail tool/web address that Secure Exchange Solutions provided to obtain the authorization code.
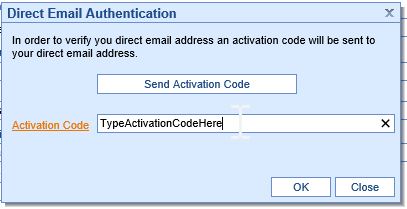
- Copy the code and paste it back into the Activation Code field.
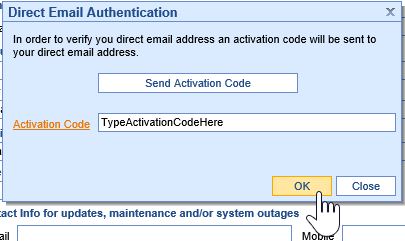
- Press the OK button.
- Setup User Provider Connection.
All inbound messages sent to this DIRECT Email will appear in the user's Communication task list.
Two-factor authentication (2FA) is quickly becoming the standard setup for any user needing to login to a system that contains secure data. The two-factor authentication process requires a user to have
- User ID
- Password
- Company ID
- Token
Currently, all users must enter a User ID, Password and Company ID when logging into the application. By implementing two-factor authentication, this requires a token to be sent via text, email or Authenticator to the user. This token is then entered as part of the login process.
Company Settings (Future Release)
There are 2 Company Settings associated with two-factor authentication in the database.
- Company Setting to require 2FA for all database users
- Company Setting to exclude 2FA by IP range
- local LAN subnet to exclude in office logins
Steps
- Login to the application as a user that has Administrative privileges
- Navigate to the Setup portal

- Click Users
- Select the user that you want to modify form the list on the left

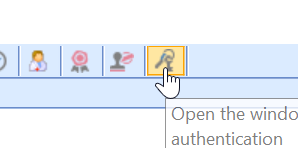
- Open the Two-Factor Authentication setup window
- Set the desire Two-Factor Authentication Method
- None = Two-factor authentication is off
- Email = Two-factor token sent via email to a designated e-mail address
- Text = Two-factor token sent via text to a designated phone number
- IdenTrust = User must authenticate via an IdenTrust USB token.
- Two Factor Application = User must authenticate via an Authenticator such as Google Authenticator, ID.me Authenticator, Microsoft Authenticator.
- Enter the appropriate information depending on the method selected from above.
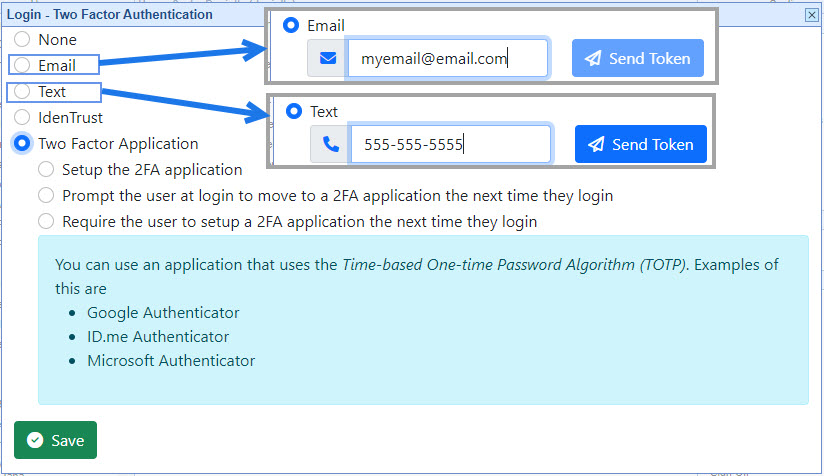
- If using a third party application, there are 3 options for user setup
- Setup 2FA to use for the next login
- Prompt the user to setup 2FA at next login
- Require the user to setup 2FA at the next login
- Click Save to save changes
Note: If Two Factor Application has been set up for a user and needs to change to a different application under the 2FA Setup window, select None, Save, then set Two Factor Application and Save. This will prompt the new Application setup.
The following steps will walk you through how to unlock an active user.
Steps
- Login to the application as a user that has administrative privileges
- Navigate to the Setup portal

- Click Users

- Select the user who is unable to log in.

- Select User tab on the right
- Deselect the Login Locked checkbox

- Click Save
The User/Provider connection is a setting that allows a user that has logged in to directly link that user to a Provider record.
Related Functions
This setting affects the following functions in the application:
- Telemedicine
- Electronically Prescribing Controlled Substances (EPCS)
- DIRECT Email
Access
In order to change this setting, a user must have the appropriate access. This is done by ensuring that the users role is linked to the User/Provider Connection screen in Role Setup.
Connecting a User to Provider
- Provider to log in as himself/herself.
- Navigate to Setup > Users.

- Select the logged in user's name on the left.

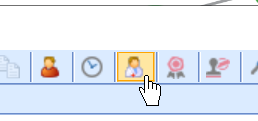
- Select the User/Provider icon from the toolbar.
- Type in the provider's name in the search box.
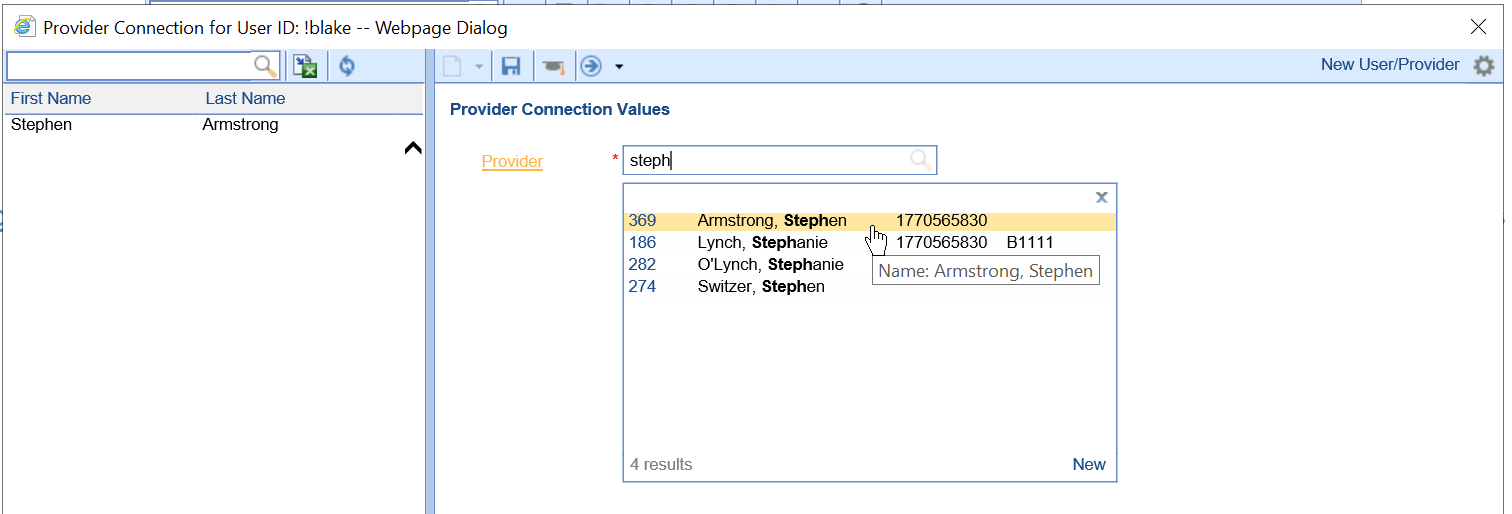
- Click Save.
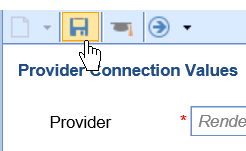
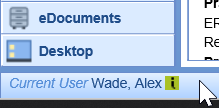
- Select your name in the lower, left-hand corner of the database.
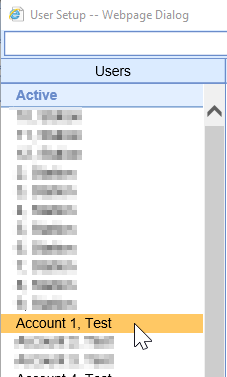
- Select the User that you wish to modify their Sign Off settings.
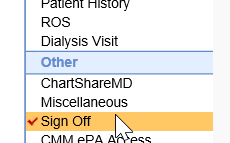
- Select the Sign Off setting from the list of Settings on the right hand side of the window.
- Decide whether or not the User requires additional Sign Off for notes or not.

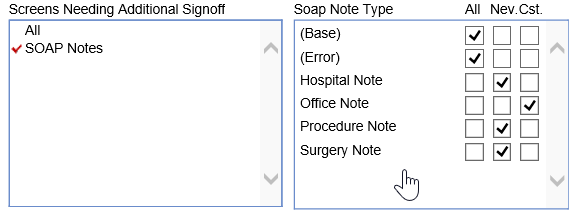
- If the user requires their notes to be sent for additional sign off, select the SOAP Notes under 'Screens Needing Additional Signoff'.

- Settings can be configured to send only certain SOAP Note types by selecting a frequency for each SOAP Note type.
PRO TIP:
All = The SOAP Note type will ALWAYS require additional signoff.
Nev. = The SOAP Note type will NEVER require additional signoff.
Cst. = The SOAP Note type will require a CUSTOM additional signoff.
7. Select who the Sign Off task will be sent to from the list of available users.

8. Save.
Resources are used to define machines, specific procedure rooms, or providers. Often users will want to default which resources are available to them as well as which resource they are defaulted to in the Mobile application.
Steps to Complete
- Access the User Setup window by clicking on your name in the bottom left of the screen
- Navigate to the appropriate user on the left.
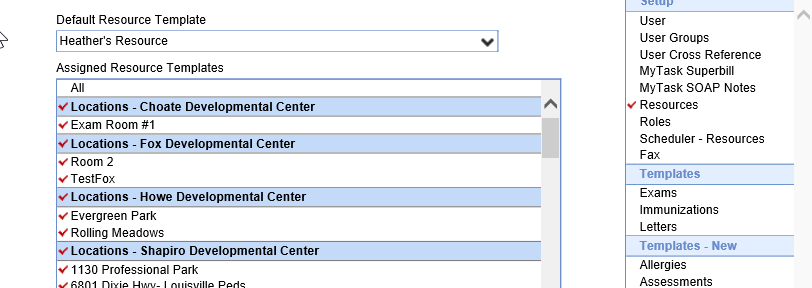
- Once selected, choose Resources from the option along the right.
- Select the available resources for the user.
- Set a default resource for the user. This will be used as the default when in the schedule section of the mobile app.
The following steps will describe how to default a template for each chart tab available within the EMR.
Steps to Complete
- Log in to the application under a user with the appropriate privileges.
- Access to User Setup (new)
- Access to EMR - General - User Setup - {Template Chart Tab} - Will bring you to Orders for an example.
- Select your name from the bottom-left corner of the screen where it says "Current User"
 NOTE: If you are performing this on behalf of another user you will need to select their name from the left side under Users first.
 - Along the right side of the user settings screen, there is a section titled Templates - New
- This section will hold the chart tab names as seen in the EMR.
- Each section will give the ability to default a template for the user and to add/remove access to additional templates.
- Select the Chart Tab
- A list of available templates will be shown by template category and a drop-down at the top to set the Default Template
- The templates the user already has access to are marked with a Red Check Mark

- The default template will be set using the drop-down.

- The templates the user already has access to are marked with a Red Check Mark
The following steps will describe how to setup the following: Access to faxes within the My Task Fax queue along with setting a default outbound fax number for sent faxes.
Steps to Complete
- Log in to the application under a user with the appropriate privileges.
- Select your name from the bottom-left corner of the screen where it says "Current User"
 NOTE: If you are performing this on behalf of another user you will need to select their name from the left side under Users first.
 - Along the right side of the user settings screen, there is a section titled Fax
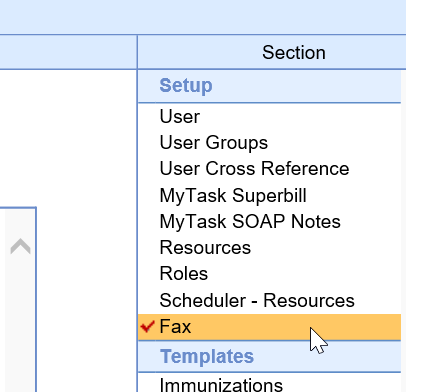
- The Default Outbound Fax number will be used on outgoing faxes

- The Inbound Fax Number list will allow you to see faxes in the inbox for these items or in the sent box. Check the ones you would like to see. If the number exists twice, you only need to select it from the list one, either will work.
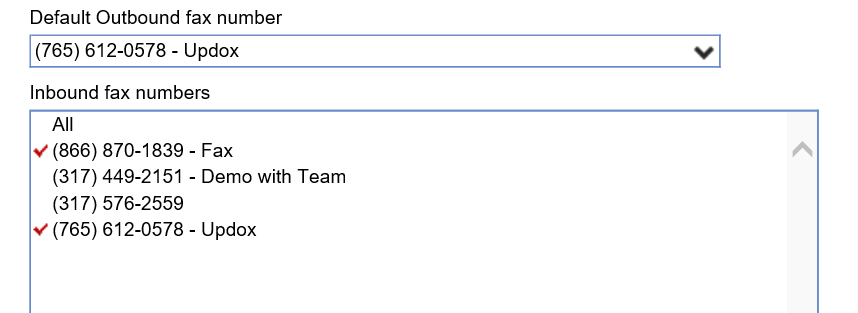
- Click Save.
The User/Provider connection is a setting that allows a user that has logged in to directly link that user to a Provider record.
Related Functions
This setting affects the following functions in the application:
Setting the "User is this Provider"
- User to log in as himself/herself.
- Navigate to Setup > Users.

- Select the logged-in user's name on the left.

- Select the User category from the right-hand side.
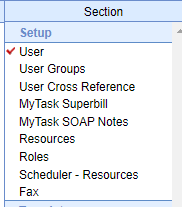
- Select the provider's name from the list.

- Click Save.

To setup a new user group you will need to start in the Setup portal.
From the left side list, under the Basic Setup blue bar, you will select User Groups.
Next, you will select the blank piece of paper icon at the top. Enter the Description name in the Description box and select the save icon.
To assign all users to this new user group please select link below for steps:
Assign All Users to User Group | iSalus Healthcare (knowledgeowl.com)
After creating a new User Group here is how you can assign all users to this group. See steps below:
Select the Setup portal.
In the left side menu you will select Resources located under the Schedule Setup blue bar.
Select User Setup from the top menu bar.
Once in the Resource Assignment window, you will select the magnifying glass icon in the top right corner. In the drop down list, select User Group. 
You can then select Grid Assignment from the tabs.
You will then click on the user group name that you created. This will assign all users to this group. Be sure to select the Save button at the top before closing out of this window.
This article describes the necessary steps to enable 2FA logins for users in your practice, and the steps for a user to complete the initial setup. This is entirely optional for using OfficeEMR but may be required by your Cybersecurity Insurer or other IT security policy requirements. Two-factor authentication (2FA) is quickly becoming the standard setup for any user needing to log in to a system that contains secure data. The two-factor authentication process requires a user to have a Username, Password, Company, and Token.

Prerequisites
Company Setting: Default 2FA Setting for Users
Company settings are typically only accessible to Administrators, open the link to learn more about the various options available for this setting as it will directly affect the implementation of 2FA for all users in the practice. This can be rolled out as a requirement for all users or may be enabled individually.
Security Role: Practice - General > Security > User Two Factor Authentication
If you intend to provide users the ability to self-service their accounts, they will need access to the User Two Factor Authentication setup screen. This may be useful in cases where a user needs to redo their setup because they got a new phone.
It is still possible to remove a user's setup manually as the administrator and force them to set up a new authenticator upon login if desired. This is completed by navigating to Setup > User Setup > Search for {user} > Select Keys icon from toolbar > Modify configuration as desired. If the company setting Default 2FA Setting for Users is set to 2 = Suggest, this will force the user to configure their new cell phone upon login with the 2FA Application.
Steps to Complete Initial Setup
- On the login page enter User ID, Password, and Company fields.
- Depending on your practice administrator, there are three possibilities;
- Not Required (normal login process)
- Prompt to set up 2FA upon next login
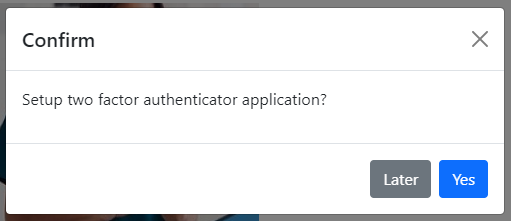
- Require 2FA setup upon login
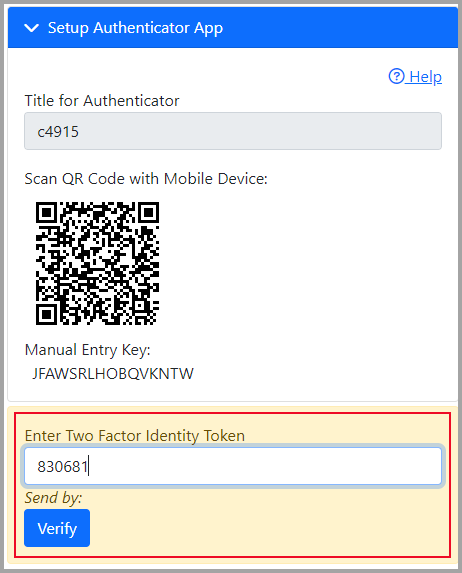
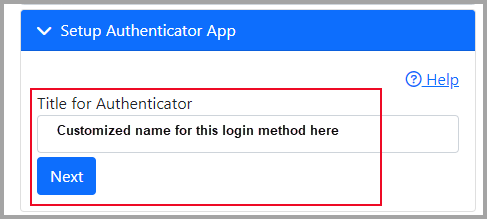
- Enter a Title for Authenticator, by default the database name will be used. However, this is entirely up to the user to customize. If a provider utilizes ID.me for EPCS, they may want to title this something like "Login OfficeEMR", to easily differentiate between the different accounts connected to the same authenticator application. This title will be shown in the mobile app.
- Open or download an Authenticator App of your practice's choice, then scan the QR code or manually enter the key.
Each practice can choose a preferred TOTP Authentication application, but ultimately it will be up to the user to download and associate their account to the specific mobile app. Any TOTP application will work for this process, however, it is recommended to use one of the following: - Enter the 6-digit token from your Authenticator App and hit Enter or click Verify to log in.
