RecordSync is a bi-directional document exchange feature that leverages the Surescripts Record Locator & Exchange network to access documents from connected health systems through a national health data exchange framework called Carequality. This feature removes barriers for specialists looking for medical records related to visits outside their organization, allowing them to review their patient's clinical history, including previous encounters, lab results, diagnoses, allergies, immunizations, medications, and other treatments, by querying trusted data sources across different healthcare systems and pulling the relevant records into OfficeEMR.
Simultaneously, it allows outside providers working with your patients to retrieve pertinent data related to visits within your clinic (as long as they are also using Carequality) by using the HL7® FHIR® standard transactions employed by RecordSync. This integration also allows practices to attest to the Merit-based Incentive Payment System (MIPS) Promoting Interoperability (PI) performance category for the Health Information Exchange (HIE) requirement by taking part in the RecordSync bi-directional exchange.
Key Features
- Retrieve outside records from members of CareQuality & Surescripts Record Locator & Exchange national HIE network
- Import & Reconcile CCDs reducing the burden of Allergies, Medications, and Problem management
- Save PDFs, and other documents to the patients eDocuments and assign them for review
- Share CCDs with other participants automatically (patient must be consented) & view the records shared in the Sharing History

Record Locator Setup Checklist:
- Required: Set up 'Record Locator Consent' Usage Checkbox - This setup item exists within Setup > Patients > Gear > Setup > Miscellaneous > 'Record Locator Consent' and typically requires an Practice Admin to modify depending on existing role configurations.
- Required: Set up Role 'Surescripts Record Locator' - This role allows users to see/use the Surescripts Record Locator chart tab.
- Optional: Consent Letter for Intake - Set up the 'Populate RLE Consent' checkbox to automate patient consent in conjunction with Intelligent Intake. Typically this would be your Privacy Practices or Information Sharing Policy, this is unique to your practice.
- Required: Chart Tabs Favorites Setup - Surescripts Record Locator must be added to your Setup Favorites for it to be displayed within your Chart Tabs.
Record Locator Consent Setup
You must first enable the Record Locator Consent > Usage in order for the functionality to be available to your practice database.
Required Patient Miscellaneous Configuration: Usage Checkbox needs to be selected.
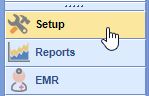
- Click on the Setup portal.
- Select Patients

- Click the Gear Icon in the top right next to the search field
- Select Setup > Miscellaneous
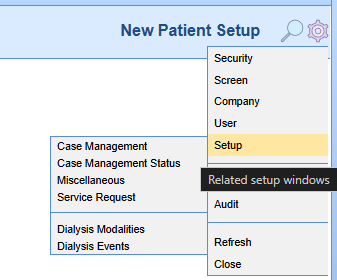
- Find the item titled 'Record Locator Consent' and select the "Usage" checkbox
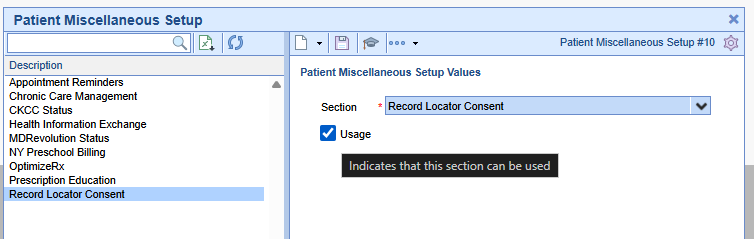
- Click Save


Surescripts Record Locator Role Setup
You must turn on the Surescripts Record Locator role to use RecordSync:
Required Role: Surescripts Record Locator - this general role provides users access to see/use the Surescripts Record Locator chart tab.
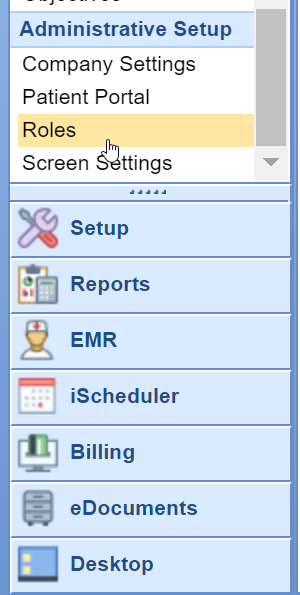
- Click on the Setup portal.
- Select Roles under Administrative Setup.
- Type Intake Assignment into the search box and hit the Magnifying Glass button.

- The Surescripts Record Locator role should return and then be selected. Assign Write access to the appropriate roles.
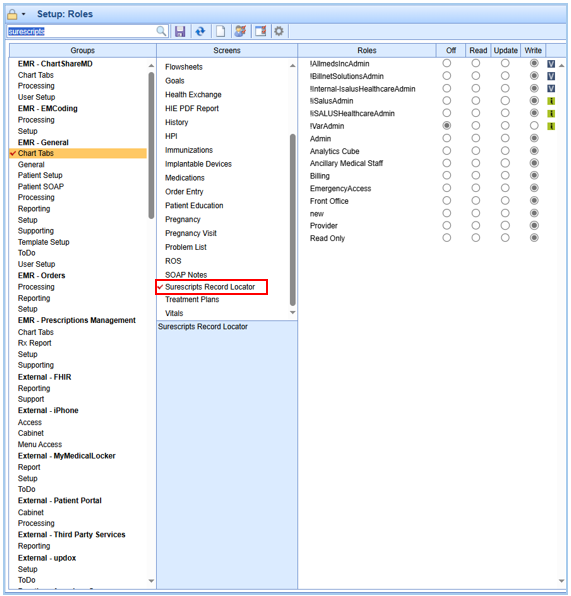
- Press the Save button to save your changes


Intelligent Intake Consent & Letter Setup
Optional Populate RLE Consent Checkbox: You may select one of your existing letter templates or create a new letter to obtain consent for requesting and sharing the patient's data with the RecordSync integration. This is most commonly your existing Privacy Practice or Information Sharing Policy.
- Click on the Setup portal.
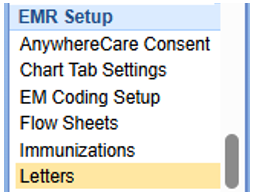
- Select Letters under EMR Setup.
- Select a Letter Template you would like to use for capturing consent, click Advanced, and check the "Populate RLE Consent" box. This letter is typically your Privacy Practices / Information Sharing Policy consent form(s).
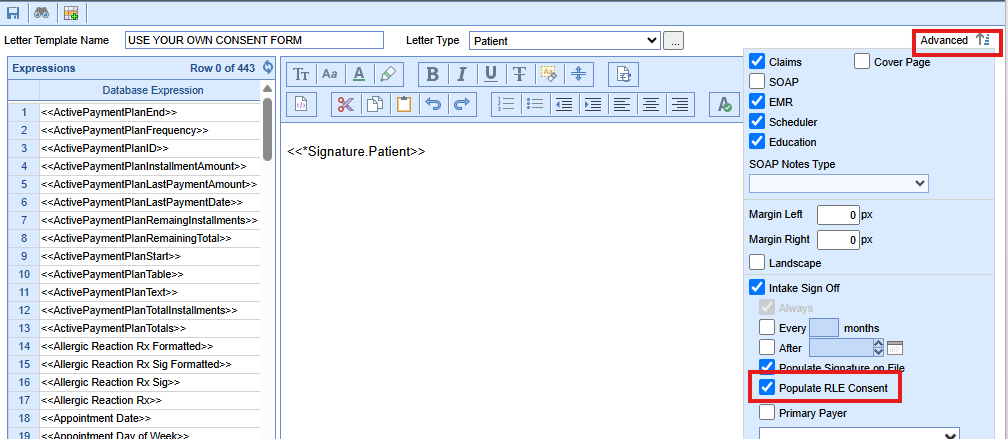


Chart Tab Favorites Setup
Once you've added the Surescripts Record Locator role, you must include it in your Chart Tabs Setup Favorites to display it within your chart tabs.
Note: Until you add the Surescripts Record Locator to your Setup Favorites, it will not be visible within your Chart Tabs.
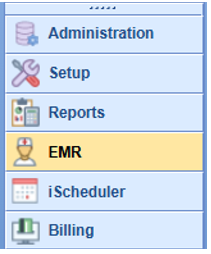
- Click on the EMR portal.
- Select your patient and access the Chart Tabs Setup Favorites option.
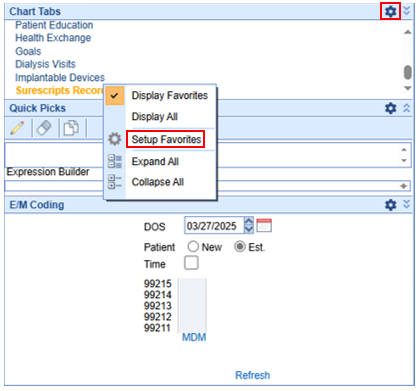
- Add the Surescripts Record Locator to the setup favorites by checking the corresponding box.
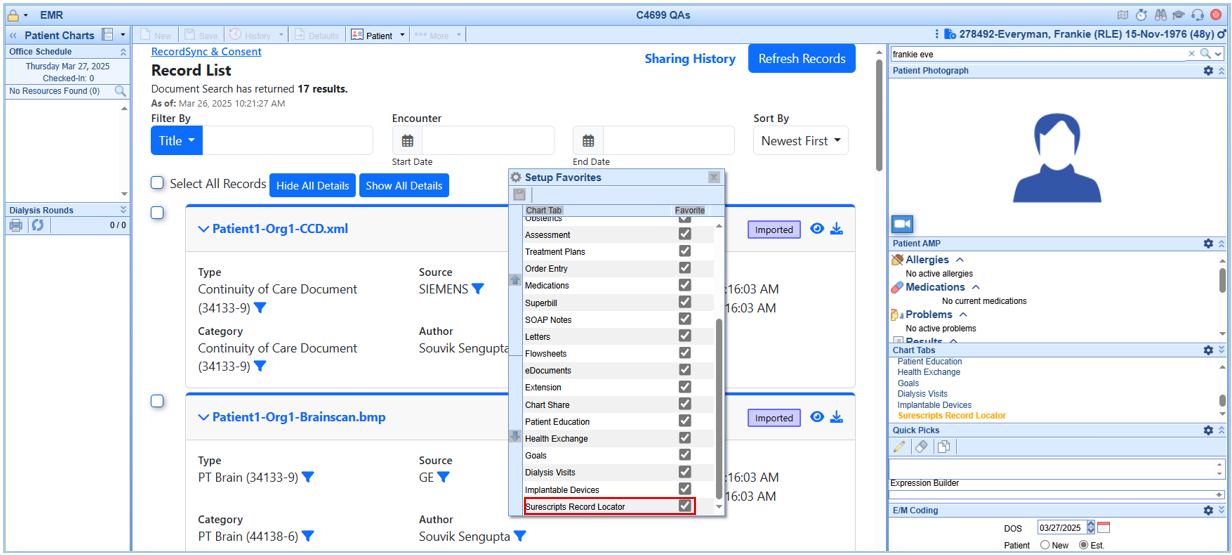
- Click Save.


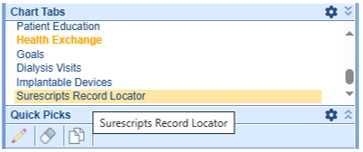
- Once in a patient's chart, select the Surescripts Record Locator chart tab.
- Based on your office SOP, you must ensure the RecordSync & Consent for Surescripts has been provided (opted in) by the patient and the Record Locator & Exchange Consent toggle switched to the ON position.
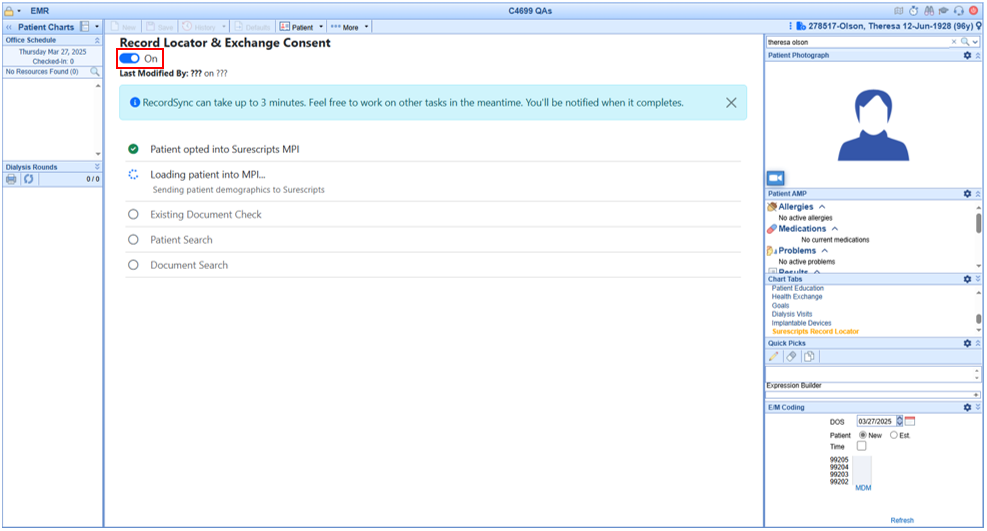
Tip: You can also provide Record Locator Consent from the Patient Setup > Miscellaneous screen.

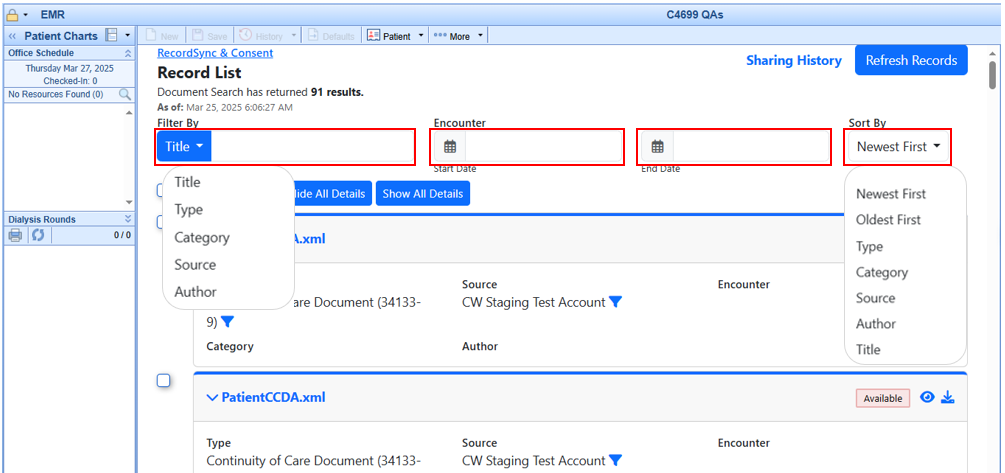
- Search for documents by filtering by Title, Type, Category, Source, or Author. You can also filter by Encounter Start and End Date. You can also sort by Newest First, Oldest First, Type, Category, Source, Author, and Title. Once records are retrieved, they are kept for a period of 30 days. A new search is automatically initiated after 30 days or when the user manually refreshes the records (by selecting the "Refresh Records" option).
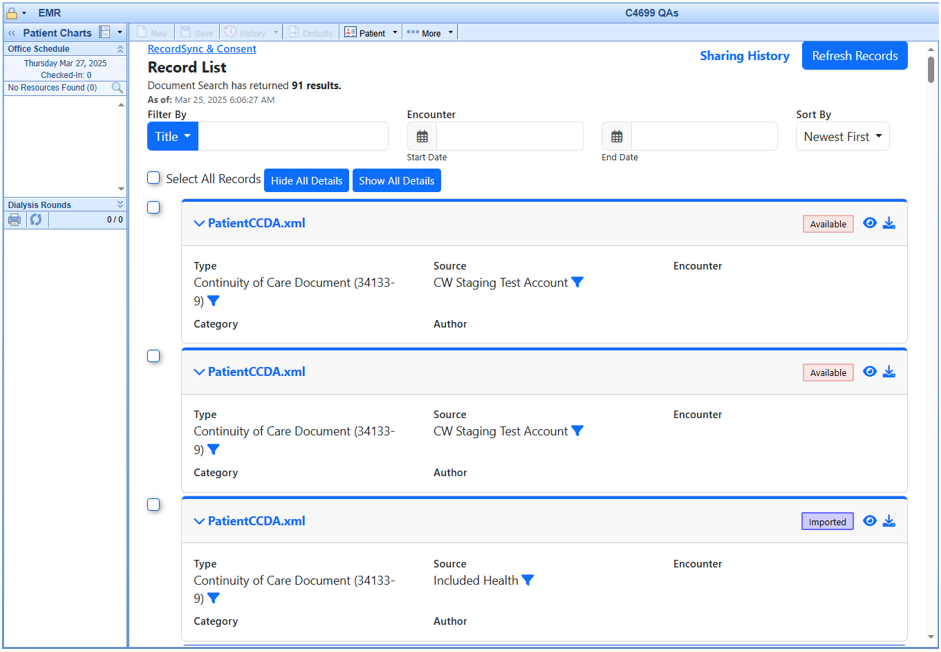
A list of documents based on your search filters will be available. These documents will be in one of the following statuses:
Status Description Available The document is available but hasn't been retrieved from the external organization. Retrieving Actively retrieving the document from the external organization. Retrieved The document has been retrieved and is available for viewing or import. Imported The document is waiting in the reconciliation queue (If not a CCD, it is imported as an eDocument. Error The document cannot be retrieved (incomplete encounter/record) or source system is unable to respond.
-
Most files will be CCDA files. Please note that if the file is not a CCDA file, the "Save As eDocument" screen will prompt you to select how and where to save the file (same workflow as with other eDocuments).
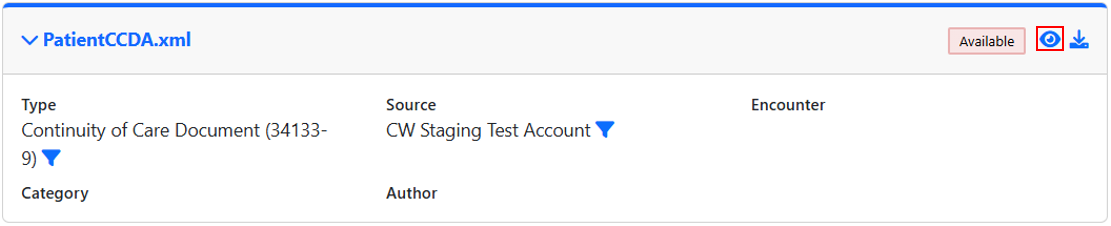
- To view the file, select the view icon and wait for the document to load.
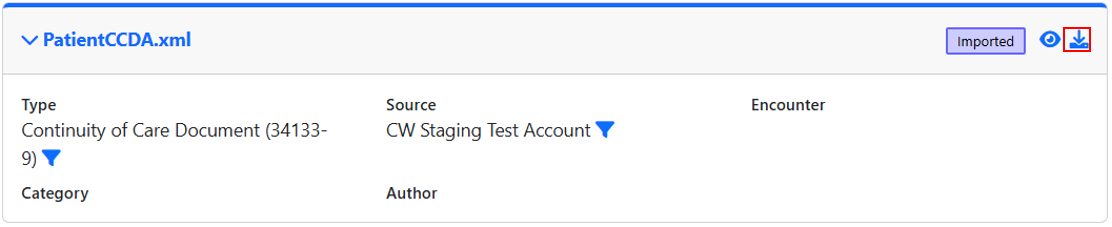
- To import the file, select the Import CCD icon and wait for the status to change to imported.


Please be aware that after importing the documents, there is no automatic reconciliation process. The documents are added to the reconciliation queue in the Summary chart tab, but they still need to be manually merged/reconciled via the normal reconciliation process.
Please note that if a document is not a CCD, it will be imported as an eDocument. For more information on importing non-CCD documents into eDocuments, please refer to our Indexing and Tasking eDocuments article.
Follow these steps to Merge/Reconcile CCDs:
- Once the CCD documents have been imported, open the patient's chart in the EMR (ensure you are on the Timeline Summary screen).

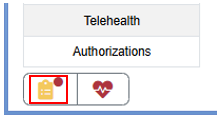
- Click the Patient Reconciliation (clipboard icon).
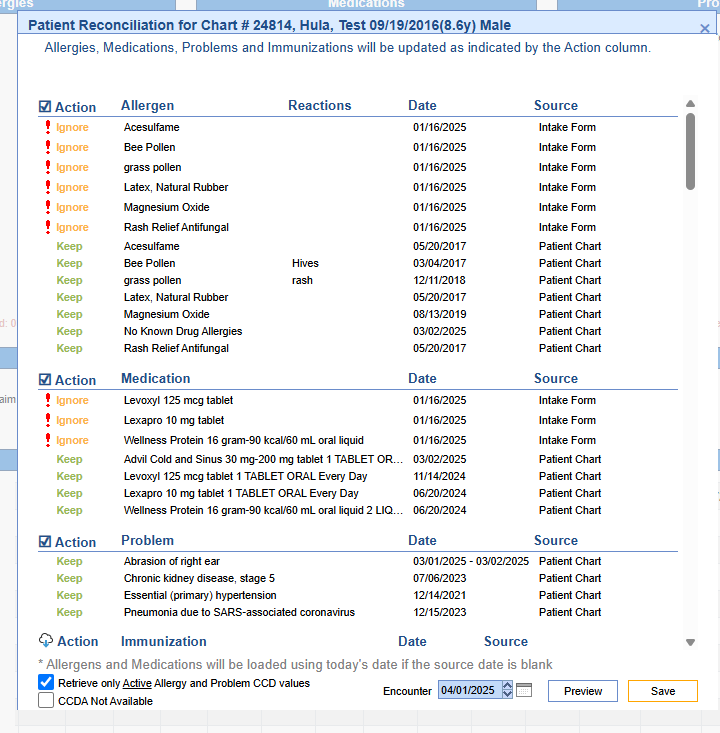
- From this screen, you can work your reconciliation process in the same manner as you would with Allergens, Medications, Problems, and other categories. You can then set the corresponding statuses in the Action column.


You can review all the previously requested documents or records by navigating to the Sharing History tab.
- Once in a patient's chart, select the Surescripts Record Locator chart tab.
- Search for documents using the available filters.

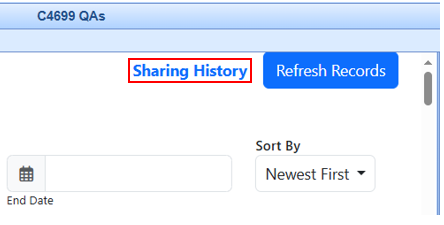
- Click Sharing History.
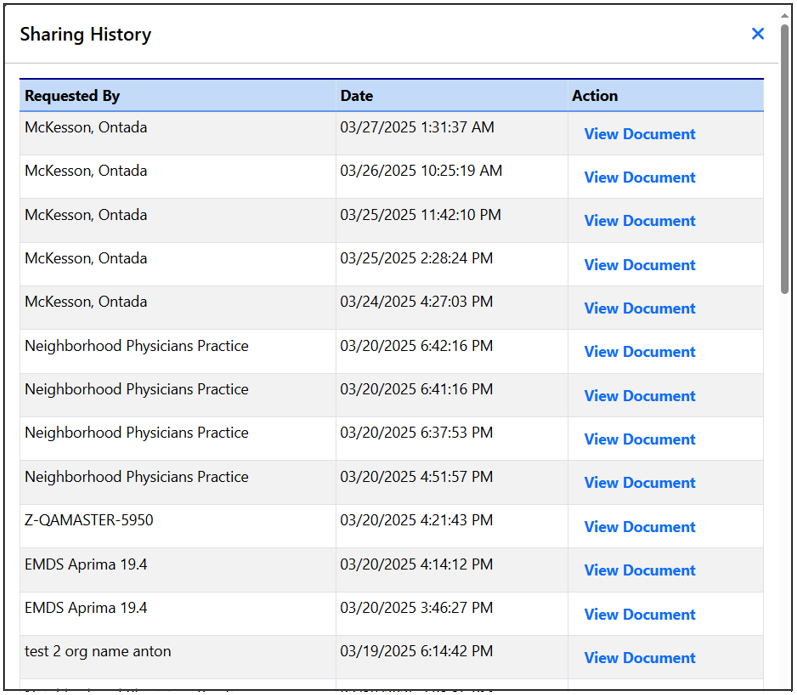
- An audit history of all the previously requested records is available with the requester, the date, and a link to view the document.


Eligible clinicians can attest to the Health Information Exchange (HIE) requirement of the MIPS Promoting Interoperability (PI) performance category by participating in the RecordSync bi-directional exchange.
TIP: If you do not see HIE Bi-Directional Exchange in the Promoting Interoperability section, it is due to your existing setup for the selected group/provider. This can be changed by using the edit menu and changing the dropdown value for the HIE field:

Scoring
Required to Attest YES for Promoting Interoperability Performance Category Score if submitting as an alternative to the Support Electronic Referral Loops by Sending Health Information and the Support Electronic Referral Loops by Receiving and Reconciling measures or an alternative to the Enabling Exchange Under TEFCA measure. This will give the provider 30 points to his/her score.
Exclusion
N/A
Measurement
The MIPS-eligible clinician or group must attest that they engage in bidirectional exchange with an HIE to support transitions of care.
Implementation
The MIPS-eligible clinician must attest YES to the following:
- I participate in an HIE in order to enable secure, bi-directional exchange to occur for every patient encounter, transition or referral, and record stored or maintained in the EHR during the performance period in accordance with applicable law and policy.
- The HIE that I participate in is capable of exchanging information across a broad network of unaffiliated exchange partners including those using disparate EHRs, and does not engage in exclusionary behavior when determining exchange partners.
- I use the functions of CEHRT to support bi-directional exchange with an HIE.
Most files available within the Surescripts Record Locator will be CCDA files. Please note that if a file is not a CCDA file, the "Save As eDocument" screen will prompt you to select how and where to save the file (same workflow as with other eDocuments)
- Once in a patient's chart, select the Surescripts Record Locator chart tab.
- Search for documents by filtering by Title, Type, Category, Source, or Author. You can also filter by Encounter Start and End Date. You can also sort by Newest First, Oldest First, Type, Category, Source, Author, and Title. Once records are retrieved, they are kept for a period of 30 days. A new search is automatically initiated after 30 days or when the user manually refreshes the records (by selecting the "Refresh Records" option).
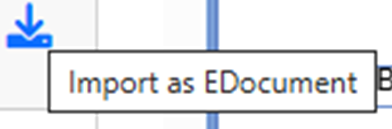
- To import the file, select the Import icon on the top right of the document tab.
- If the file is not a CCDA file, hovering over the import icon will read "Import as EDocument."
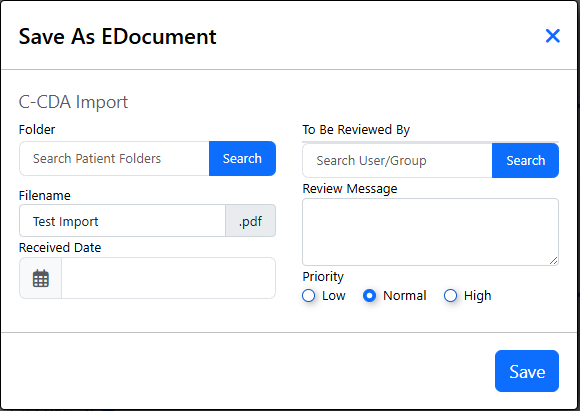
- Select the folder to save the file, the filename, the received date, and the user/group that should review the eDocument. Enter your review message and priority, then click Save.


The documents will be available by navigating to My Tasks and selecting eDocuments. The eDocuments Task List displays a list of electronic documents needing additional review. For more information on processing eDocuments, visit our My Task - eDocument article.
The Record Locator Profile is used as an alternative address and contact info screen for practices using our Record Locator (RecordSync) feature. Customers whose details in the "Company Profile" do not meet Surescripts' requirements, such as practices with a PO box instead of a physical address, an alternative public name, or an alternative phone number for medical records requests, can use this screen to update that information. The default values in the "Record Locator Organization Information" screen initially use the company profile data. However, once any field is updated, it becomes independent.
- Navigate to the Setup portal
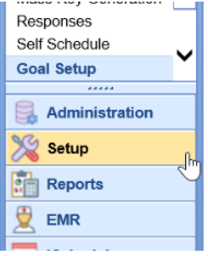
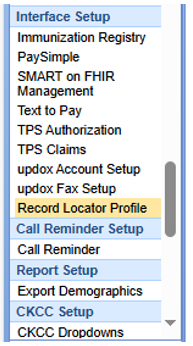
- Select Record Locator Profile
If you do not see the Record Locator Profile, be sure to configure the permission via Roles so that is may be viewed. Search "Surescripts Record Locator Interface Setup" in Setup > Roles.
- If the details in the "Company Profile" do not meet Surescripts' requirements, update your Record Locator Organization Information
This may arise as an error message when first using Record Locator with a message close to "No Configuration found for homeCommunityID: XXX". In which case, the details in the Record Locator Organization Information should be reviewed and corrected. Once saved, if another error is received indicating a specific field is invalid, this will need to be corrected. If you are unsure how to proceed, please reach out to Support for a resolution.
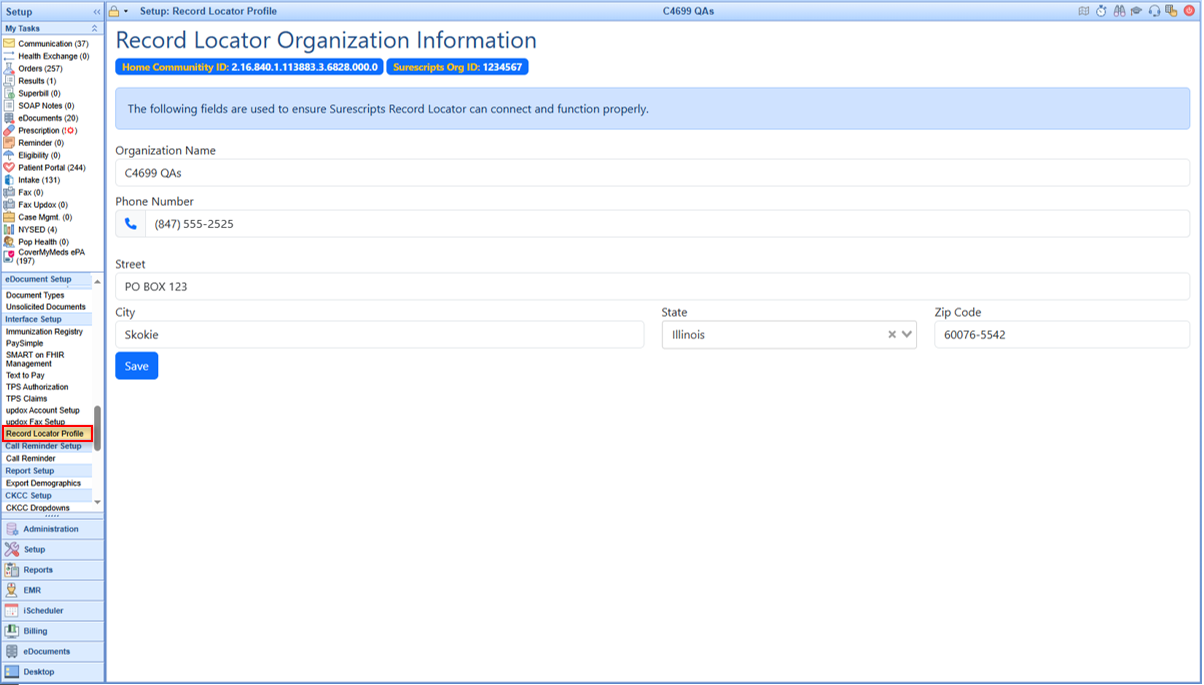
- Click Save


