Our application has the ability to electronically prescribe controlled substances. However, the DEA requires two-factor authentication and a background check in order for this to happen. iSalus has partnered with IdenTrust for both of these requirements.
There are two methods of handling two-factor authentication.
Mobile Application Approval: With this method, in order to approve a prescription, the provider will use an application on their mobile phone to approve the prescription. This is the recommended option. Here is how that can be setup: EPCS IdenTrust Mobile Authentication Setup
USB Approval: With this method, in order to approve a prescription, the provider will need to insert a USB token provided by IdenTrust into their lap top to approve the prescription. This is no longer our recommended option and will eventually be phased out in the coming years. However, if you will be using the USB option, the steps to configure this are below.
The basic steps that need to take place are listed below. Please use the detailed guides below to complete the setup process.
- Register with IdenTrust at https://www.identrust.com/partners/isalus-healthcare
- Setup the token. IdenTrust will send a USB token along with instructions on installing it.
- Once everything has been installed on your computer, please call iSALUS Support to help finalize the setup in OfficeEMR
The first step in EPCS is registering with IdenTrust. IdenTrust is the organization that will perform a background check on the user registering and supply the required USB token for that user. This USB token acts as the second form of authentication in the "Two Factor Authentication" process.
Things to know before you start:
- Please be aware that IdenTrust charges for their services. Be sure to have a Credit Card ready to pay for this service.
- IdenTrust requires a Credit Card and other personal information for the person applying for the token - this is used in the Background Check process.
- IdenTrust requires that the token is mailed to the home address of the person that is undergoing the background check.
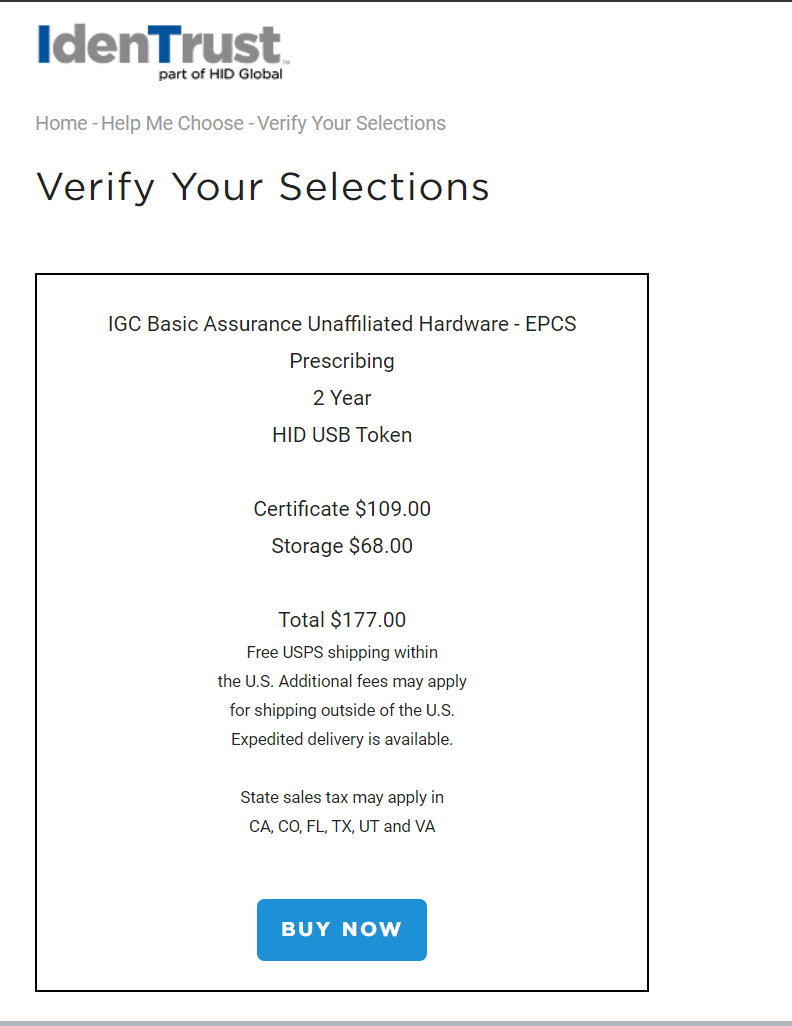
- The pricing in the screenshots below is reflective of IdenTrust's pricing at the time of this article, and may change in the future.
Steps to Register
- Navigate to IdenTrust's website: https://www.identrust.com/partners/isalus-healthcare
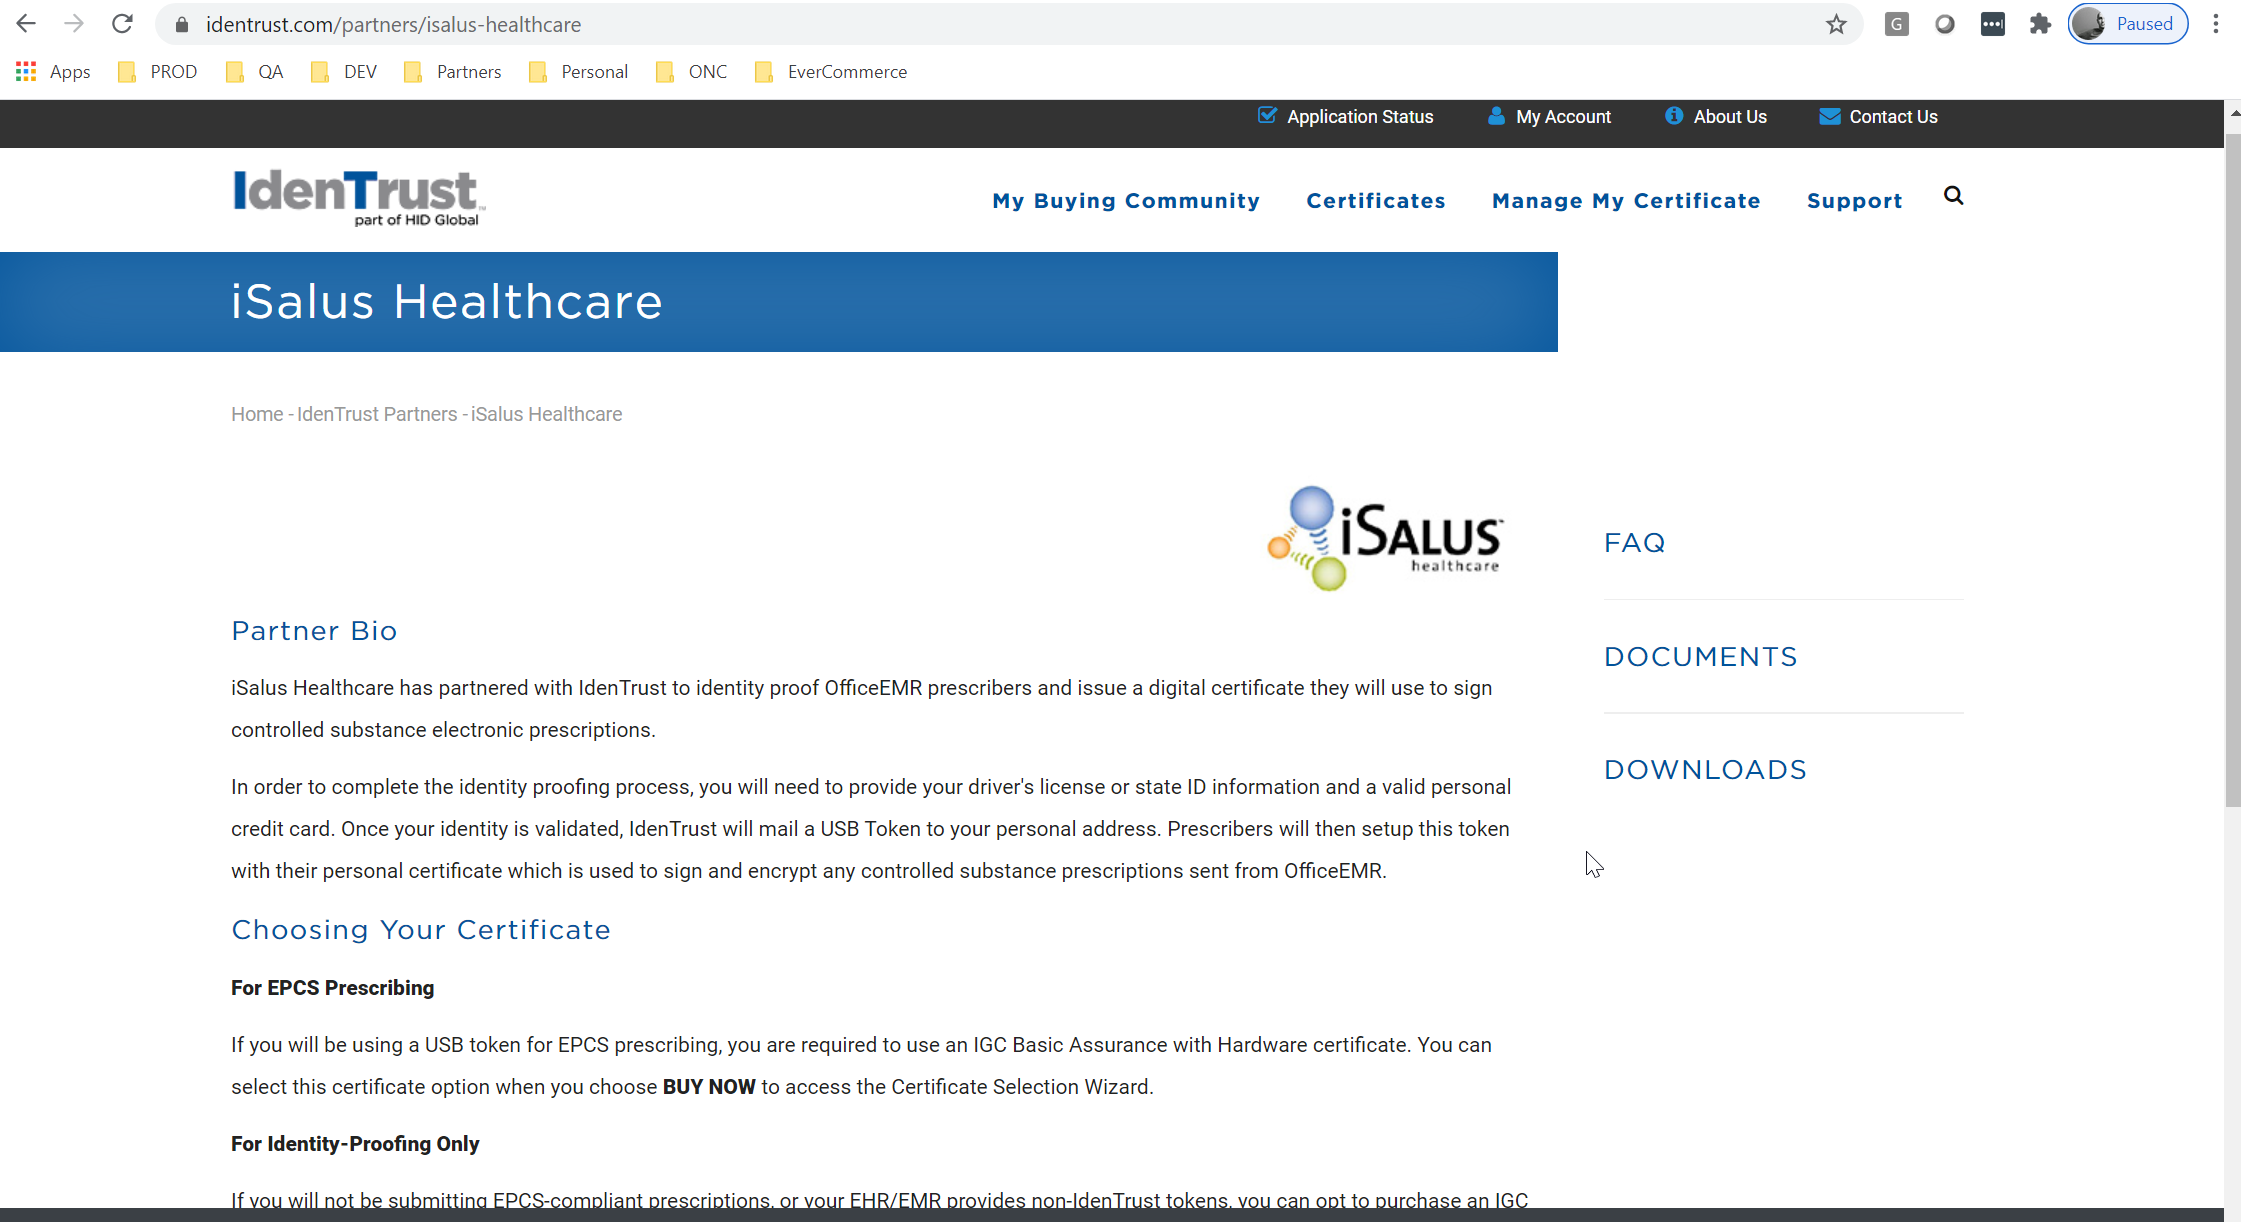
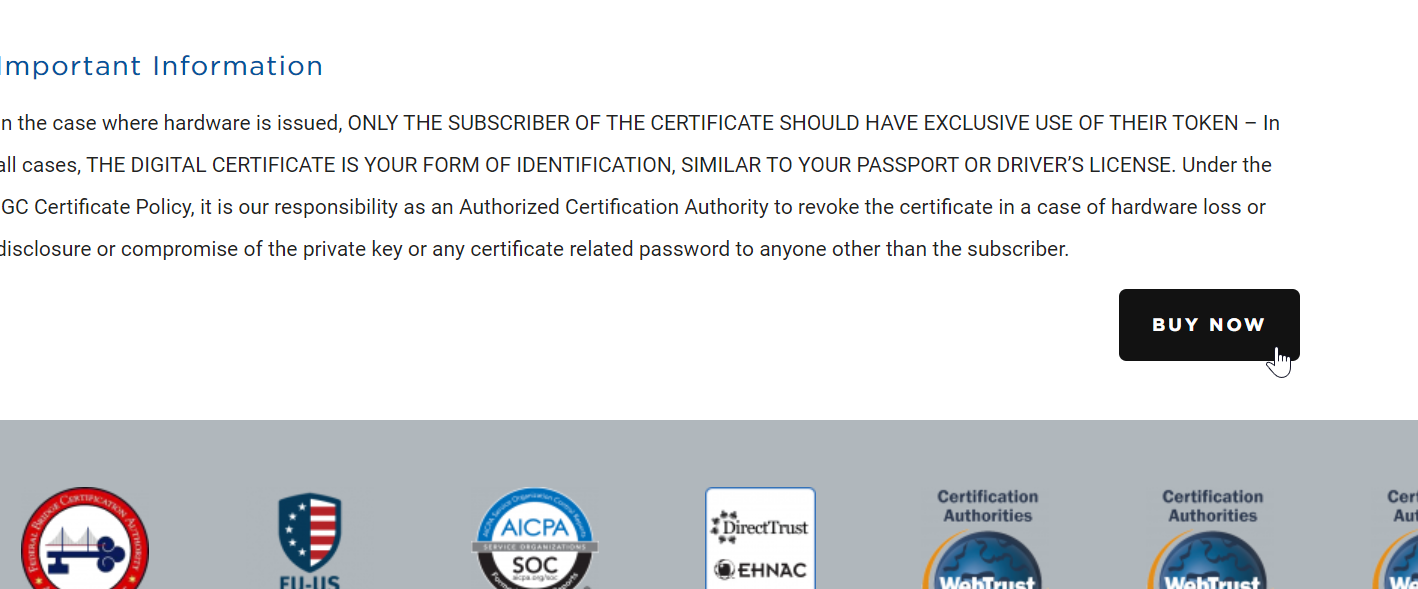
- Click the Buy Now link at the bottom of the page.
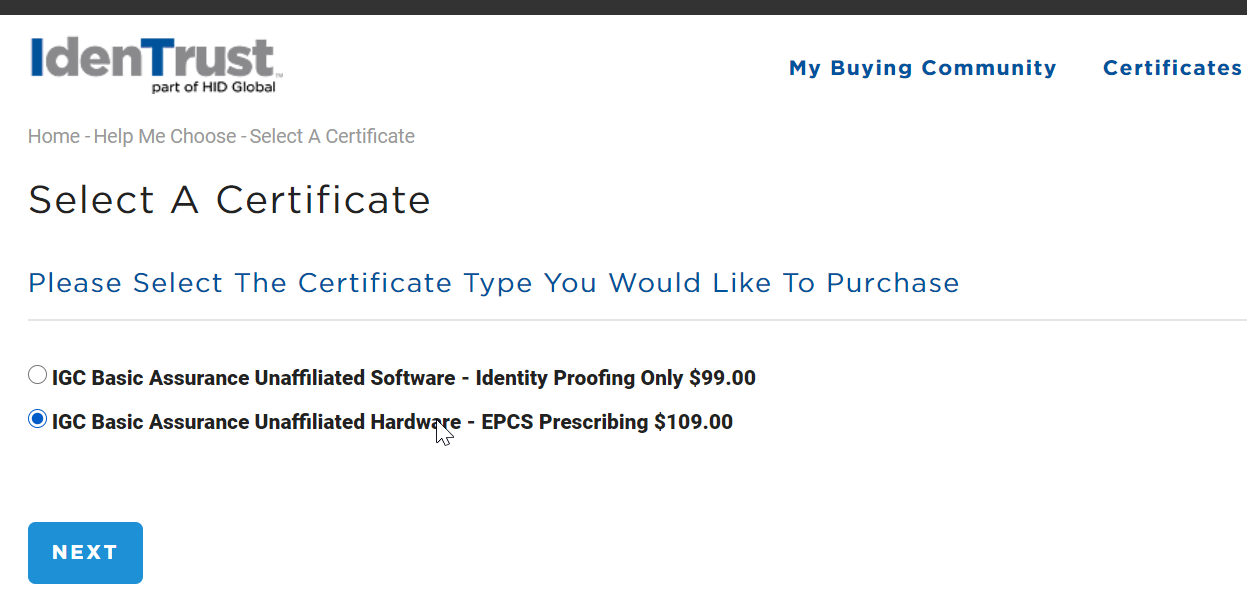
- Select the option IGC Basic Assurance Unaffiliated Hardware - EPCS Prescribing and click Next:
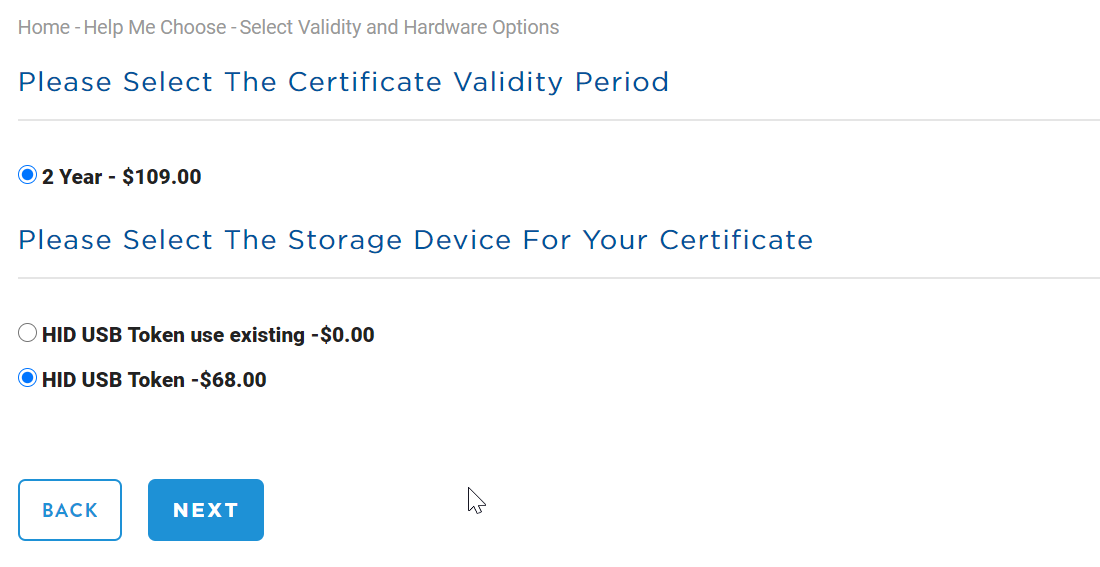
- if this is your first time completing this process, select the device HID USB Token. Then, click Next.
- Verify your selection and click Buy Now.
- Follow the remaining steps in the application process.
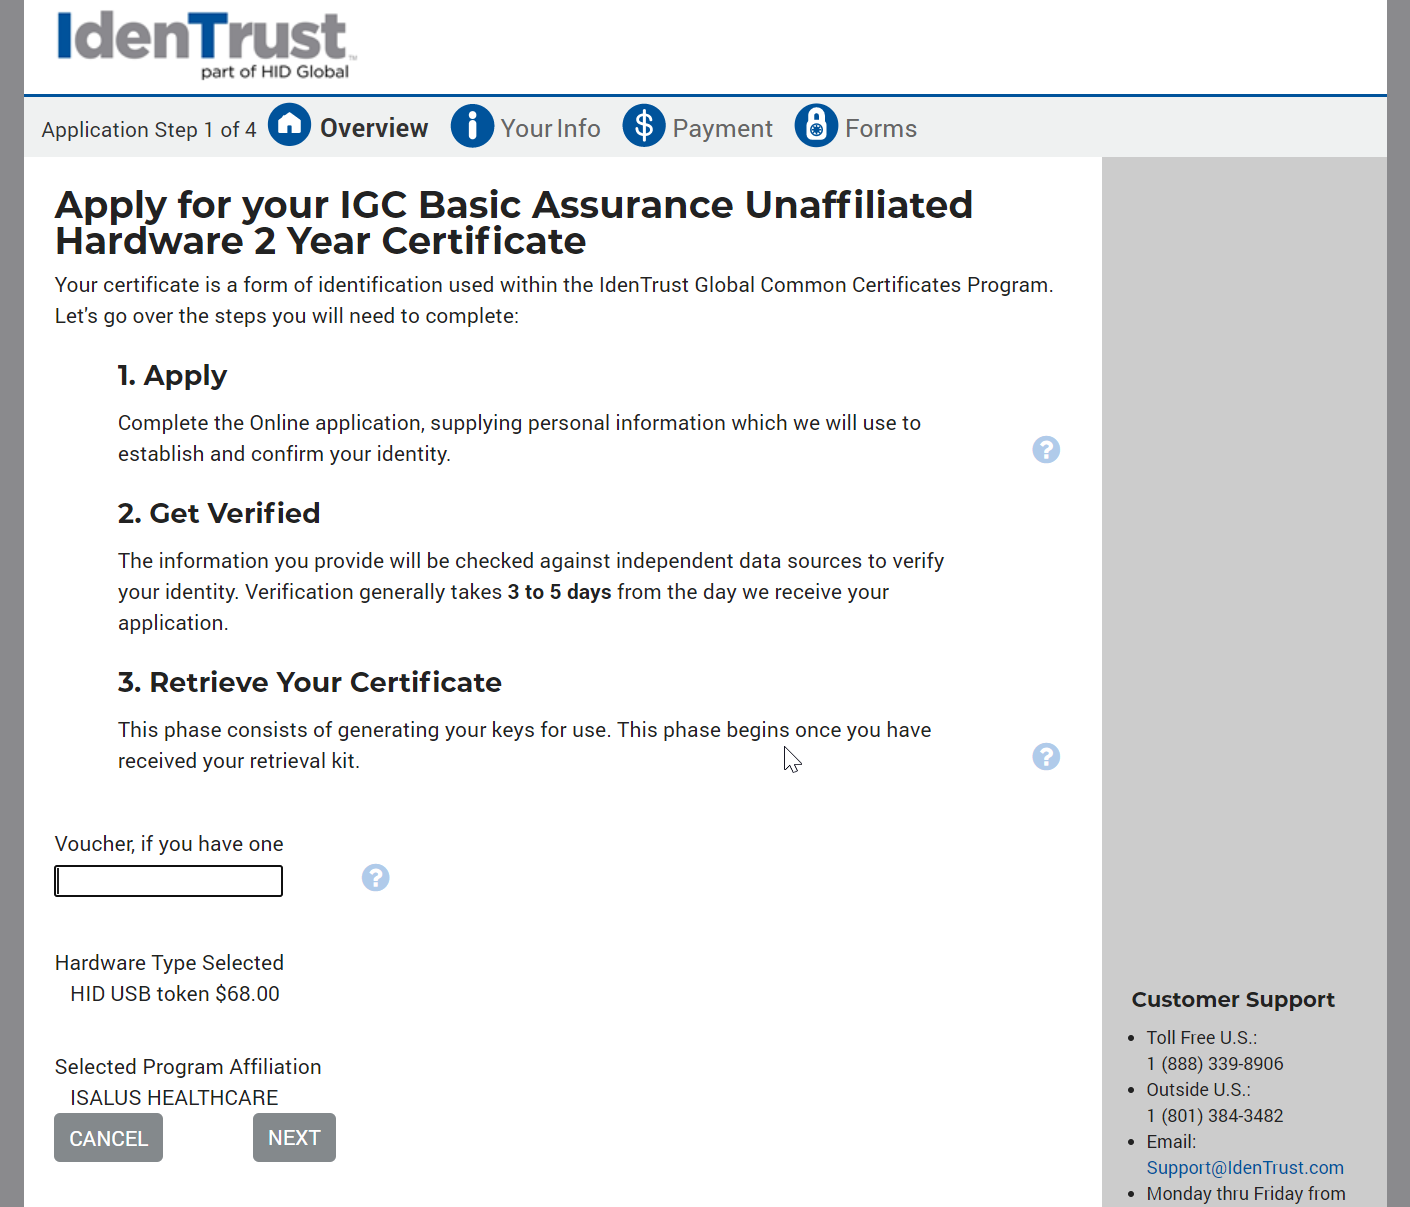
Pay very close attention to the question that are being asked to ensure information is supplied correctly the first time as this can cause a delay in receiving the token.
Once complete, you will eventually receive a USB Token and the necessary setup instructions in the mail from IdenTrust.
Once you receive the IdenTrust USB token in the mail, you must set the token up. This includes setup steps that must take place in both OfficeEMR and on your personal computer.
Things to Know Before You Start
- If you do not yet have a USB toke from IdenTrust, you must apply for one. Here are the steps to do that: Register for a EPCS Token from IdenTrust
- The IdenTrust software must be installed on all computers that you plan to electronically prescribe from.
- The IdenTrust setup process requires that the user that received their token supply their password. It is often helpful to have that registered for the token available during this setup process.
Steps to Setup IdenTrust EPCS Token on your personal computer
Step 1: Install the IdenTrust Software on your computer
IdenTrust should have shipped you a USB Token and the necessary instructions to install their software on your computer. Follow those steps.
Step 2: Verify that the install was successful
- Navigate to www.identrust.com/test
- Click Next
- If you pass the test, you are ready to move on the setting up the token in OfficeEMR.
- If you fail the test, follow the steps here: www.identrust.com/install
For additional help on this step, contact IdenTrust Support at https://www.identrust.com/support/support-team
Steps to Setup IdentTrust EPCS Token in OfficeEMR
Step 1: Request EPCS access for the provider from iSALUS.
- Contact iSALUS Healthcare Support via support@isalushealthcare.com
- Request to have the EPCS access added.
- iSALUS will perform the steps necessary to have the provider enabled for EPCS access through SureScripts.
You can move on to the next step while iSalus completes this phase of the process.
Step 2: Identify 2 individuals to manage authorization access controls at your practice
- This is most often a doctor and a practice manager.
Step 3: Ensure users have access to the necessary screens
- Login as someone with Administrator access. This is often times the Practice Manager.
- Be sure that the appropriate access to the setup screens has been assigned
- Setup > Roles > User Credential Setup: Assign 'Write' access to the appropriate roles (usually Admin and Provider)
- Setup > Roles > User/Provider Connection: Assign 'Write' access to the appropriate roles (usually Admin and Provider)
- Setup > Roles > Credential Approval: Assign 'Write' access to the appropriate roles (usually Admin)
Step 4: Link the Provider to an Authorized user in Isalus.
- Login as the Provider
- Navigate to Setup > Users > Select the logged in user's name on the left > Select the User/Provider icon from the toolbar (looks like a doctor)
- Type in the provider's name in the search box > Click Save.
Step 5: Setup IdentTrust token for Providers User
For this step, you will need the Provider and the Providers IdenTrust USB Token.
- Login as the Provider
- Navigate to Setup> Users> Select the Provider's User name from the list on the left
- Click Credential Setup icon from the toolbar (looks like a ribbon, to the right of the provider icon)
- Select the Action Icon from the toolbar, then enter the provider's user name and password
- Select Type dropdown, choose IdenTrust (P) Option
- Insert USB IdenTrust Token into the USB drive of your computer, then click Get Credential
- Select the Providers Credential by checking the box to the left of the name
- Click to Sign Credential > Click I agree> then enter provider's password for the token
If this is the first provider being setup, the Approved box will automatically be checked. A provider with an approved credential will then be required to approve all future credentials added (see steps below)
If there is only one provider in the practice, no other action needs to be taken.
Step 6: DEA registrant signs off on all other credentials
- Log in as the provider that already has an approved token
- Navigate to Setup> Users> Click the Credential Approval icon from the toolbar (looks like a stamp, to the right of the ribbon)
- Select the credential that needs to be approved.
- Click the Approved checkbox
- Insert USB IdenTrust Token into the USB drive of your computer,then click Get Credential
- Select the Providers Credential by checking the box to the left of the name
- Click to Sign Credential > Click I agree> then enter provider's password for the token
- Lastly, select the save icon at the top of the screen to finalize the changes and exit the Credential Approval screen.
At this point, the token that was installed on the computer has now been associated with the user that has logged into iSalus. Also, that user has now been officially tied to the provider record that will receive EPCS access via SureScripts.
Every two years your IdenTrust certificate must be renewed. This is typically initiated from IdenTrust but you may contact their support to inquire about this process.
Renewing the certificate with them will extend your certification valid date for an additional two years, and this certificate needs to be uploaded into OfficeEMR for your user to authenticate in order to continue sending controlled substance prescriptions.
Steps to Renew your Token
- Login to the OfficeEMR application
- Select Current User: YOUR NAME in the bottom left corner.
- Select the Credential icon (looks like a ribbon, it is the 7th icon from the left at the top of the User Setup screen).
- Choose your original certificate from the left hand side, denoted by the email address you used to setup the account.
- On the right hand side of this window under 'User Credential Values', deselect the Enabled check box and choose Save.
- Select the New button (white sheet of paper) and then follow the steps:
- Select Type dropdown > Choose IdenTrust (P) Option
- Insert USB IdenTrust Token into the USB drive of your computer > Get Credential
- Select Providers Credential by checking the box to the left of the name
- Sign Credential > I agree > Enter provider's password for the token
- Ensure you save after this process and the new credential on the left hand side states your new valid date range (your old one will remain disabled, but visible).
*The checkboxes 'Enabled' , 'Trusted' , and 'Approved' should be checked on the new certificate. If approved is not set, please follow the instructions below on having another prescriber at the practice approve your new credential who is already capable of sending controlled substance prescriptions.
DEA registrant signs off on all other credentials
- Log in as the provider that already has an approved token
- Navigate to Setup> Users> Click the Credential Approval icon from the toolbar (looks like a stamp, to the right of the ribbon)
- Select the credential that needs to be approved.
- Click the Approved checkbox
- Insert USB IdenTrust Token into the USB drive of your computer,then click Get Credential
- Select the Providers Credential by checking the box to the left of the name
- Click to Sign Credential > Click I agree> then enter provider's password for the token
- Lastly, select the save icon at the top of the screen to finalize the changes and exit the Credential Approval screen.
In order to support our users who would like to use Google Chrome while prescribing using their existing USB token, we've created a method that requires an application actively running during a provider's session on their machine. Please work with your local IT if necessary in ensuring the install package in step one has the ability to run with the proper permissions.
Steps to Complete
- Run the .exe file that's located here: ChoiceAppCenterEPCS.exe
- When prompted by Windows Security, select 'More Info' and then 'Run Anyway' to start the application.
- The application will only require installation once. On startup it will run with Windows automatically for the user and can be seen in the lower right corner from the carrot icon in the tray.

2. If you have a previously setup token, you're now ready to login to OfficeEMR using Google Chrome and begin prescribing. Please see the EPCS Prescribing tutorial regarding sending prescriptions if you're not familiar with sending within the application.
3. To setup a new USB token or renew an existing USB token, please see the EPCS IdenTrust USB Token Authentication Setup guide.


