The IdenTrust Mobile Authentication process allows a provider to use their mobile device to electronically approve controlled substance prescriptions.
In order to configure this, you will need to follow a series of steps to fully implement this. In general, these steps include:
- Register and setup an IdenTrust Mobile account: Create IdenTrust Account
- First Time users will need to go through an identity proofing process.
- Users that have already completed this process and just need to purchase a certification to complete the Mobile process can skip that step.
- Access your Mobile IdenTrust Account information: My IdenTrust Account
- Setup the HID Approve Mobile Application from IdenTrust.
- Add your mobile certificate to your user account in OfficeEMR.
WARNING:
The Mobile Authentication Process can only work in the Google Chrome browser. If you prefer to use Internet Explorer, please be sure to use the USB method to approve prescriptions.
Once you register for an IdenTrust account, you should receive an email to retrieve and install your certificate on your computer.
Things to Know Before You Start
- This process will require you to supply or create various passwords. Be sure to keep track of these.
- A critical step in the process is to backup your certificate to your PC. Be sure you do this as this will be required inf future steps.
Steps to Setup IdenTrust EPCS Token on your personal computer
- You should receive an e-mail to install your certificate. Follow the link in the email to begin the process: www.identrust.com/install
PRO TIP:
Write down your Account Number and Activation Code, you will need this later.
- Click I'm Read - Please Check if my System is Ready >>

- Enter the Activation Code and Account Password, then click Next. The activation code can be found in your email and the account password was set up in an earlier step.
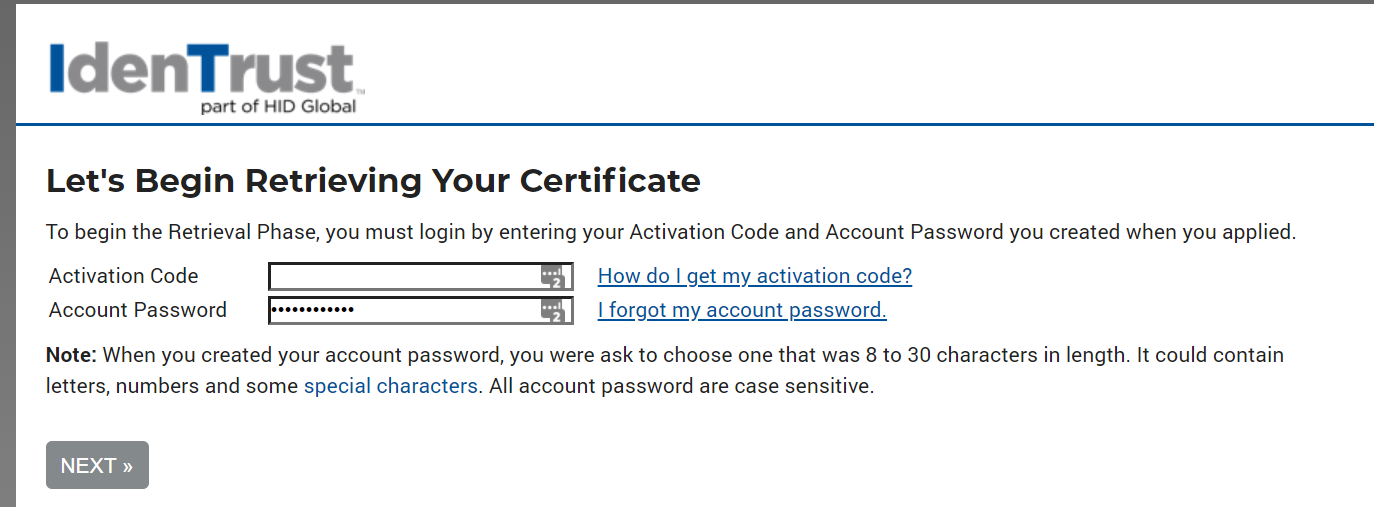
- If you are completing the Identity Proofing process, there will be a few day delay while this is completed:
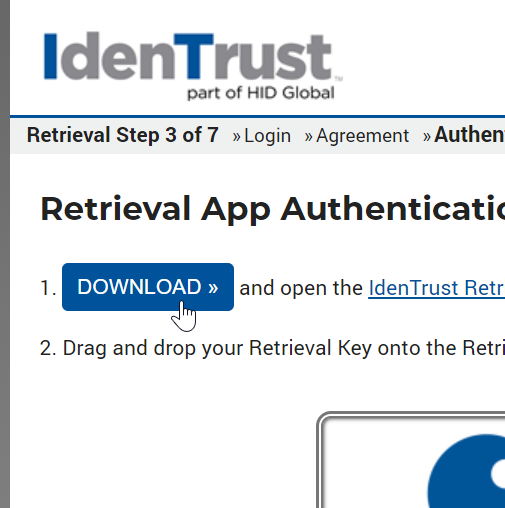
- Click the Download button to download the IdenTrust Retrieval Application.
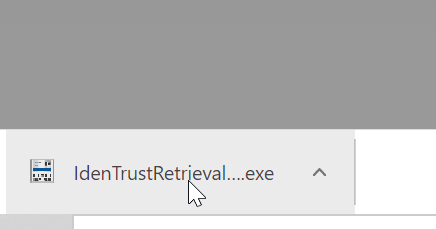
- Click to run the application
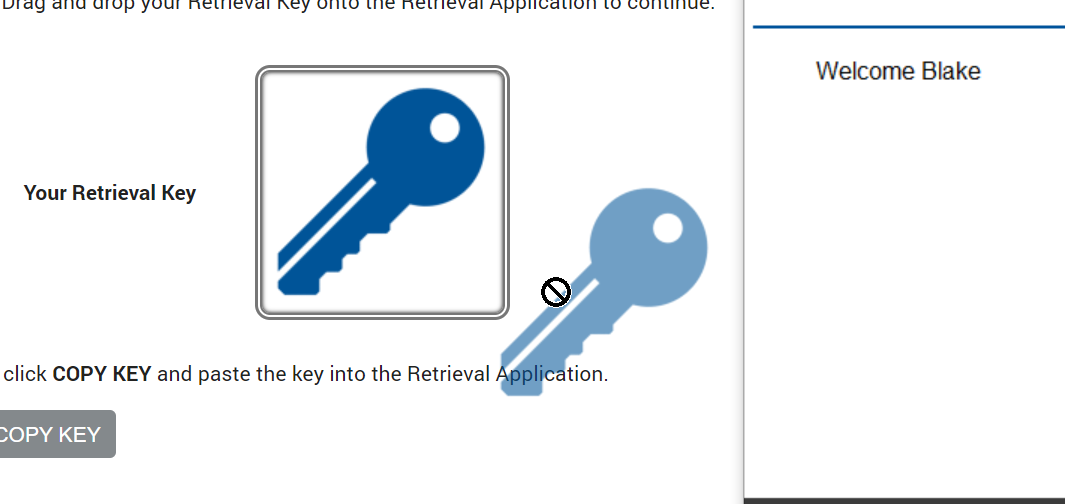
- Drag the 'Key' from your browser to the 'Lock' on the application that was opened:
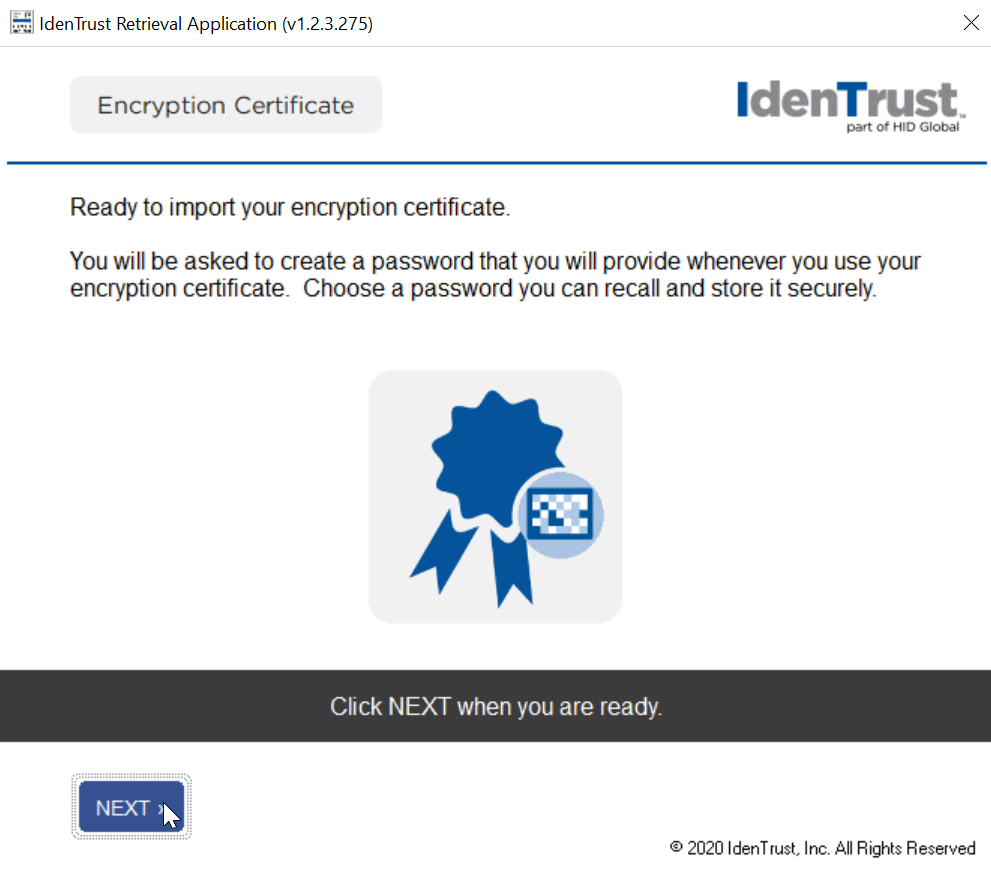
- Once successful, you will be notified then prompted to import your encryption certificate. Click Next.
- Choose a security level:
- High - You will be prompted to approve the medication on your phone AND enter a password.
- Medium - You will be prompted to approve the prescription on your phone:
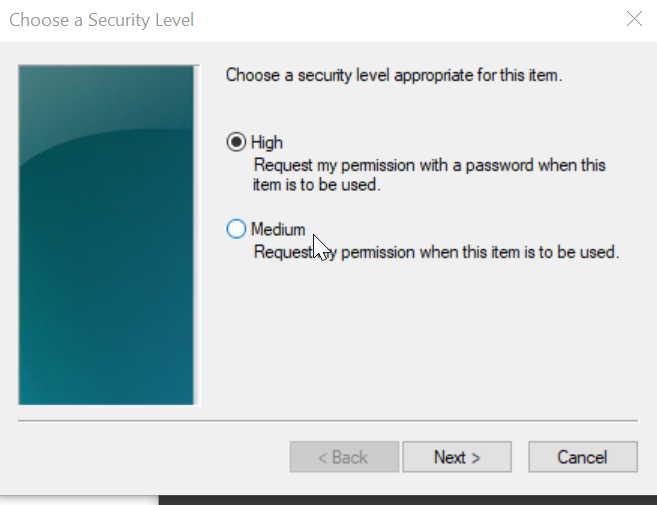
- Confirm your security preferences and click Next.
- When prompted, enter a password for your device. This will be the password you use each time you approve a prescription. Click Next.
- Click OK on the following screen
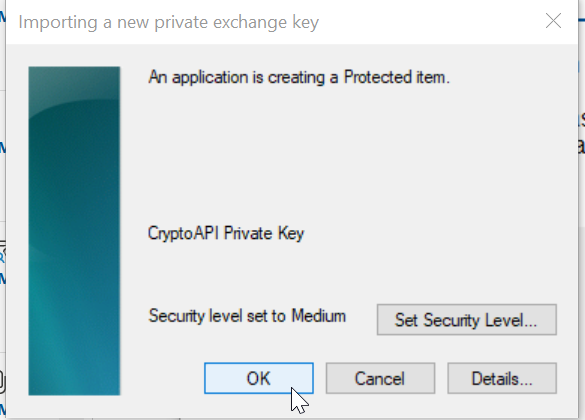
- Your certificate will be installed. Please allow a few moments for this to take place.
CRITICAL STEP:
Once completed, you will be asked to back-up your certificate. Click Yes. YOU MUST DO THIS.
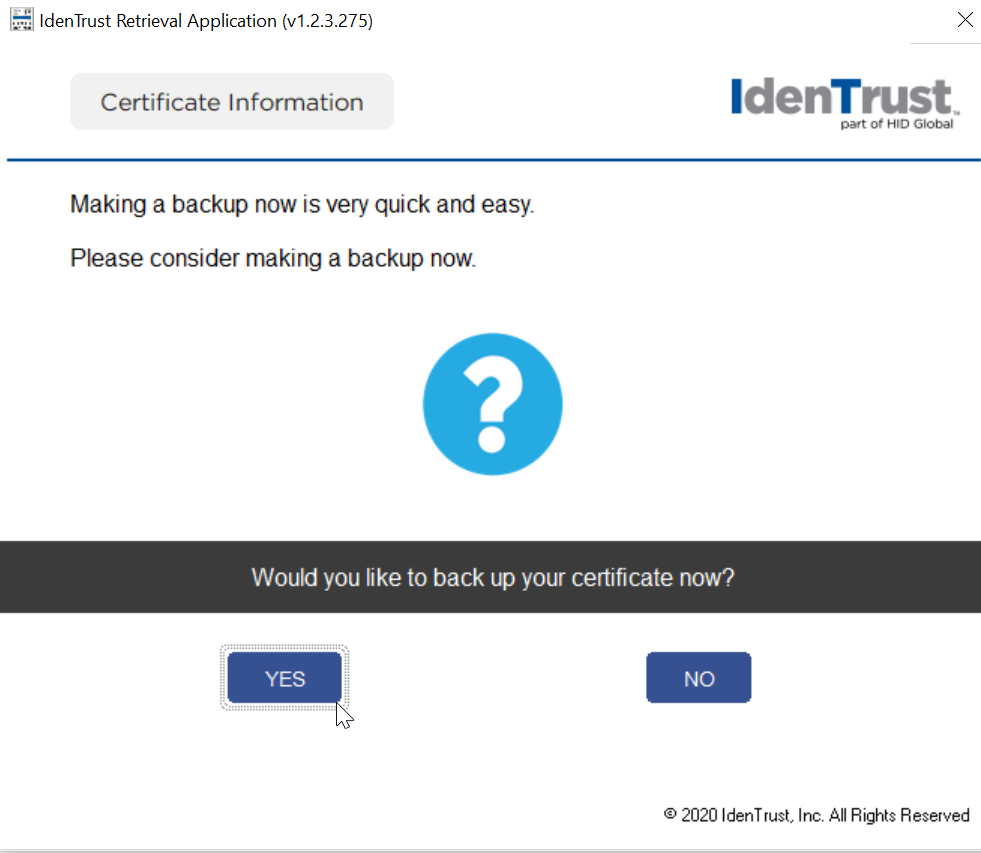
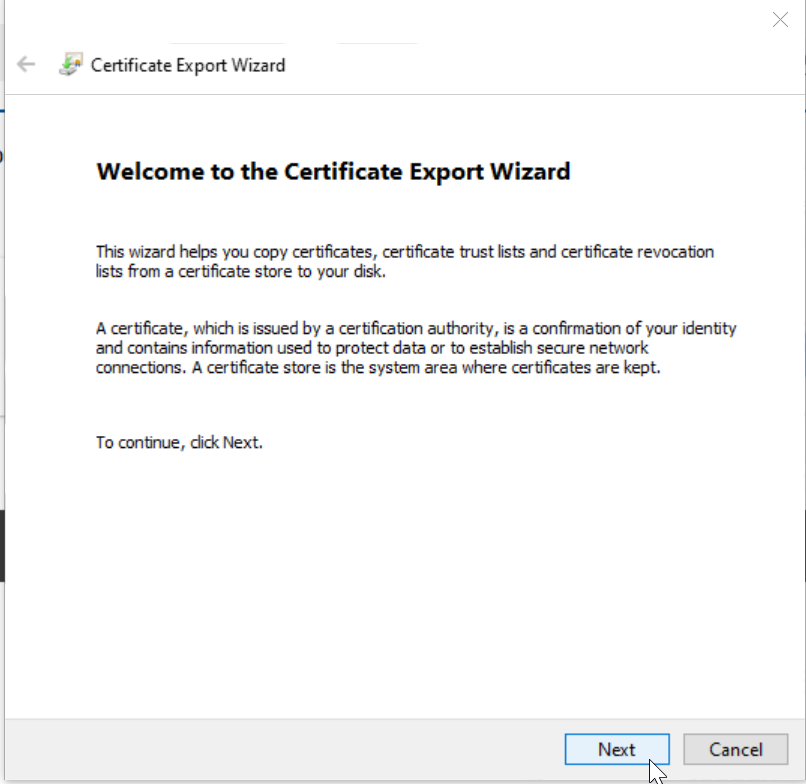
- Click Next to begin the Certificate Export
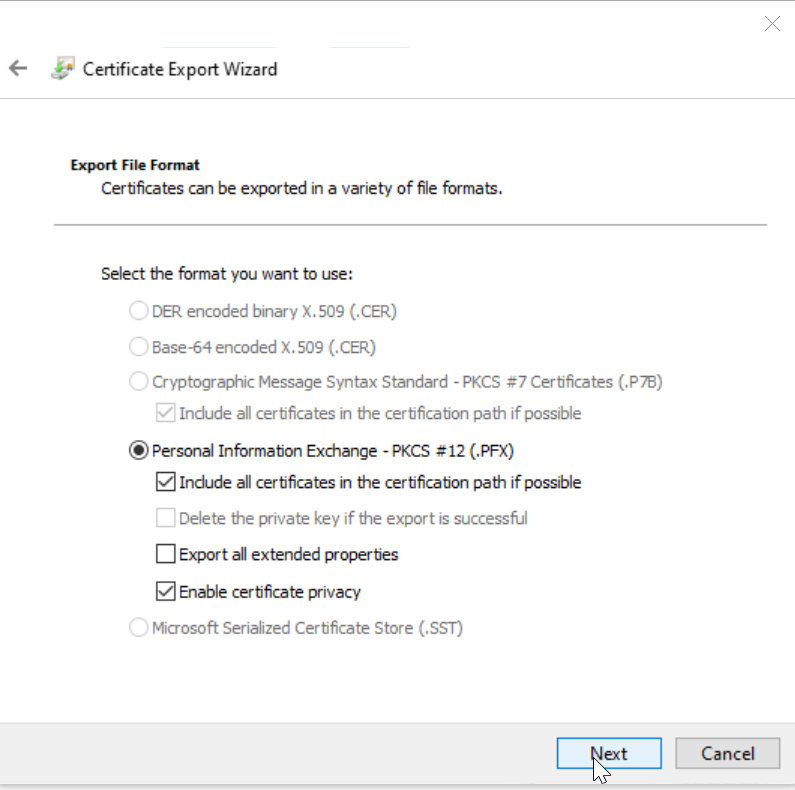
- Set the export settings as seen below and click Next
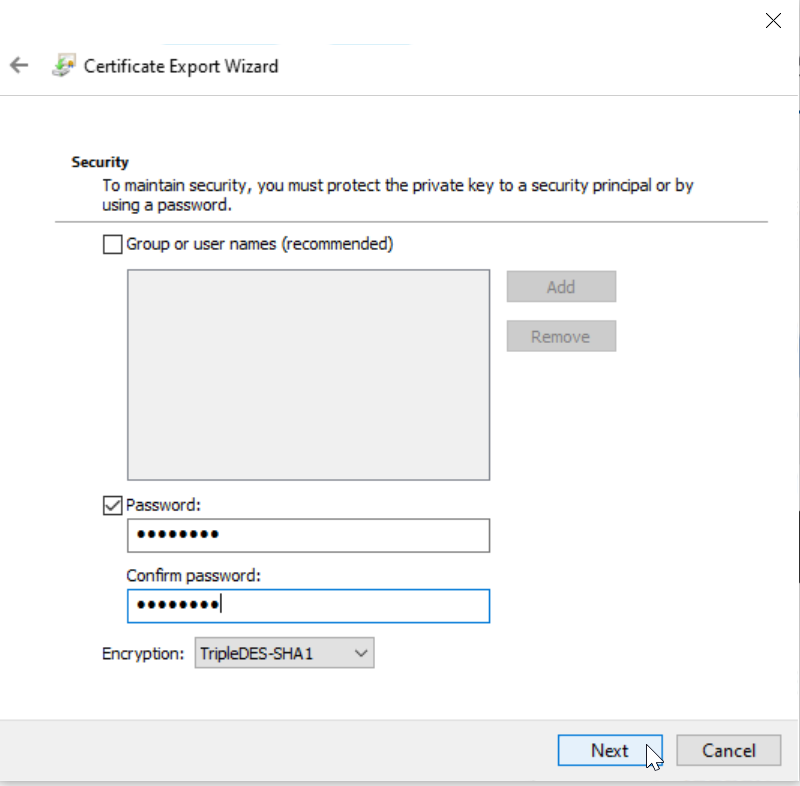
- Enter a password and click Next
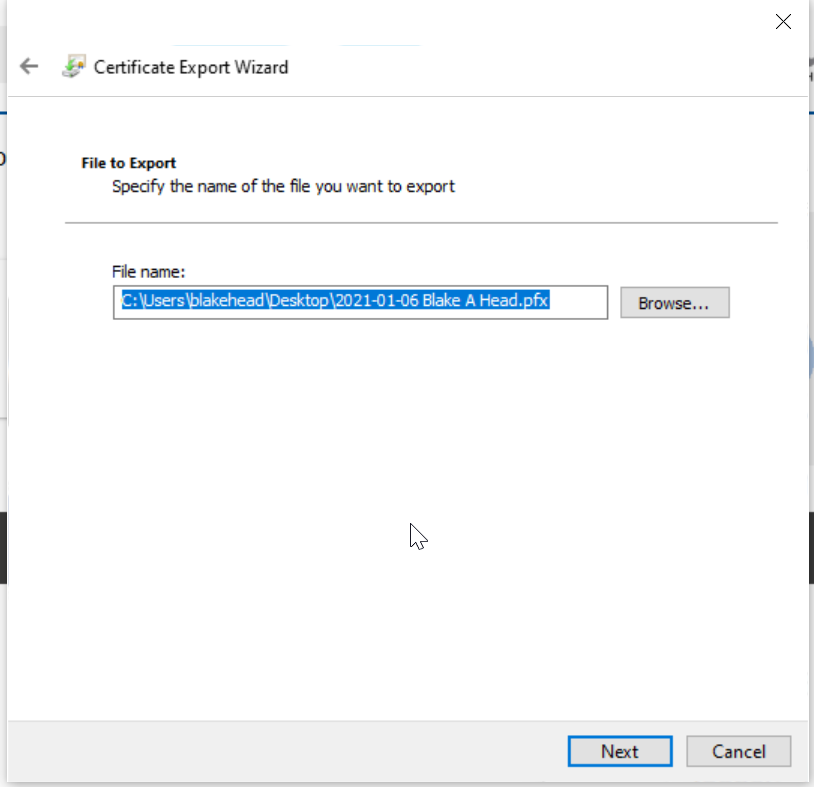
- Select a location to save this backup file on your computer. You will need this later, so remember where it is saved.
- Click Finish
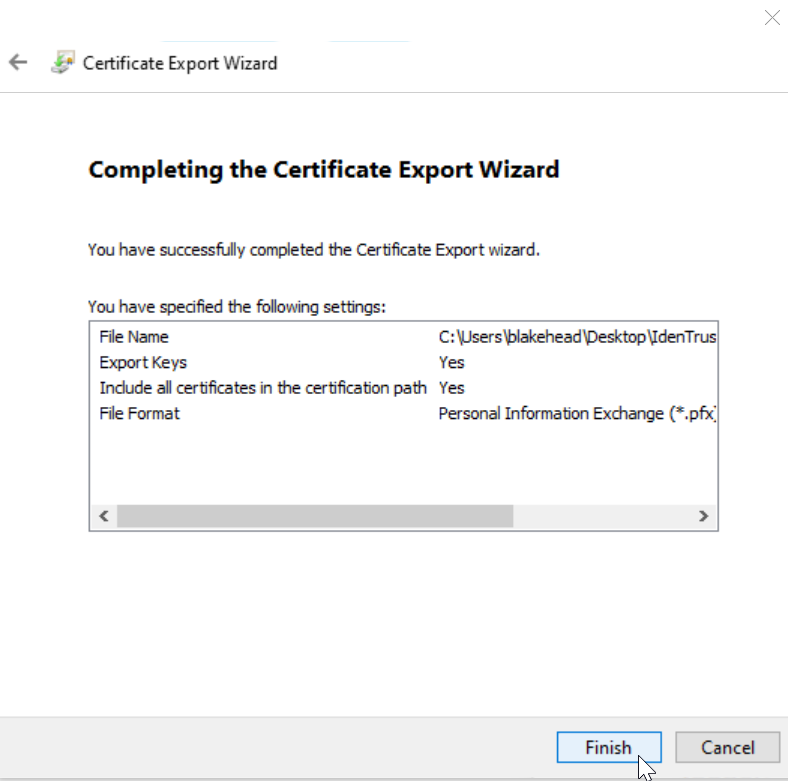
- You may be prompted to enter your password for your key.
- Your certificate backup will be created in the location chosen. Click Done on the certificate installation window.
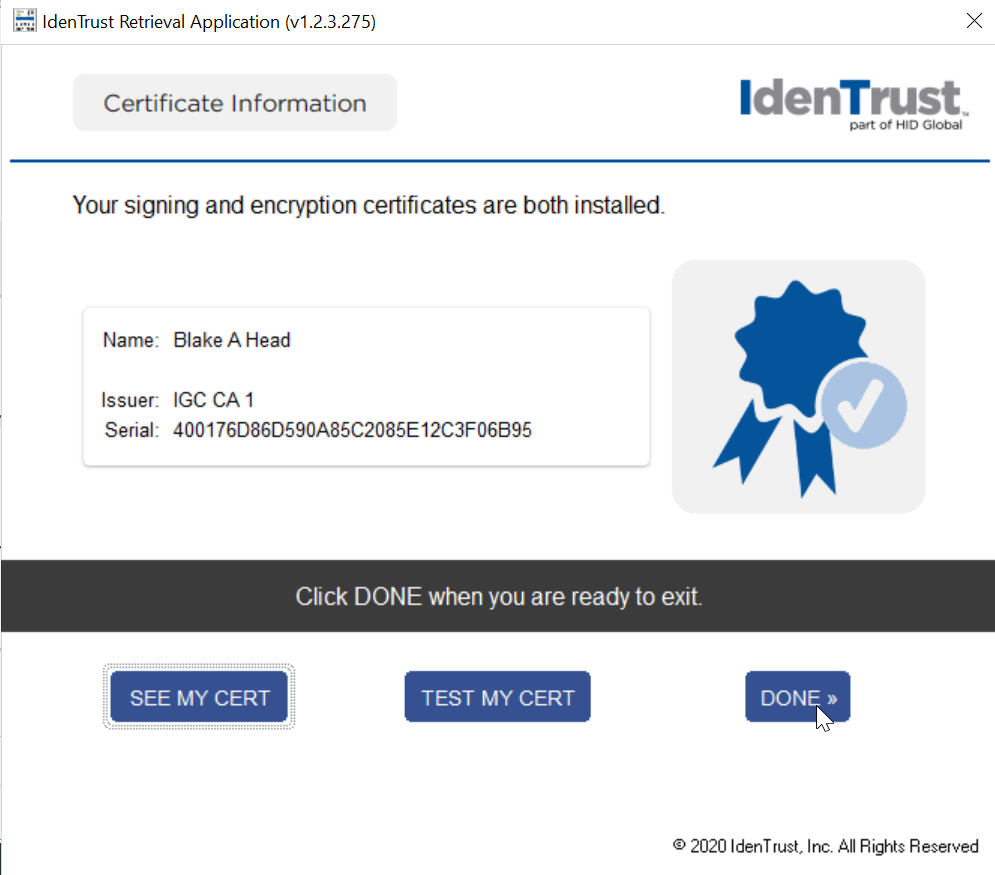
- You are now ready to associate your certificate with your user in OfficeEMR.
Once you have retrieved your mobile certificate, you are now ready to configure IdenTrust's mobile application. This process will explain how to create a mobile user name, download the application, and connect your credential to your mobile application.
Steps
- You should receive an e-mail from IdenTrust with steps to setup your Mobile User ID. Follow the link in the e-mail to start that process: https://secure.identrust.com/
tscmc - You should be prompted to select the credentials you setup in prior steps. You must be on the same computer that you originally setup your credential.
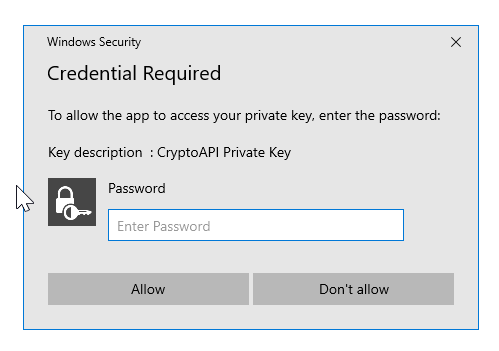
- You should be prompted to enter the credential password you setup in prior steps. Enter the password and click Allow.
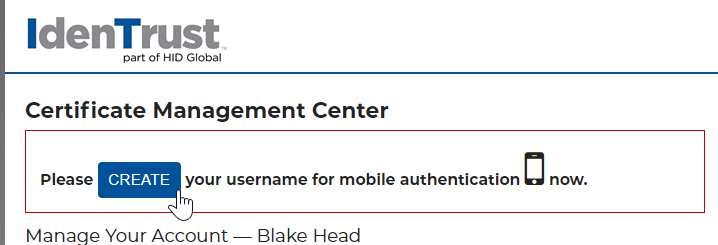
- Click Create to create your mobile user name.
- Enter your desired user name. Click Next.
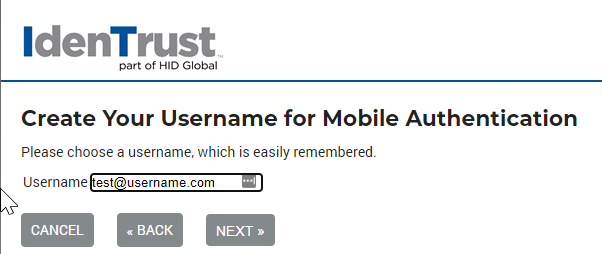
- You can use the camera on your mobile phone to scan the barcode - this will take you to the app store to download the necessary application. Or, navigate to the app store on your mobile phone and search the app store for HID Approve. Download/Install the application.
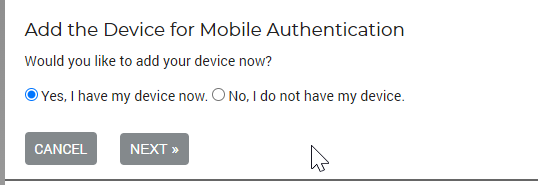
- With the app installed, click Yes, I have my device now. Then, click Next.
- Open the app that you just download and click the Key+ icon in the upper right.

- Use the camera on your device to scan the barcode on the screen.
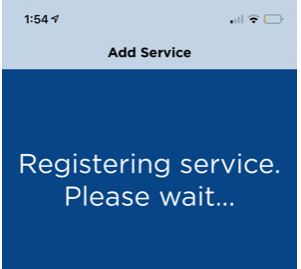
- Create a password. This will be used every time you approve or deny a prescription.
- Name your device. This is helpful if you plan on setting up multiple devices to approve prescriptions with.
Once you have installed and backed-up the IdenTrust Mobile certificate on your computer, you will added it to your OfficeEMR user account.
WARNING:
The Mobile Authentication Process can only work in the Google Chrome browser. If you prefer to use Internet Explorer, please be sure to use the USB method to approve prescriptions.
Steps
- Login to OfficeEMR using Google Chrome.

- Navigate to Setup > Users
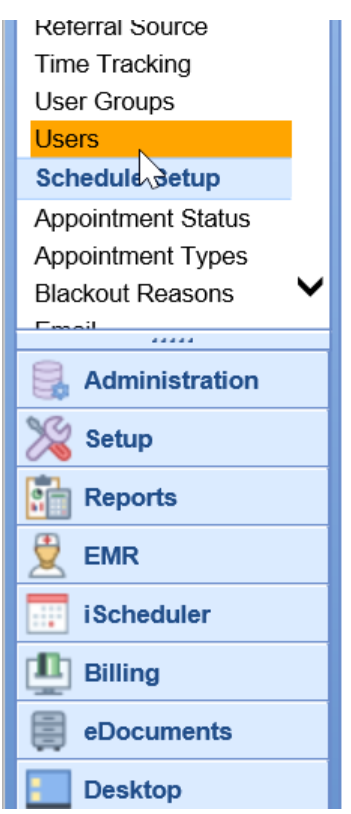
- Be sure your username is selected
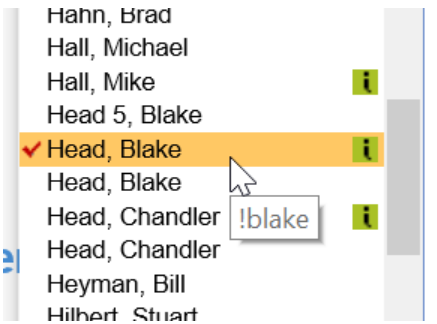
- Click to open the User Credential setup window

- Set the Type to be IdenTrust(M) using: Mobile Device
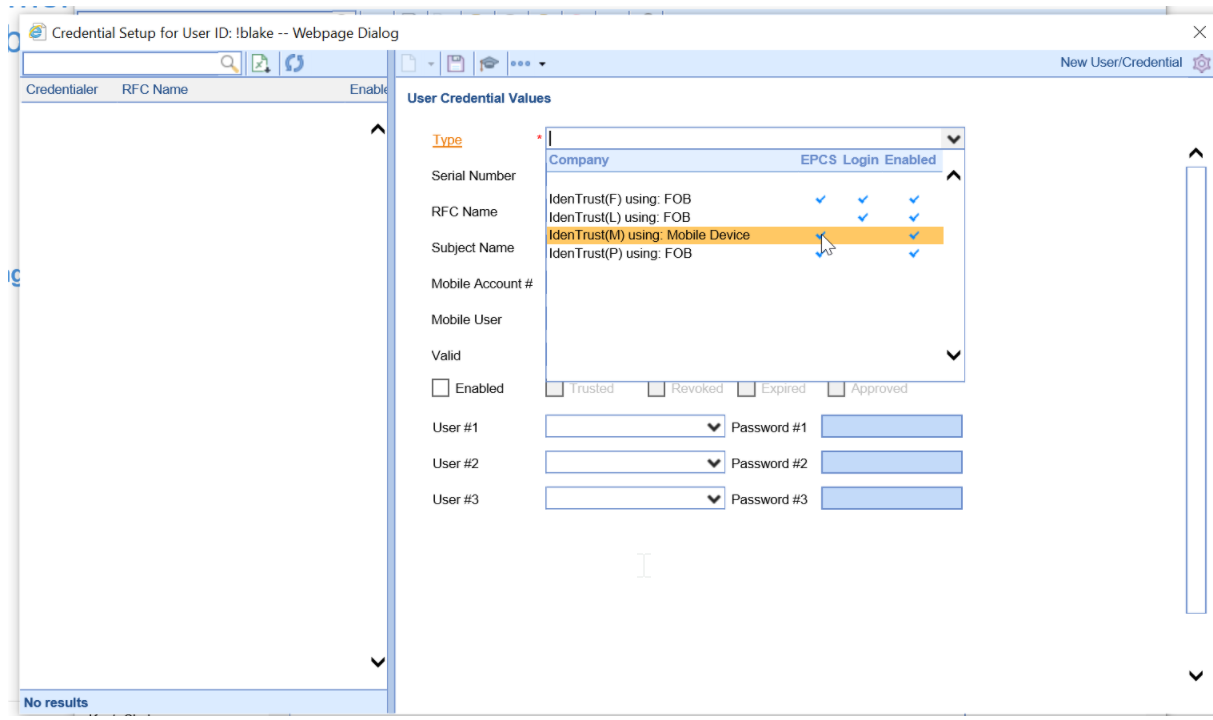
- Drag or select your backed up .pfx IdenTrust certificate into the area shown. You saved this to your computer in a previous step. Don't see your .pfx file? Click here.
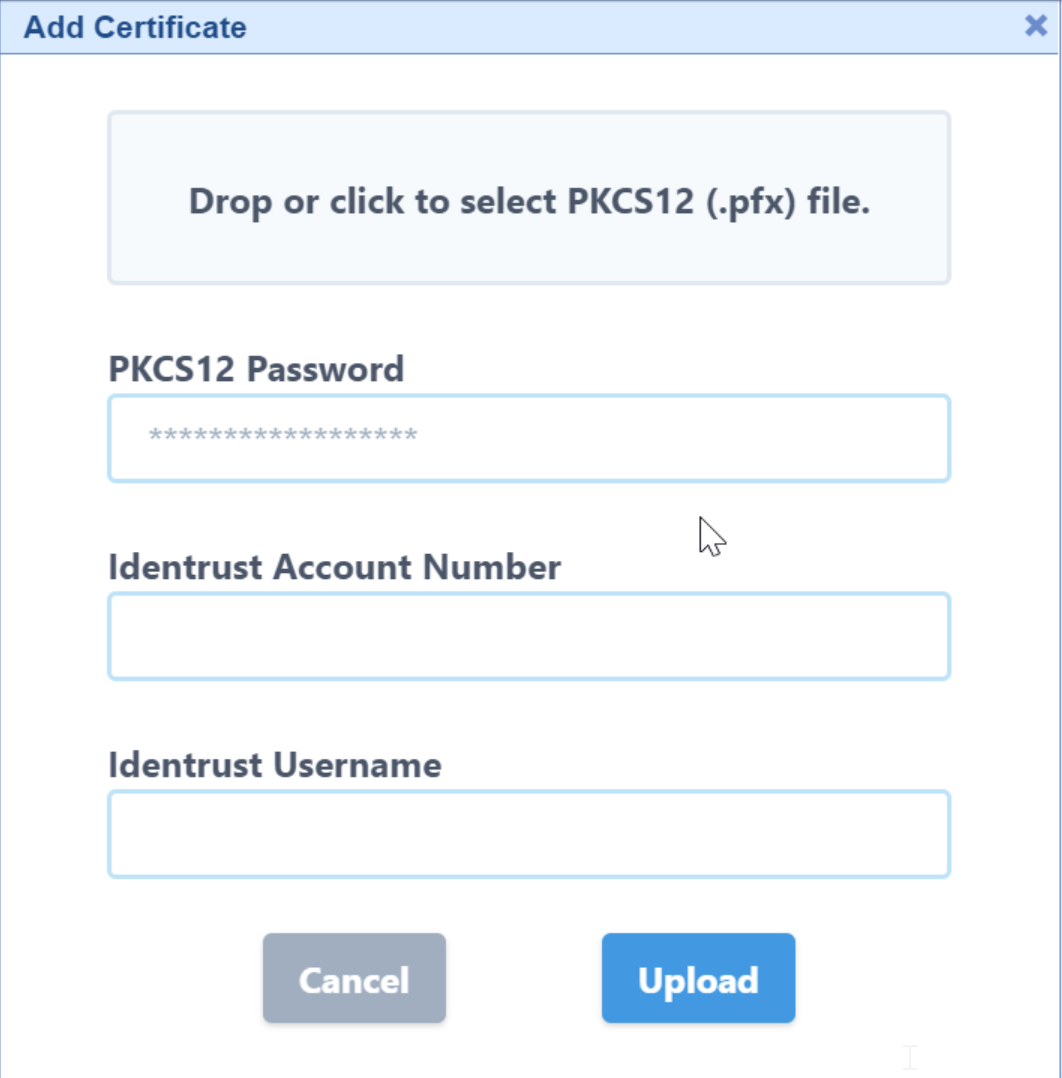
- Enter the password, Account Number, and Username, then click Upload. Your cert will now be associated with your user. This is the password that you saved in step 16 during the Retrieve your IdenTrust Mobile Certificate
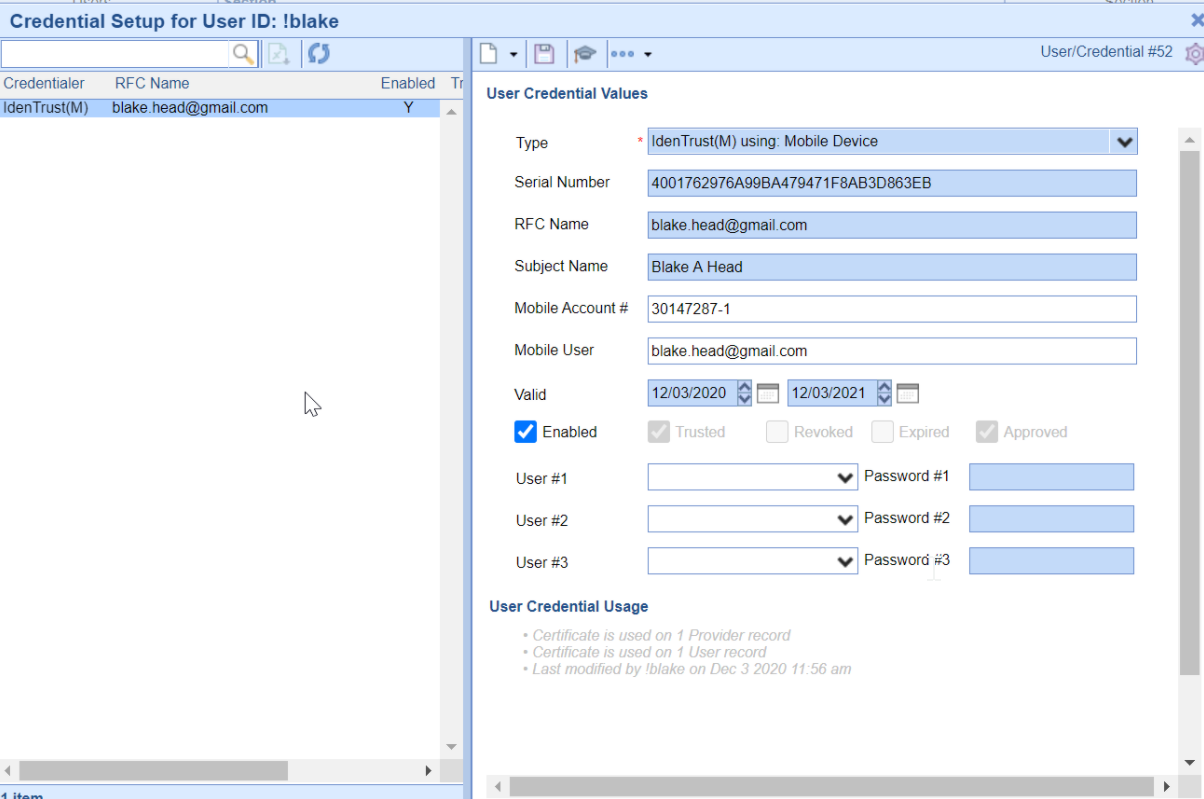
If this is the first provider being set up, the Approved box will automatically be checked. A provider with an approved credential will then be required to approve all future credentials added (see steps below). If there is only one provider in the practice, no other action needs to be taken. - DEA registrant signs off on all other credentials:
- Log in as the provider that already has an approved token
- Navigate to Setup> Users> Click the Credential Approval icon from the toolbar (looks like a stamp, to the right of the ribbon)
- Select the credential that needs to be approved.
- Click the Approved checkbox
- Click to Sign Credential > Click I agree> then enter provider's password for the token
- Lastly, select the Save icon at the top of the screen to finalize the changes and exit the Credential Approval screen.


