Roles in the application dictate exactly what access each individual user has to a given screen. Ensure roles are properly assigned ensure security within your application. Roles are often only accessible by administrative users and should be reviewed regularly.
Roles have two key components to consider
- Assigning a screen to a role: This determines, in a generic way, what can be accessed by users that are granted that role.
- Assigning a role to a user: Once the screens have been assigned to the role, each user may be assigned this role.
Warning
It is important to note, that one user can be assigned to more than one role. When this happens, the highest level of security granted to a screen across all the roles assigned will decide what access the user is ultimately provided.
The first step in managing roles is assigning a screen to a role and granting that role a specific access level for that screen
Steps
- Login to OfficeEMR as an administrator.
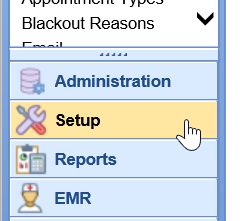
- Navigate to Setup.
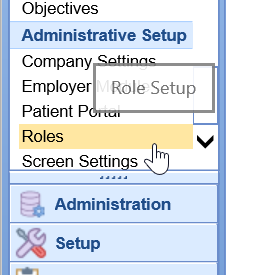
- Select Roles.
- Search for or select a group and screen from the list.
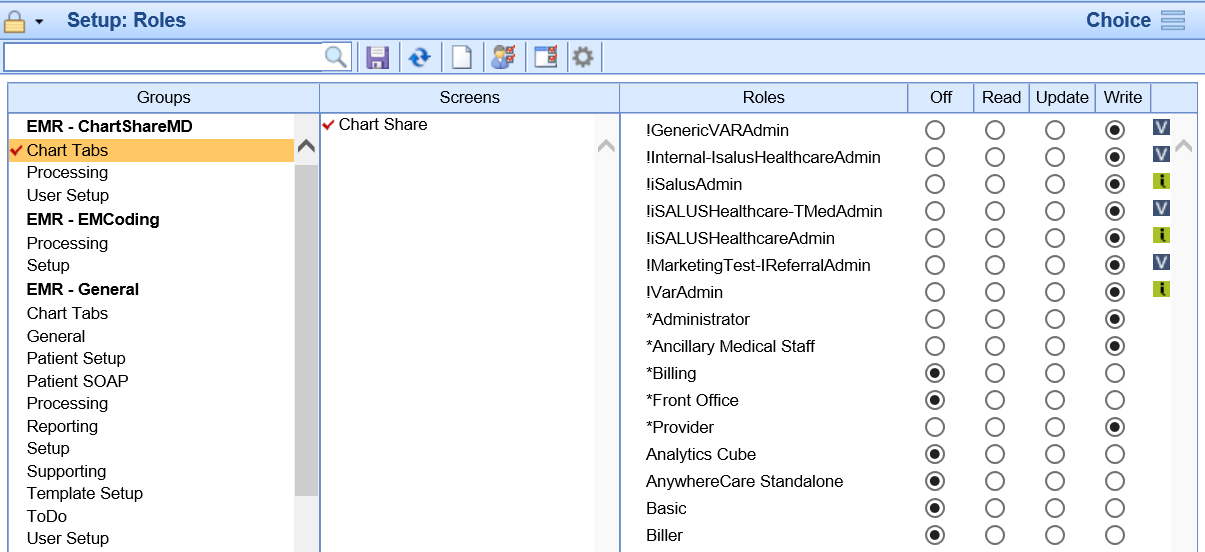
- Assign the role a level of access. Please note, your list of 'Roles' may vary. You can add new roles as needed for your practice.
- Off = No access to the screen at all.
- Read = Screen can usually be seen, but not edited.
- Update = Items on the screen can usually be changed, but no new items can be added.
- Write = Full access to the screen and all features.
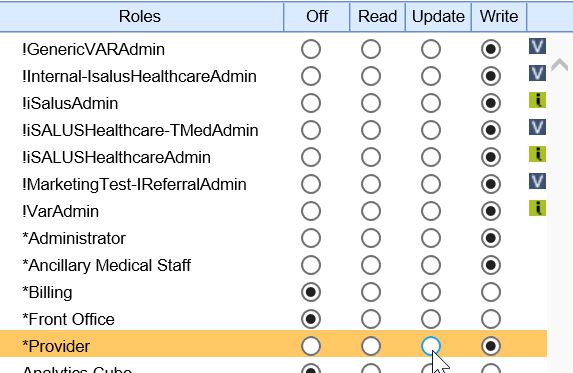
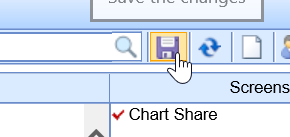
- Click Save.
The second step in managing roles is assigning a role or roles to a user.
Steps
- Login to OfficeEMR as an administrator.
- Navigate to Setup.

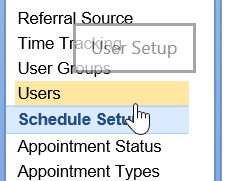
- Select Users.
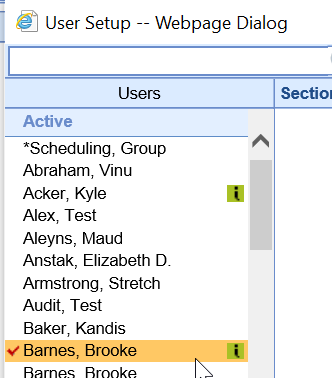
- Select the user you want to add roles to from the list on the left.
- Select Roles from the list on the right.
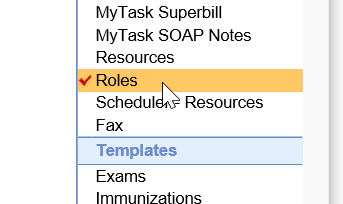
- Add roles by placing a check mark next to the name of the role. Remove roles by unchecking the role. Users can be assigned more than one role. If a user has more than one role, the highest access granted to the various roles takes precedence.

- Click Save.
Roles can often be thought of as 'access groups'. Different groups of people at the practice will have different levels of access.
Many practices will create roles in the application that closely align with job duties assigned at the practice. For example, you may have a role for a provider, a nurse, and a phlebotomist. Each of these roles require different access levels throughout the application. You can add these new roles, assign access to the role, then assign the role to the user. In the event that users perform more than one job, they can be assigned more than one role and are ensured that they have the access necessary to complete their work.
Steps
- Login to OfficeEMR as an administrator.
- Navigate to Setup.

- Select Roles.

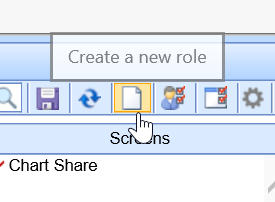
- Click the New button to add a new role
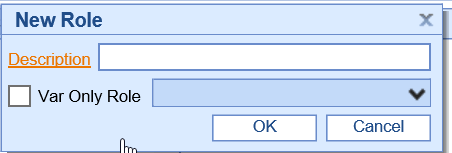
- Enter the description and click OK
Pro Tip:
Now that the role is added, don't forget to Assign a screen to a role and Assign a Role to a User.
This role will give access to users wanting to add/remove orders templates from their drop-down in the respective chart tab. It will also allow the user to set a default order entry template so it does not need to be selected each time. This role works in conjunction with User Setup (new).
This screen is accessible from Setup > Basic Setup - Users > Templates - New | Orders

Setup the Templates New Tab - Orders Role
Setup the User Setup (new) Role
- Click on the Setup portal.

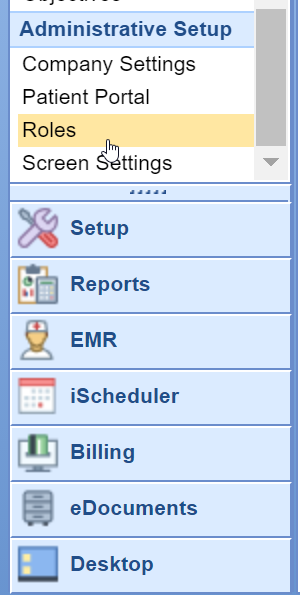
- Select Roles under Administrative Setup.
- Type "Templates New Tab - Orders" into the search box and hit the Magnifying Glass button.
- Select the Practice - General - User Setup - User Setup (new) screen. Assign Write access to the desired Roles.
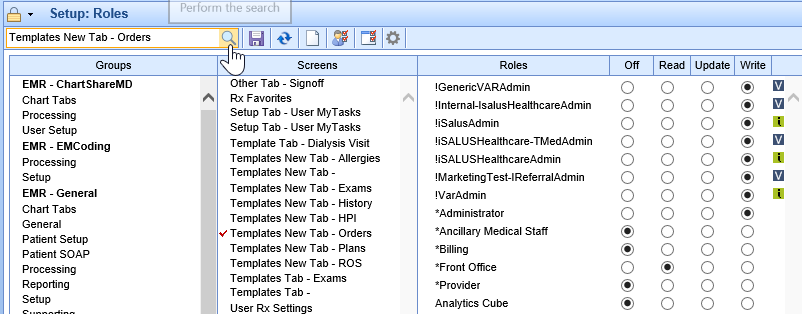
- Press the Save button to save your changes.

External - MyMedicalLocker - ToDo - Task Patient Portal Role
This role grants users access to the My Task Patient Portal queue.
All communications from MyMedicalLocker will display in this To Do list including secure communications, Patient Intake submissions, shared documents, and appointment requests.
This screen is accessible from the My Tasks section of the application.
Setup the Task Patient Portal Role
- Click on the Setup portal.

- Select Roles under Administrative Setup.
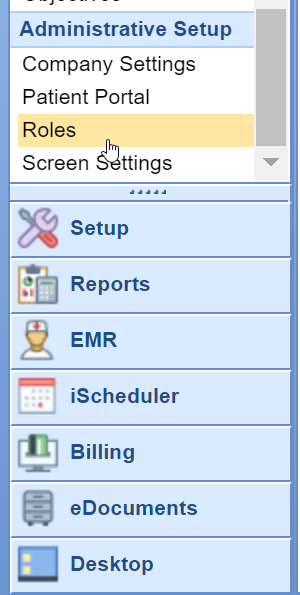
- Type in Patient Portal into the search box and hit the Magnifying Glass button.
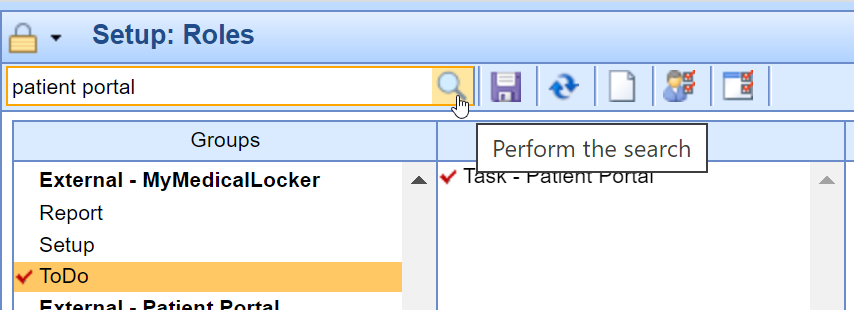
- The External - MyMedicalLocker - ToDo - Task - Patient Portal Role should be selected. Assign Write access to the appropriate role/s that should work this queue. Often, a new individual role is created to assign this security access to. This allows practice to individually select which users at the practice have access to the queue instead of all ancillary medical staff getting access.

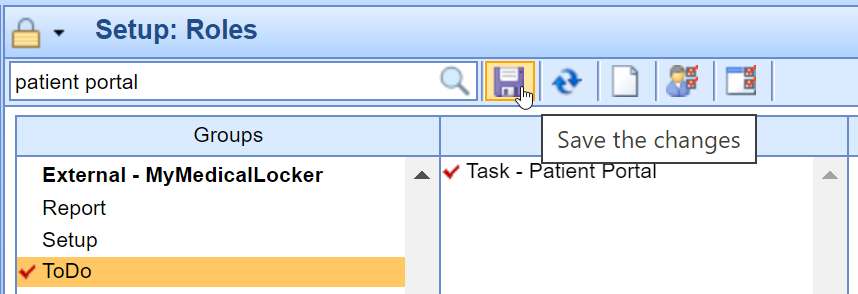
- Press the Save button to save your changes.
Practice - Patient Intake - Setup - Intake Assignment Role
This role grants users access to the Patient Intake Assignment screen.
This screen is accessible via the Patient Setup > More menu; the Patient Index card menu in the iScheduler and EMR; and the quick pay screen for an appointment in the iScheduler.
This screen allows users to manually assign new intake forms, view Active/Historically assigned intake forms, and merge the completed form data into the patient's chart.

Setup the Intake Assignment Role
- Click on the Setup portal.

- Select Roles under Administrative Setup.

- Type Intake Assignment into the search box and hit the Magnifying Glass button.

- The Practice - Patient Intake - Setup - Intake Assignment role should return and be selected. Assign Write access to the appropriate roles. Best practice is to assign Write access to all roles.
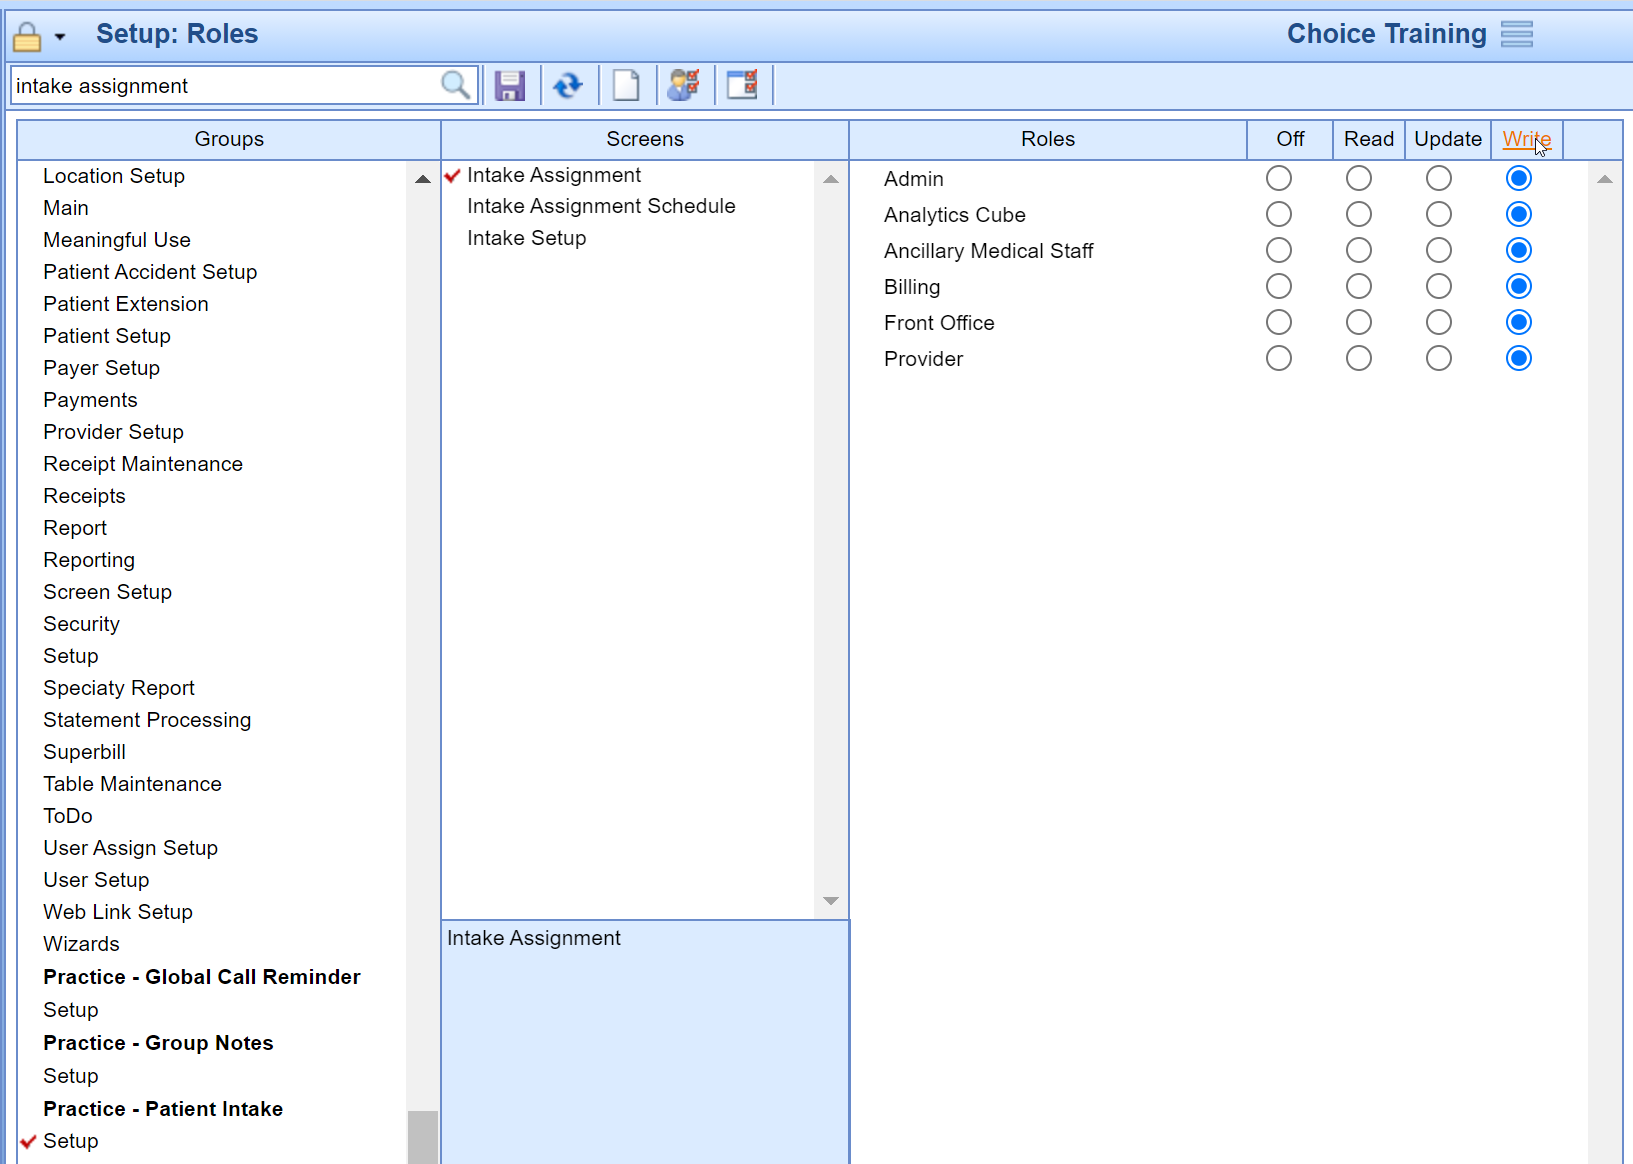
- Press the Save button to save your changes.

Practice - Patient Intake - Setup - Intake Assignment Schedule Role
This role grants users access to the Patient Intake Assignment Schedule screen.
This screen is accessible via the iScheduler > Intake Schedule button.
This screen allows users to view Active/Completed assigned intake forms for the entire practice, and merge the completed form data into the patient's chart.

Setup the Intake Assignment Schedule Role
- Click on the Setup portal.

- Select Roles under Administrative Setup.

- Type Intake Assignment into the search box and hit the Magnifying Glass button.

- Click on the Practice - Patient Intake - Setup - Intake Assignment Schedule Role screen. Assign Write access to the appropriate Admin, Front Office and Call Room Roles.

- Press the Save button to save your changes.

Practice - Patient Intake - Setup - Intake Setup Role
This role grants users access to view, modify and create net intelligent intake forms.
This screen is accessible from the Setup portal > MML Setup menu.

Setup the Intake Setup Role
- Click on the Setup portal.

- Select Roles under Administrative Setup.

- Type Intake Assignment into the search box and hit the Magnifying Glass button.

- Select the Practice - Patient Intake - Setup - Intake Setup Role screen. Assign Write access to the appropriate Admin and Intake Coordinator Roles.

- Press the Save button to save your changes.

This role gives access to the user setup screen. The user setup screen will allow the user to change many items related to their experience within the application. Many of the individual items within this screen have their own roles to further control the user's ability to modify their settings.
This screen is accessible from Setup > Basic Setup - Users.

Setup the User Setup (new) Role
- Click on the Setup portal.

- Select Roles under Administrative Setup.

- Type "User Setup (new)" into the search box and hit the Magnifying Glass button.

- Select the Practice - General - User Setup - User Setup (new) screen. Assign Write access to the desired Roles.
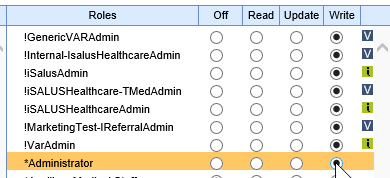
- Press the Save button to save your changes.

This role grants access to the My Tasks - Intake menu item in the top left section of the screen. This section is used to review non-clinical information associated with a submitted Intelligent Intake form. Clinical information remains within the EMR only.

Setup the Task - Intelligent Intake Role
- Click on the Setup portal.

- Select Roles under Administrative Setup.

- Type "Task - Intelligent Intake" into the search box and hit the Magnifying Glass button.
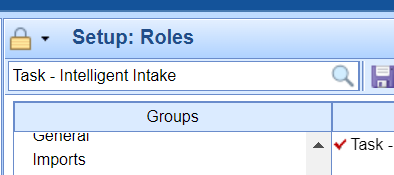
- Select the Practice - General - User Setup - User Setup (new) screen. Assign Write access to the desired Roles.
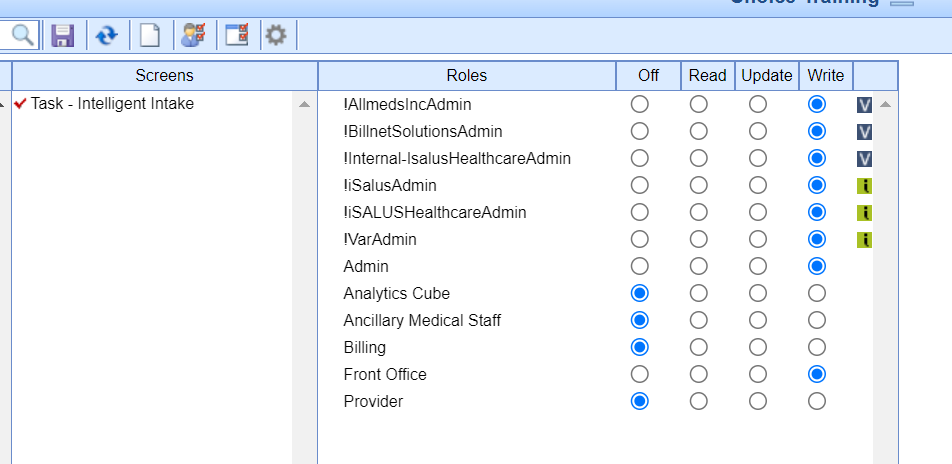
- Press the Save button to save your changes.

Practice eDocuments - Processing - PDF Split Role
This role grants users access to utilize the PDF Split feature within the fax inbox in My Tasks.
This screen is accessible from My Tasks - Fax Updox > Inbox

Setup the Intake Setup Role
- Click on the Setup portal.

- Select Roles under Administrative Setup.

- Type 'PDF Split' into the search box and hit the Magnifying Glass button.
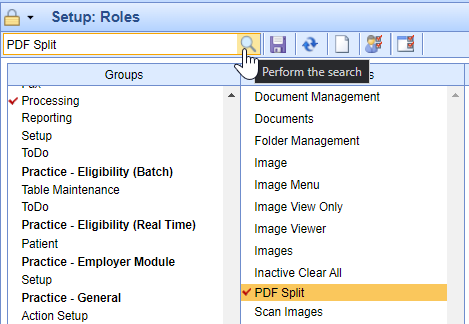
- Assign Write access to the appropriate document indexing staff & any other desired role.
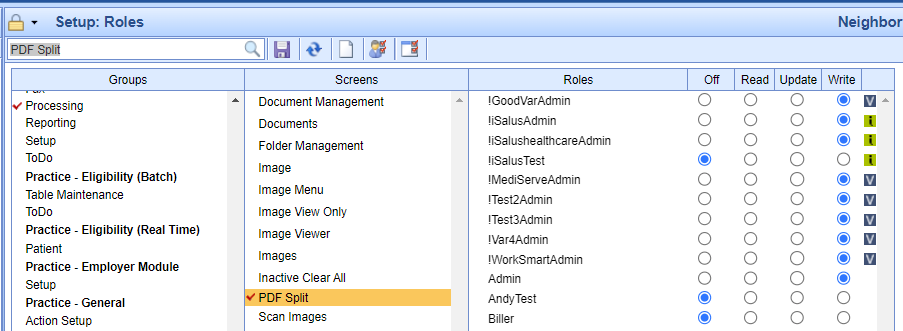
- Press the Save button to save your changes.

This article describes the enablement of access to the Two Factor Authentication setup screen that determines the method of authentication for the login process for an individual user. This screen is affected by the company setting Default 2FA Setting for users.

Setup the User Two Factor Authentication Role
- Click on the Setup portal.

- Select Roles under Administrative Setup.

- Type 2FA into the search box and hit the Magnifying Glass button.
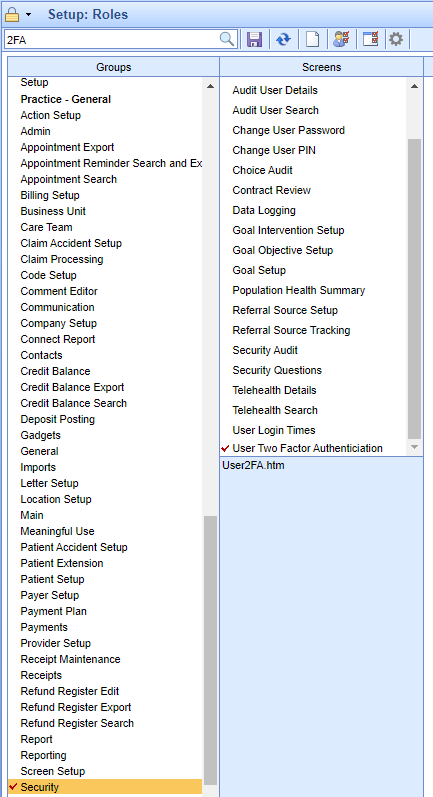
- Select the Practice - General > Security > User Two Factor Authentication screen. Assign Write access to the appropriate roles.
- Press the Save button to save your changes.


