Overview of My Task - Fax (UpDox)
The My Tasks Fax (UpDox) portal is used to manage electronic faxes that are sent to your practice. This portal allows you to see new faxes received for numbers that have been assigned to you. Once received, you will use this queue to manage these faxes. Also, users can access the sent box for faxes here as well.

My Task Fax (UpDox) Inbox
Last Modified on 05/11/2021 3:36 pm EDT
The Inbox within the Fax (UpDox) My Task lists provides a user with a queue of faxes that have been sent to a fax number that the logged-in user has access to. From this Inbox, users will be able to make a decision on what to do with each fax that has been received. Users may decide to send the fax as a communication, send the fax to a patient's chart, or delete the fax. This article describes how to complete these various tasks.
Inbox List
The Fax Inbox will contain a list of faxes that have been sent to a fax number that you have been assigned to. The list will contain the following details:
- Received From: This is the fax number that sent the fax to you.
- Sent To: This is the fax number that the fax was sent to.
- Posted: This is the date/time that the fax was received.
- Filename: This is the name of the file that was sent.

Inbox Search
Users will be able to use the Search box at the top of the inbox to search for an item in the inbox. You can search by any of the fields described above. Simply type in the details and click the search icon.

Inbox Work Area
By selecting a fax from the Inbox List, that fax will be displayed to the right in the Inbox Work Area. This is where you will be able to take action on an item from your inbox.
Save to eDocs
The Save to eDocs feature allows a fax to be stored into the eDocuments portion of the application. Most commonly, eDocs are associated with a patient. However, other types of documents can be stored here as well. The system supports documents related to specific resources, payers, or the company as a whole.
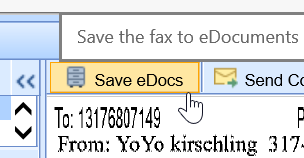
- Select the fax from the Inbox List
- Click Save to eDocs
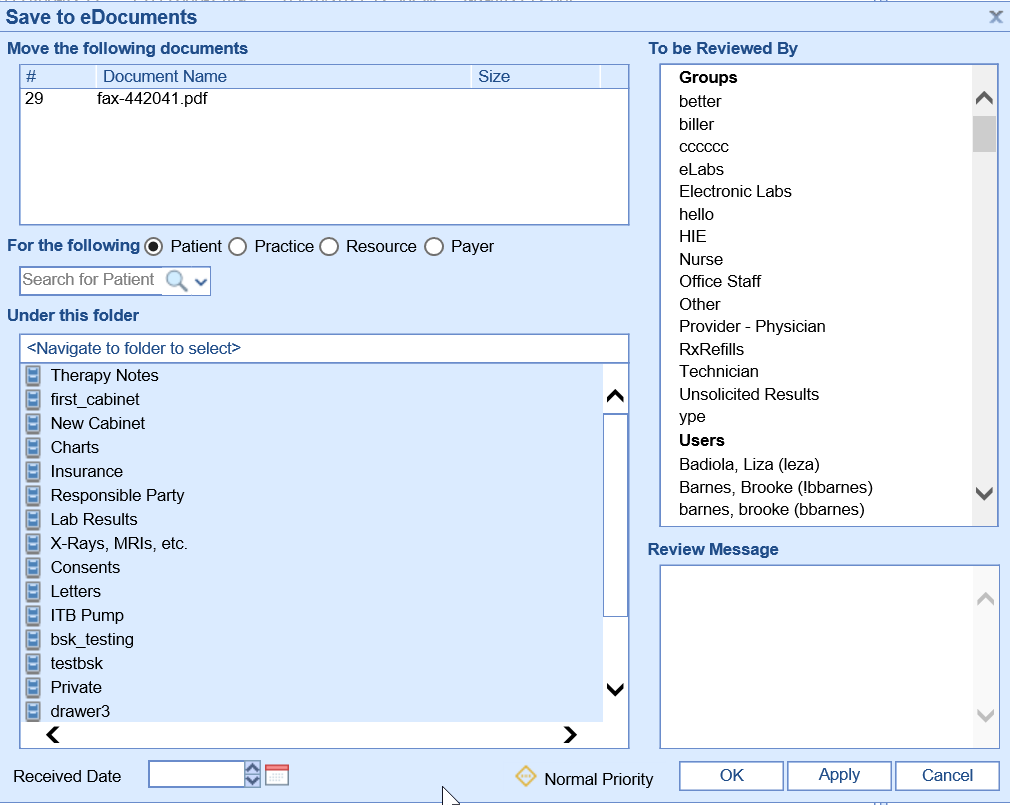
- Complete the Save to eDocs settings:
- For the Following: Based on your selection here, the search and folder navigation will change.
- Patient - Allows the document to be stored at the patient level.
- Practice - Allows the document to be stored at the practice level.
- Resource - Allows the document to be stored at the resource level.
- Payer - Allows the document to be stored at the payer level.
- Search: Based on the type of document you are saving, you will be able to search for that entity as needed.
- Under this Folder: Based on the type of document you are saving, you will see the pre-defined folder structure for that type. Select the Cabinet, Drawer, and Folder you wish to save this document to.
- To Be Reviewed By: By selecting a user to user group from this list, this document will be assigned to the appropriate individual within the My Task eDocuments list.
- Review Message: If sending a document to a user for review, this comment will accompany that review request.
- For the Following: Based on your selection here, the search and folder navigation will change.
- Click OK.
- The item will be removed from your inbox.


Send Communication
The Send Communication feature allows a fax to be sent as an attachment to a user via My Tasks - Communications. When doing this, the fax is not permanently saved into eDocuments.
- Select the fax from the Inbox List.
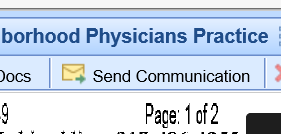
- Click Send Communication
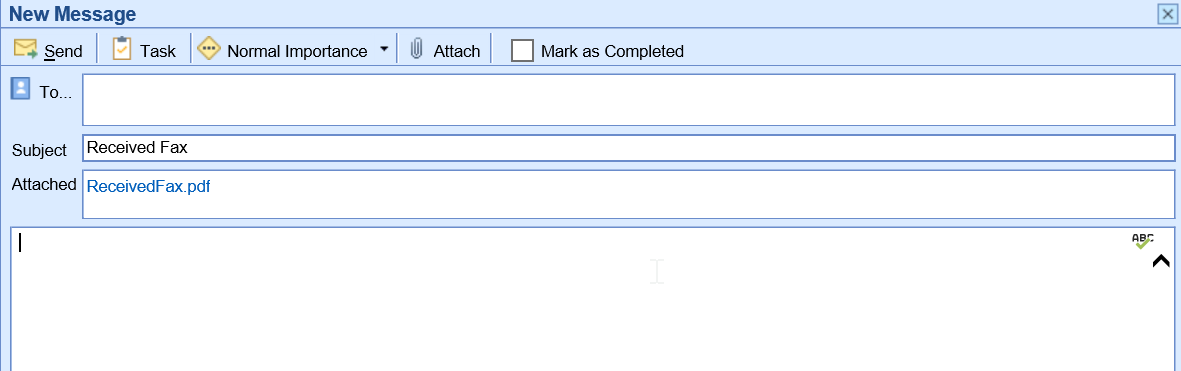
- A new communication window will appear with the fax automatically attached. Complete the communication information and click Send or Task.

- The item will be removed from your inbox.


Delete
The Delete feature allows a fax to be permanently deleted. This is most commonly used for "junk" faxes that are not needed.
- Select the fax from the Inbox List.
- Click Delete
- Confirm that you would like to delete the message.
- This item will be removed from your inbox and permanently deleted.

MyTask Fax (UpDox) Sent Items
The Sent Items within the Fax (UpDox) My Task lists provides a user with a list of faxes that have been sent out by the practice for the fax number that the logged-in user has access to. From this Sent queue, users will be able to see the status of faxes sent and re-send faxes that failed.
Sent Items List
The Fax Sent Queue will contain a list of faxes that have been sent out for fax number that you have been assigned to. The list will contain the following details:
- Status: The status of the sent fax
- Success - A green checkmark icon will be displayed to indicate the fax was successfully sent.
- Retrieve - A download icon will be displayed to indicate the fax status has not been updated. Clicking this will retrieve the most current status.
- In Process - A clock icon will be displayed to indicate the fax is in the queue to be processed. Click this will retrieve the most current status.
- Error - A red circle with an exclamation point will be displayed to indicate the fax failed.
- Sent To - The name of the recipient that received the fax.
- Fax # - The fax number that the fax was sent to.
- Subject - The subject line for the fax.
- Posted - The date the fax was sent.
- Chart # - The chart number for the patient associated with the fax.

Sent Items Search
Users will be able to use the Search box at the top of the sent items list to search for an item in the inbox. You can search by any of the fields described above. Simply type in the details and click the search icon.

Sent Items List Work Area
By selecting a fax from the Sent Items List, that fax will be displayed to the right in the Sent Items Work Area. This is where you will be able to take action on an item from your sent box.
Resend Fax
The Re-Send Fax feature allows a fax to be re-sent as needed. This is especially helpful if the fax does not send successfully the first time.
- Select the fax from the Sent Items List
- Click Resend Fax.
- Complete the Fax Details.
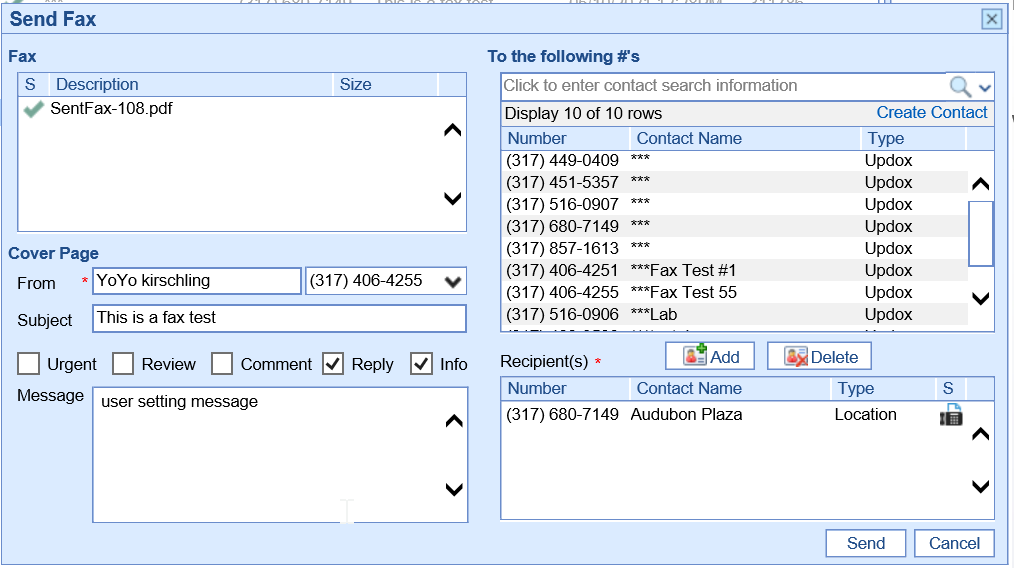
- Click Send.


Send Communication
The Send Communication feature allows a fax to be sent as an attachment to a user via My Tasks - Communications.
- Select the fax from the Inbox List.
- Click Send Communication

- A new communication window will appear with the fax automatically attached. Complete the communication information and click Send or Task.