Once the AlertMD Integration has been configured for your practice, you will be able to start adding patients to the queue using the Recall List in the iScheduler. This is an automated process - all you have to do is actively manage the recall list for your practice.
Adding a patient to the Recall List
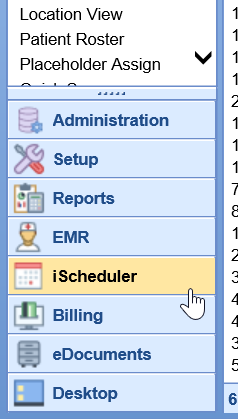
- Navigate to the iScheduler
- Search for or select a patient that needs to be added to the list

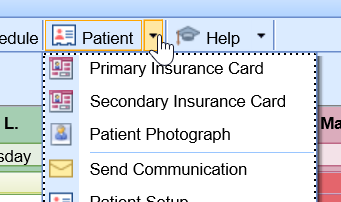
- Click the dropdown next to the patient index card to reveal more options
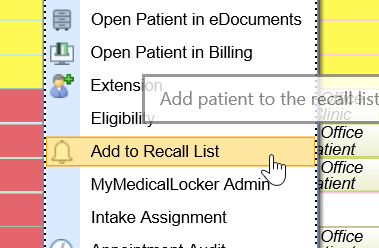
- Select Add to Recall List
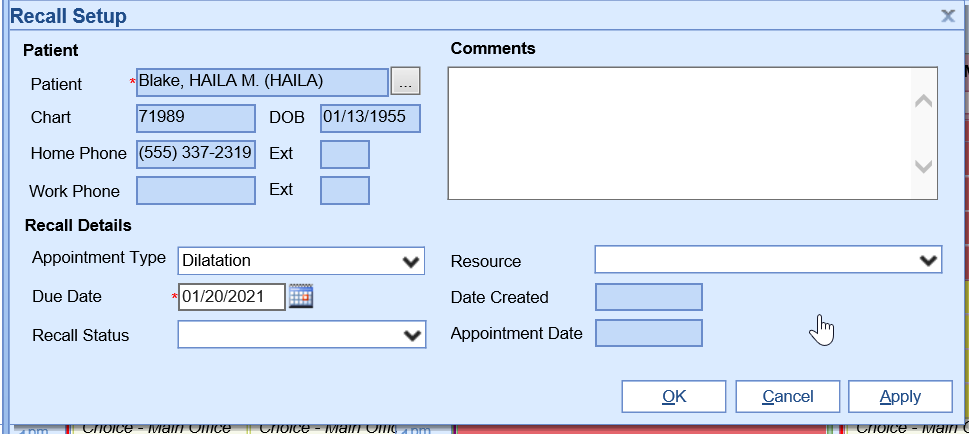
- Enter the necessary details for the Referral/Recall
- NOTE: The Appointment Type will dictate if this is considered a Referral or a Recall in AlertMD. Be sure to setup the appointment types in your system to make this distinction.
- NOTE: The Appointment Type will dictate if this is considered a Referral or a Recall in AlertMD. Be sure to setup the appointment types in your system to make this distinction.
- Click OK to save


Nightly File Drop
On a nightly basis, the system will check for new patient's added to the Recall/Referral list and send this data to AlertMD. Two files are created - a Referral file and a Recall file based on the appointment type selected on the recall setup screen.
The system will automatically identify all patients in teh recall list where the Due Date > Today and the status of the recall = Recall.
Real Time Demographic Updates
In real time, as patient demographics are updated or created, an ADT (demographics) HL7 file will be electronically delivered to AlertMD to ensure the most up to date demographics are on file.
Real Time Scheduling Updates
In real time, as a patient appointment is created or changed, a SIU (scheduling) HL7 file will be electronically delivered to Alert MD to ensure that patients that have scheduled an appointment already are not contacted unnecessarily.
